Create Variants in Bulk
Although you may want to jump right into the steps involved in the creation of multiple variants using Excel, we would recommend you have a thorough understanding (from the previous section) of how variants are added individually.
Adding Variants in Bulk
Steps:
Download a sample product file, and fill all the fields as you normally do. Refer this document if required.
Depending on the template, you may get three columns for adding variants, namely Variant Type, Variant Group ID, and Variant Media.
Variant Type: This is a dropdown for choosing the type of variant you want to create for the product in that row. E.g. Additional Colours, Additional Shades, etc.
Variant Group ID: Remember, all products with the same 'Variant Group ID' would be treated as variants of each other. You can use any numeric/alphanumeric/string value for this field, e.g. 111, 222, colour-variants, variant123. However, for the sake of simplicity, we would recommend you use the Item Code (of any one of the product variants) as the 'Variant Group ID'.
Variant Media: This is where you can enter the URL of the swatch image belonging to the product in that row (if required).

Figure 1: Variant-related columns
Fill the remaining details in the file and upload it.
Once you add the inventory of all the concerned products, the variants would be visible on the PDP.
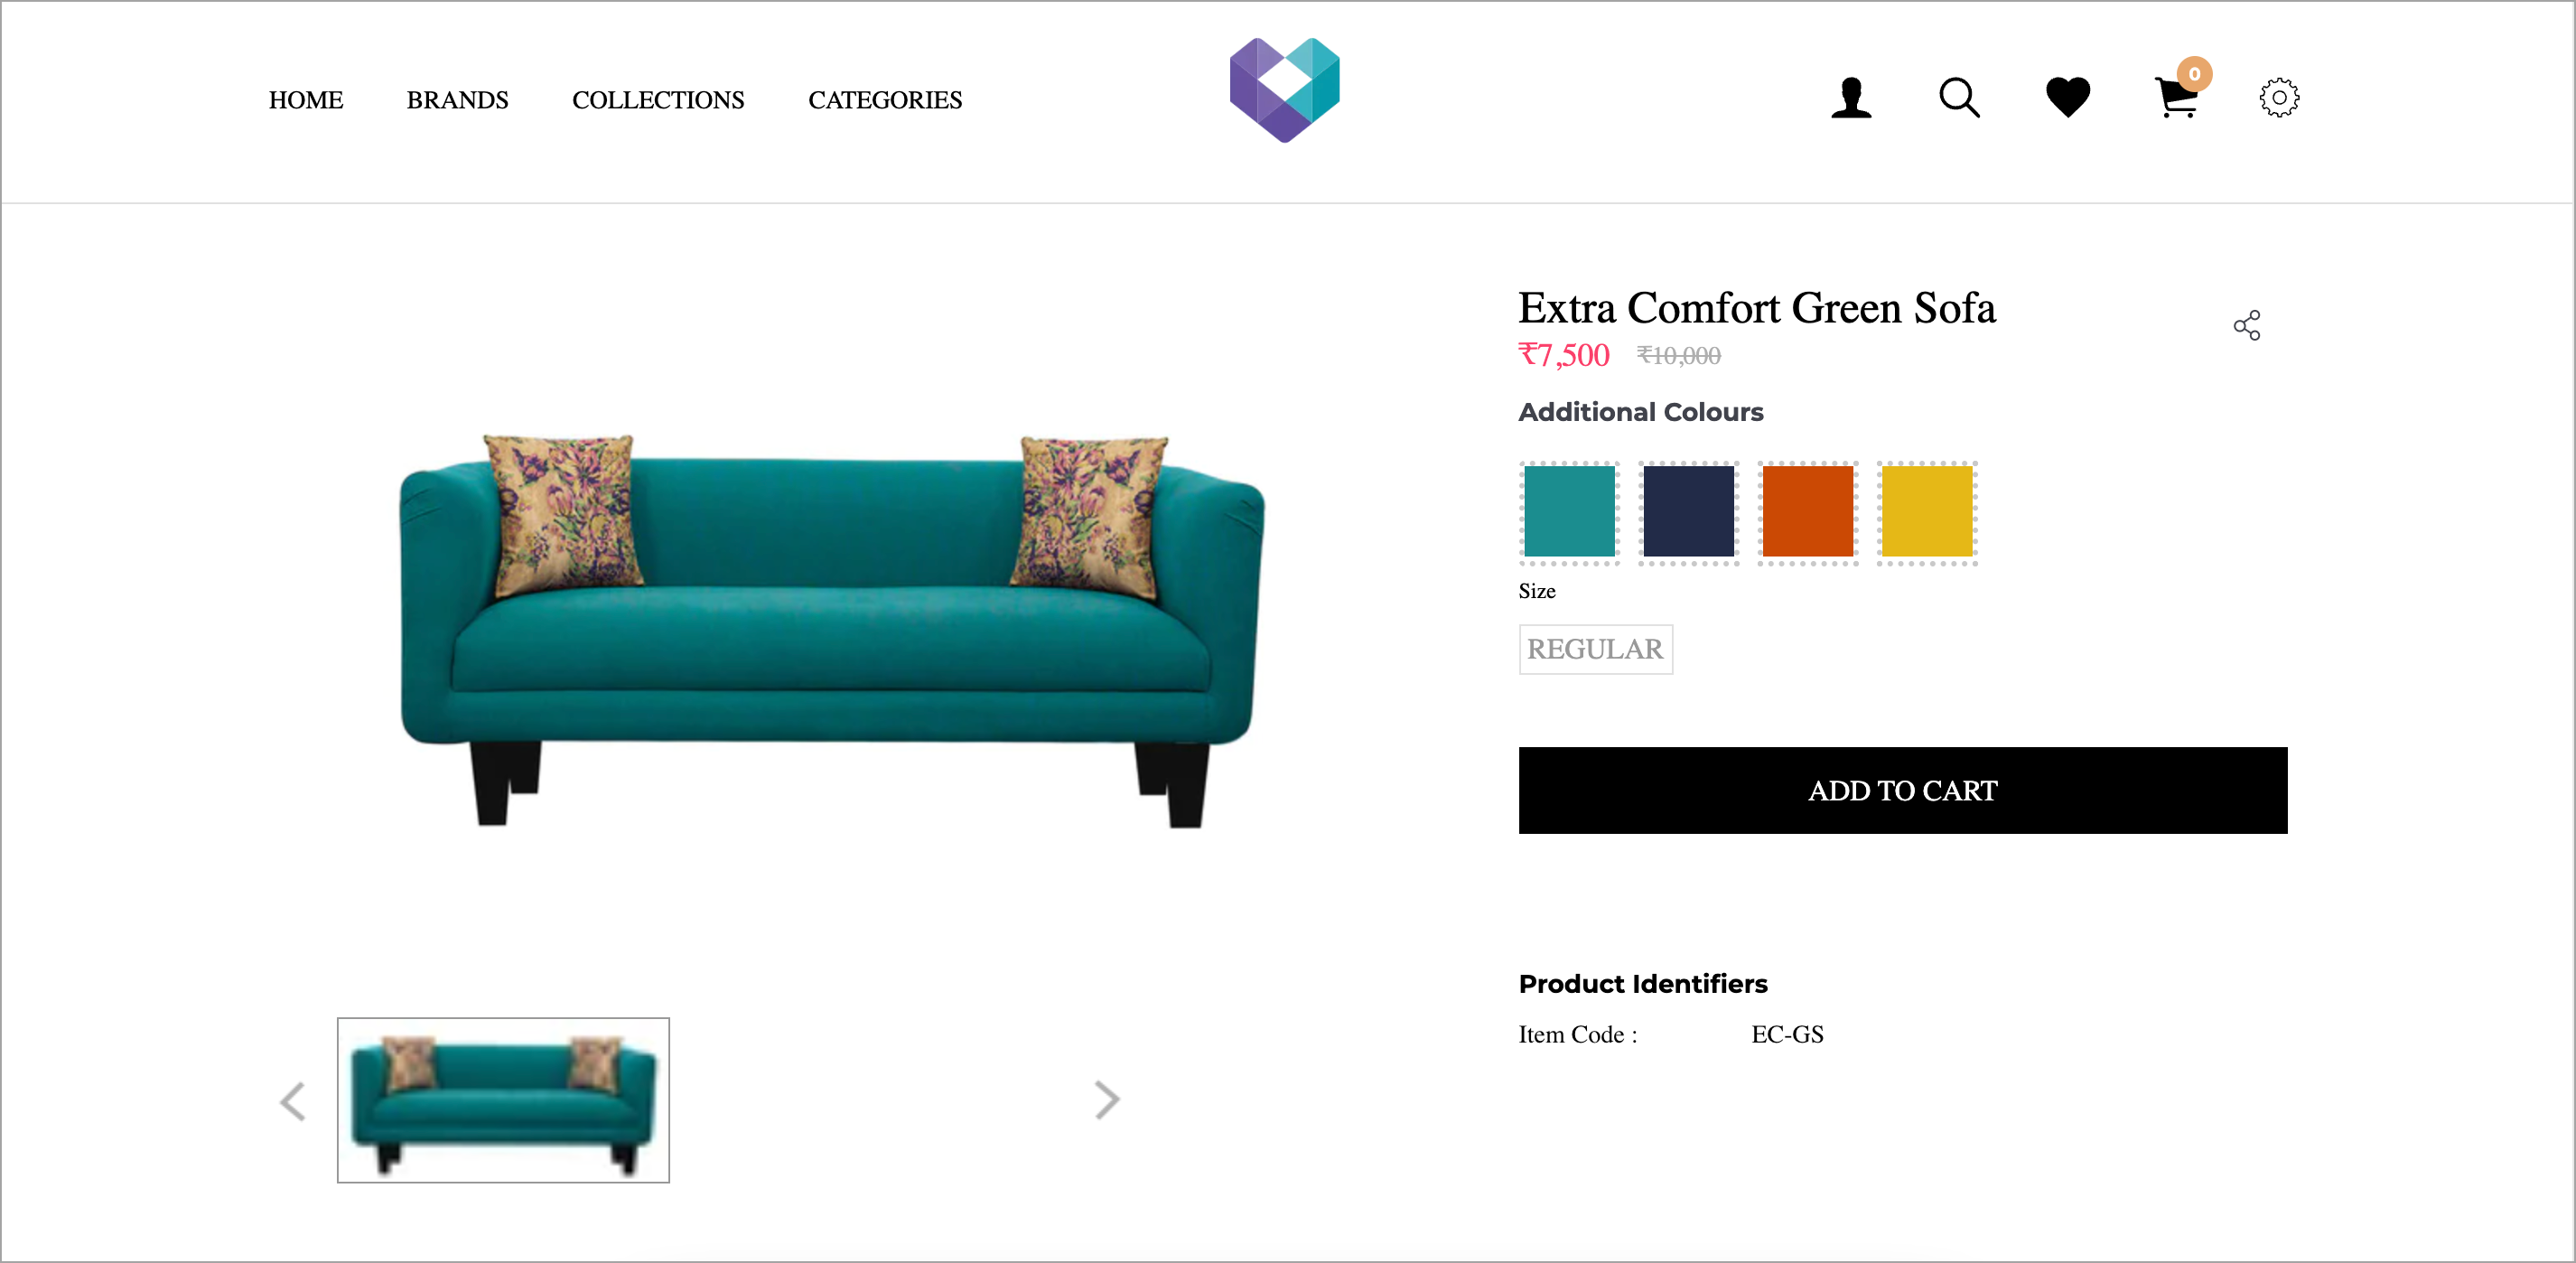
Figure 2: PDP with Variants
Adding Multiple Variant Types in Bulk
This includes adding multiple types of variants (say Additional Colours, Wicker Colour) together to a product using Excel.
Steps:
The steps are the same as those mentioned in the first part of this document. The only difference is that you will have to create a new row for entering the Variant Type, Variant Group ID, and Variant Media if you were to attach a new variant type to a product. Moreover in the new row, you are expected to repeat only the Item Code and Brand.
As shown below, we have added a new row with same Item Code and Brand. We also used the item code (of one of the product variants) in the Variant Group ID column. Therefore, on the virtue of having the same 'Variant Group ID', all of them would be treated as variants of each other.
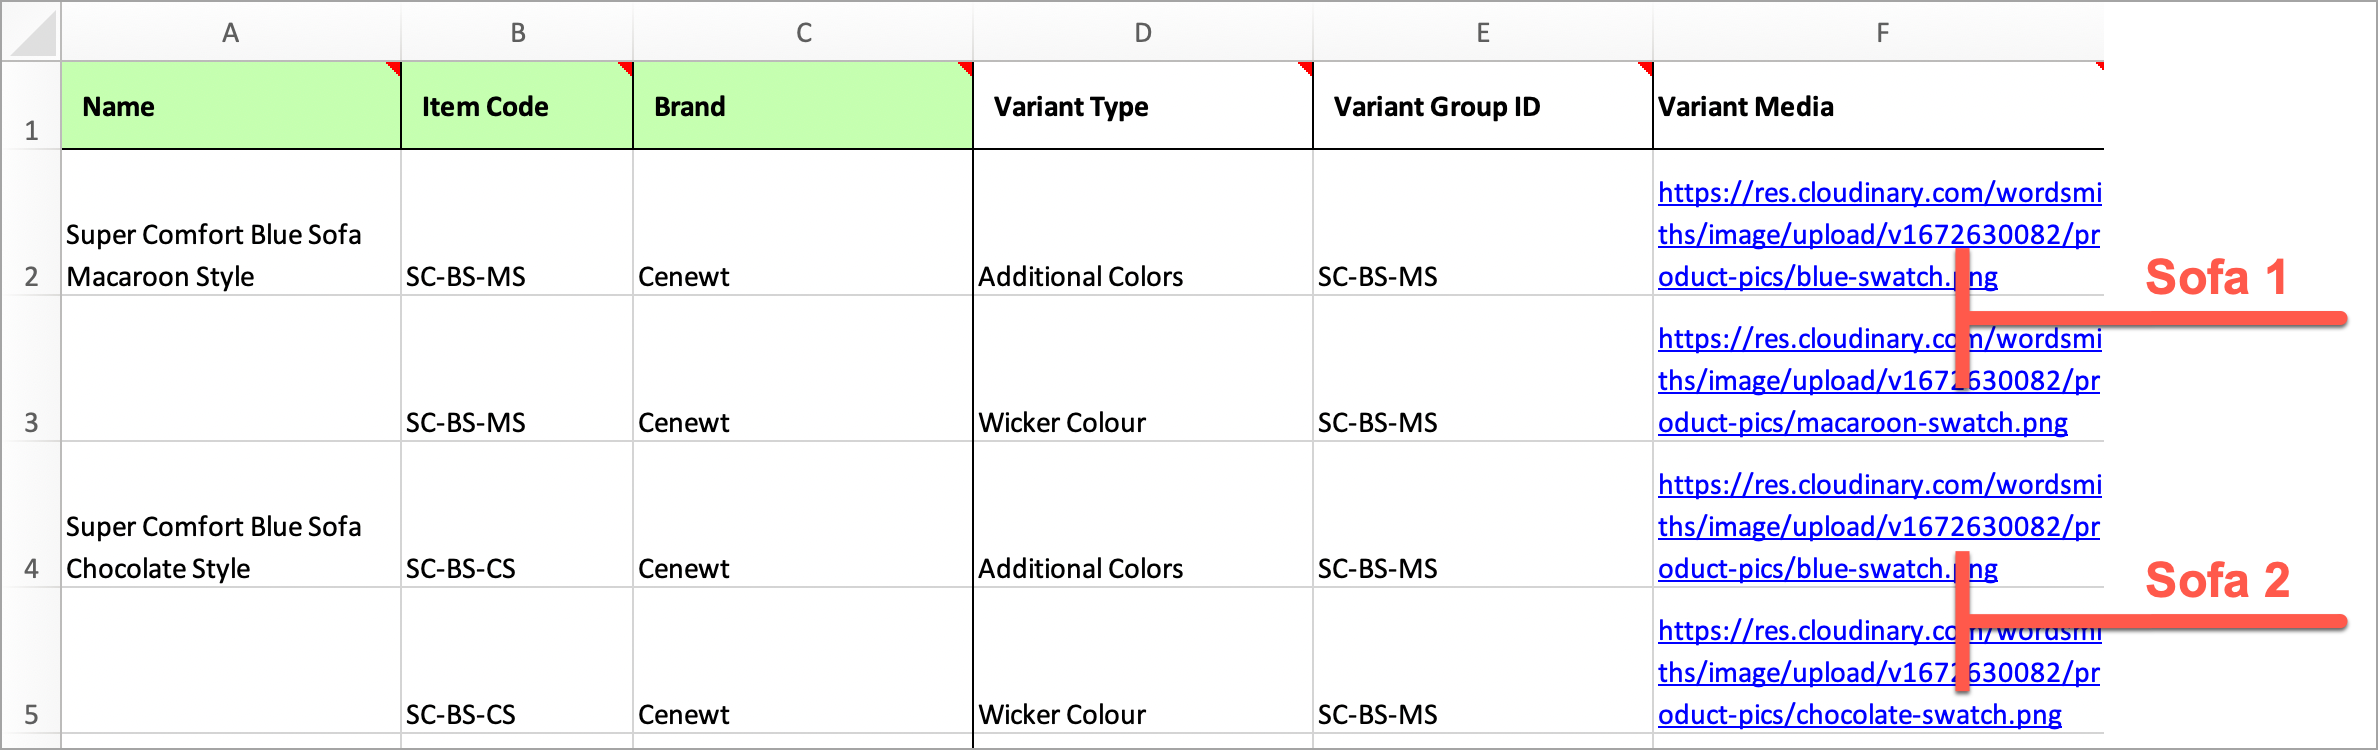
Figure 3: Adding Multiple Variant Types (Technique 1) You may maintain separate Group IDs for your variant types if you wish to. For e.g. one common Group ID for colour variants, and another common Group ID for all shade variants.
As shown below, we have repeated
sofa-colour-123as the Group ID for colour variants of a sofa, andwicker-colour-123as the Group ID for wicker variants of the same sofa.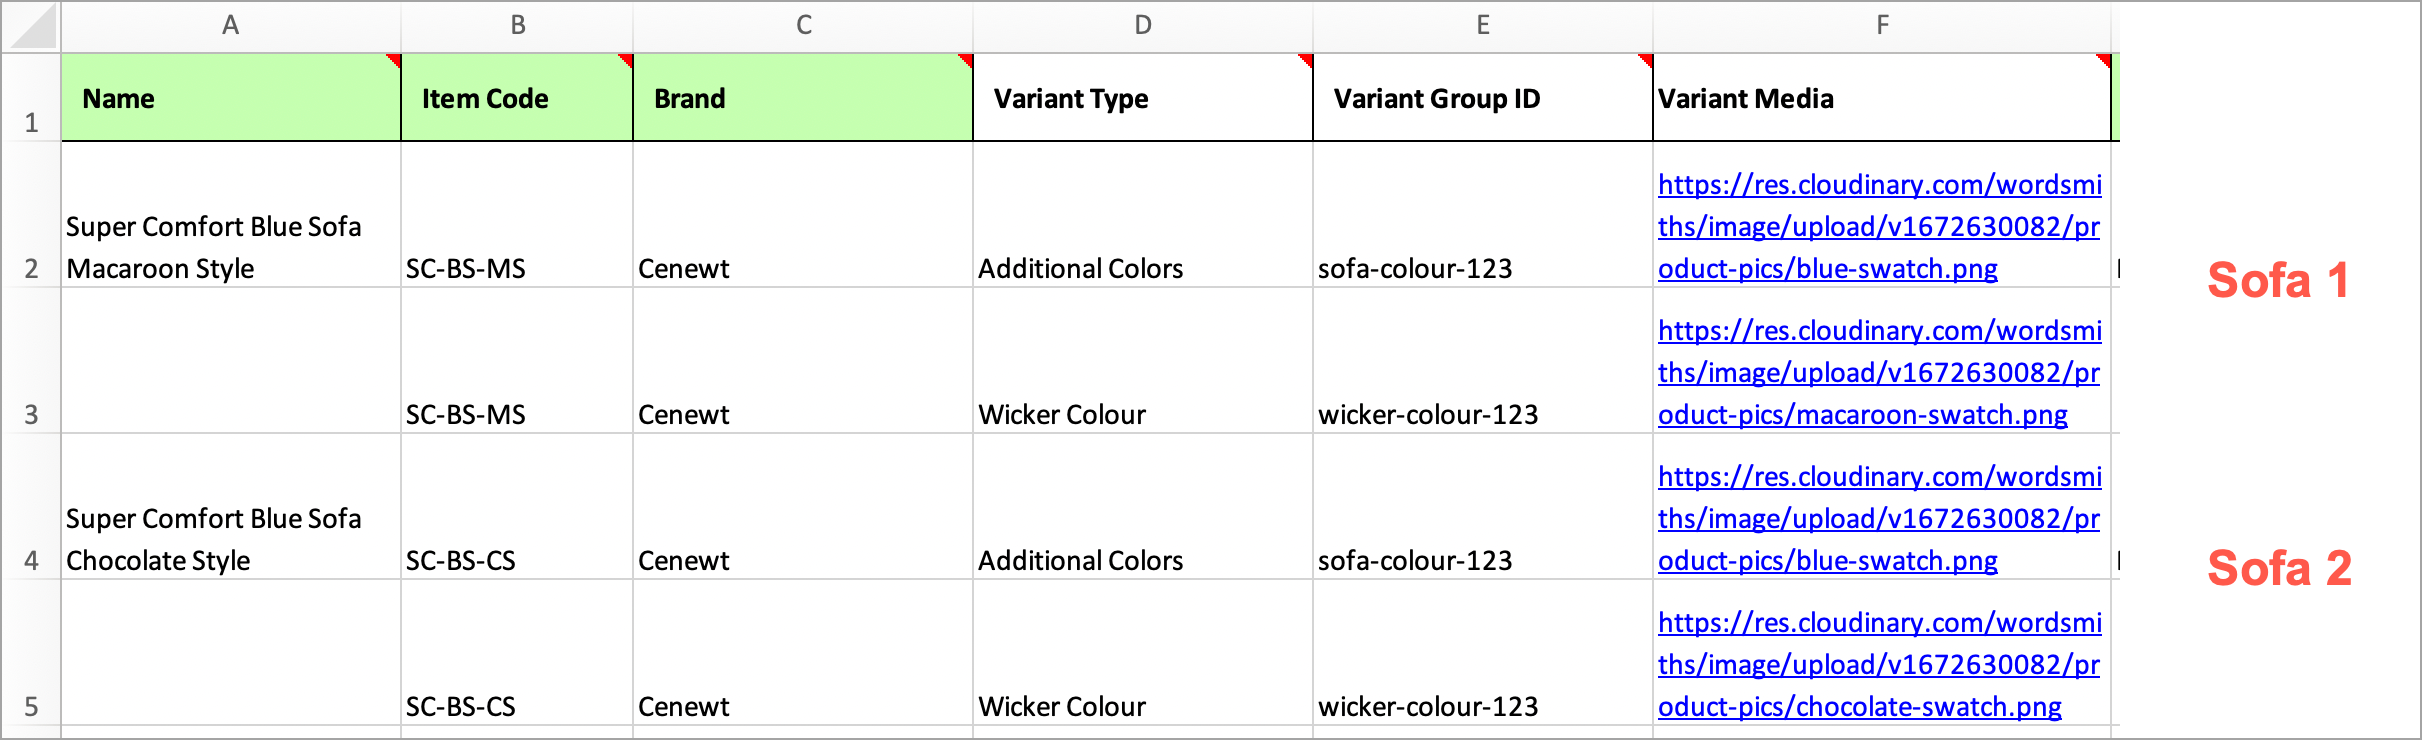
Figure 4: Adding Multiple Variant Types (Technique 2) Fill the remaining details in the file and upload it.
Once you add the inventory of all the concerned products, multiple variant types would be visible on the PDP.
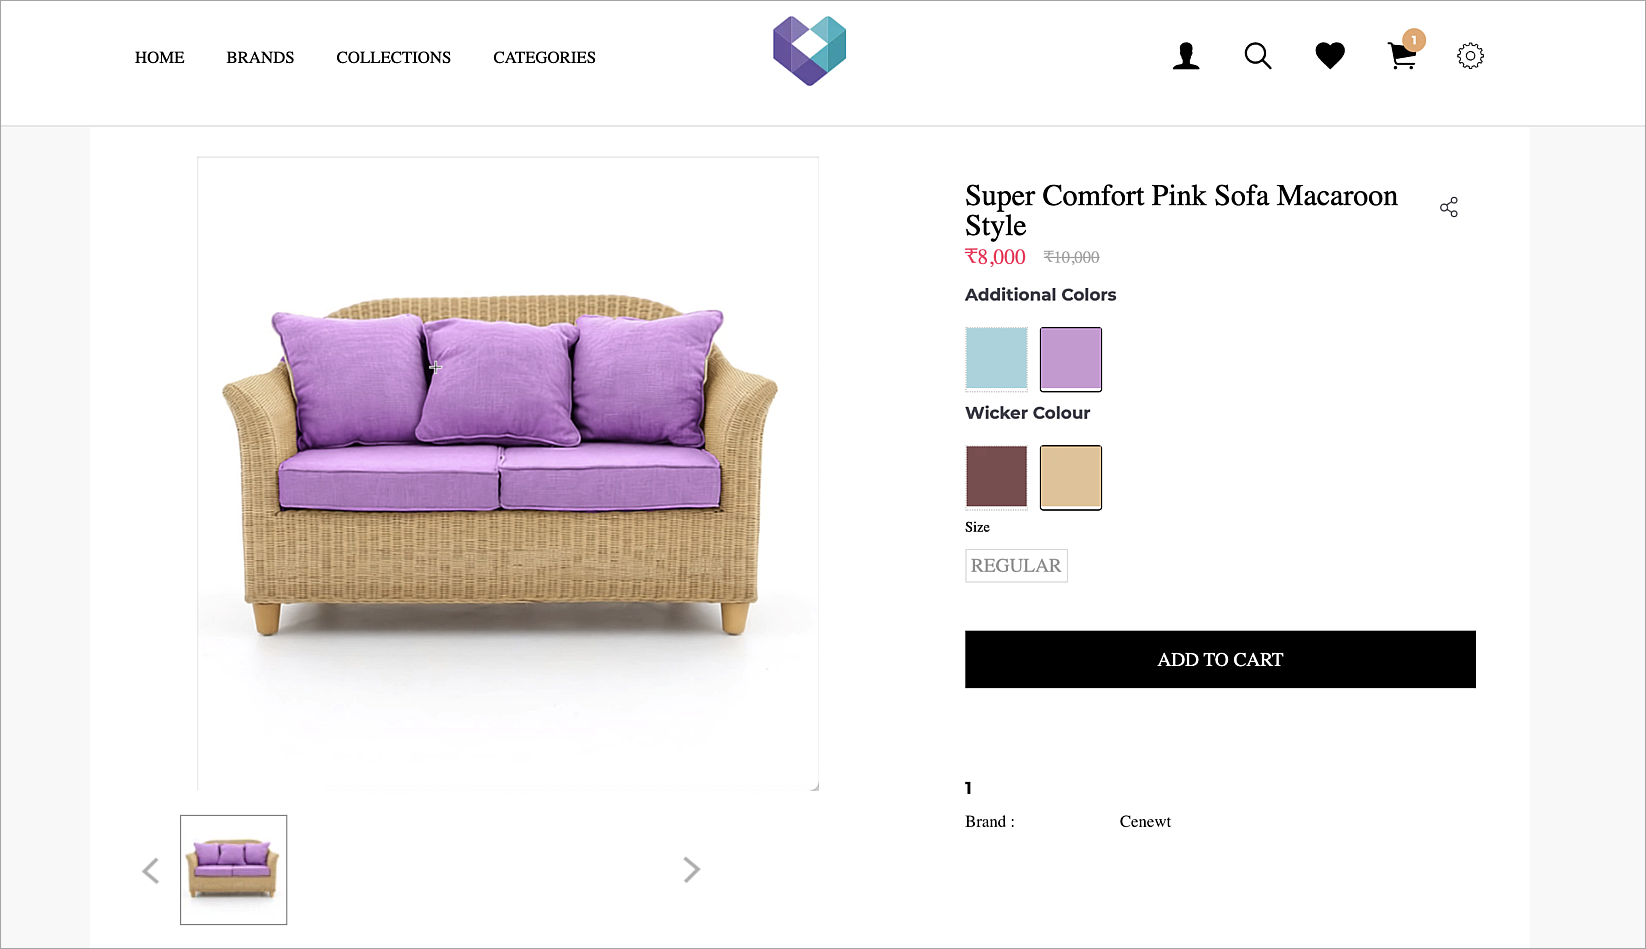
Figure 5: PDP with Multiple Types of Variants
Extras
If you want to add a new product variant to the existing variants in future, use the same Variant Group ID as earlier. For e.g. if you used
sofa-colour-123as the group ID for all the colour variants of a sofa, make sure to use the same group IDsofa-colour-123while adding new colour variants of that sofa in future.If you re-upload the existing product variants with a new or blank value in Variant Group ID, the existing variant data will cease to exist. For e.g. assume you had previously used
sofa-colour-123as the group ID for all the colour variants of a sofa, now re-uploading the same products withoutsofa-colour-123as the group ID, will lead to a loss of the previous variant data. Therefore, kindly ensure you maintain the previous data (by exporting products if needed).You can control how your variants appear on the website. It can either be in the form of text, colour, swatch, or product image. You can configure it in your sales channel settings. Click here to know more.