Delivery Zone
Introduction
This section is for creating serviceability zones based on regions for your sales channel. You can easily create, edit or customize them if required.
Step 1: In the Platform Panel, go to Settings.
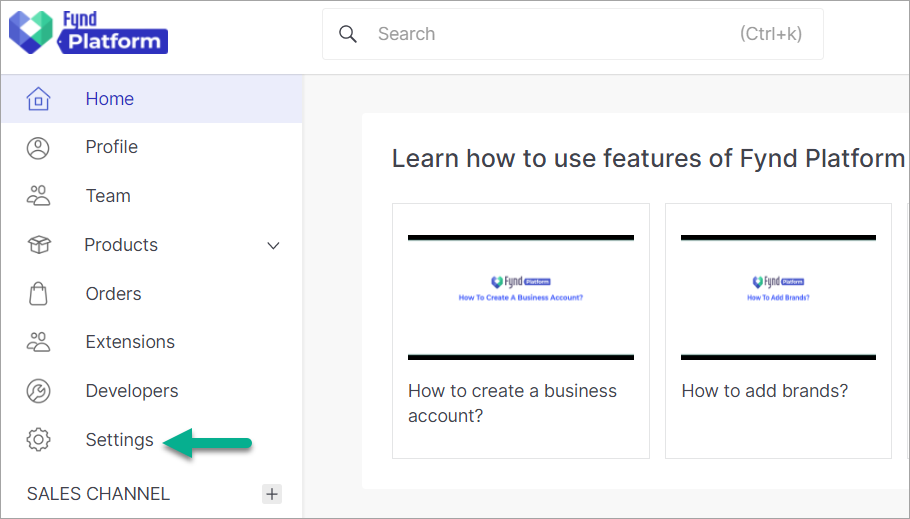
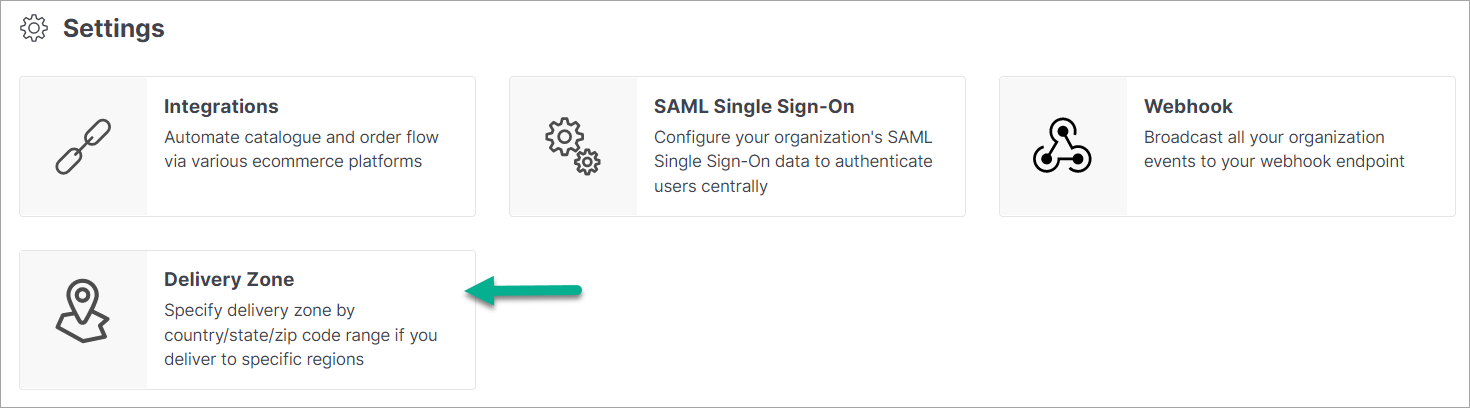
Step 2: In the Settings section, click on Delivery Zone.
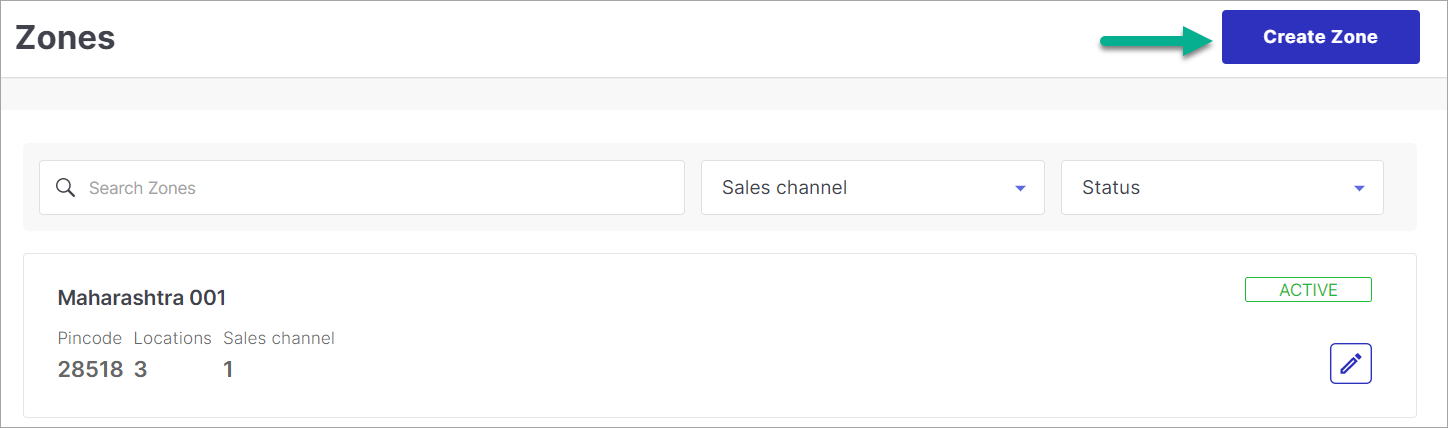
Step 3: Click Create Zone:
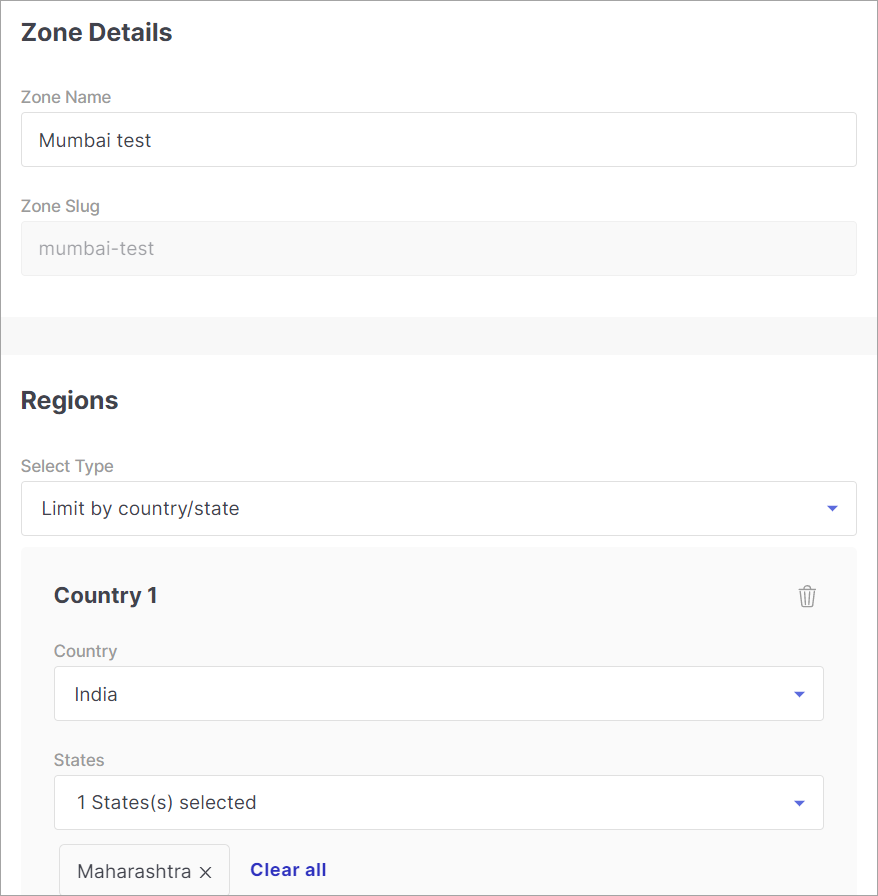
Step 4: Enter the details
-
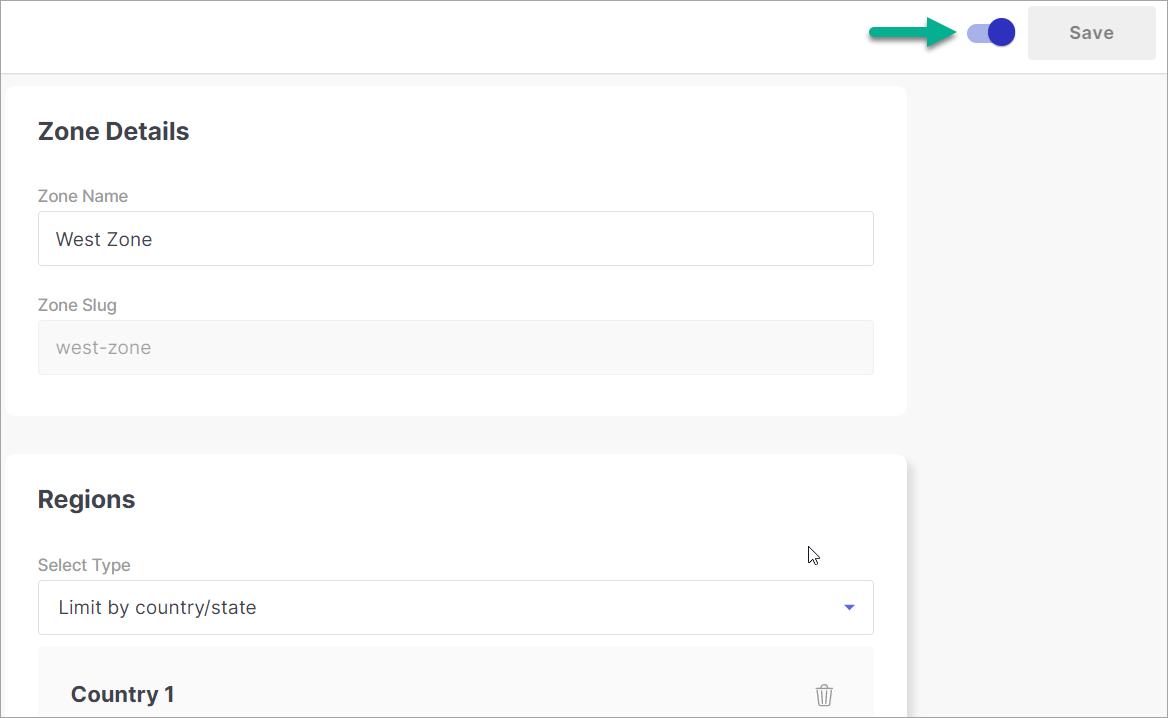
Zone Details - Enter the name of your zone. This will be used to identify your zone and distinguish it from others.
-
Regions - Select from the dropdown if you want to limit the zone by country/state or zipcode/pincode. You can select multiple countries/states or zipcode/pincodes from the list.
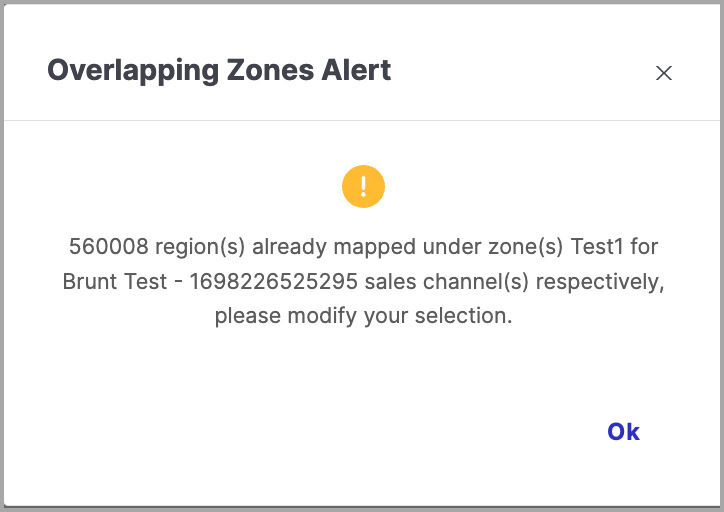
If the specific pincode is added in the zone for one sales channel, and the zone is active, the same pincode can not be added to another zone.
-
Assignment Preference - Select either 'Optimal' (i.e. automatic) or 'Manual' store assignment strategy for this zone. It helps you set priorities while selecting selling locations. Click here to learn more about Store Assignment.
-
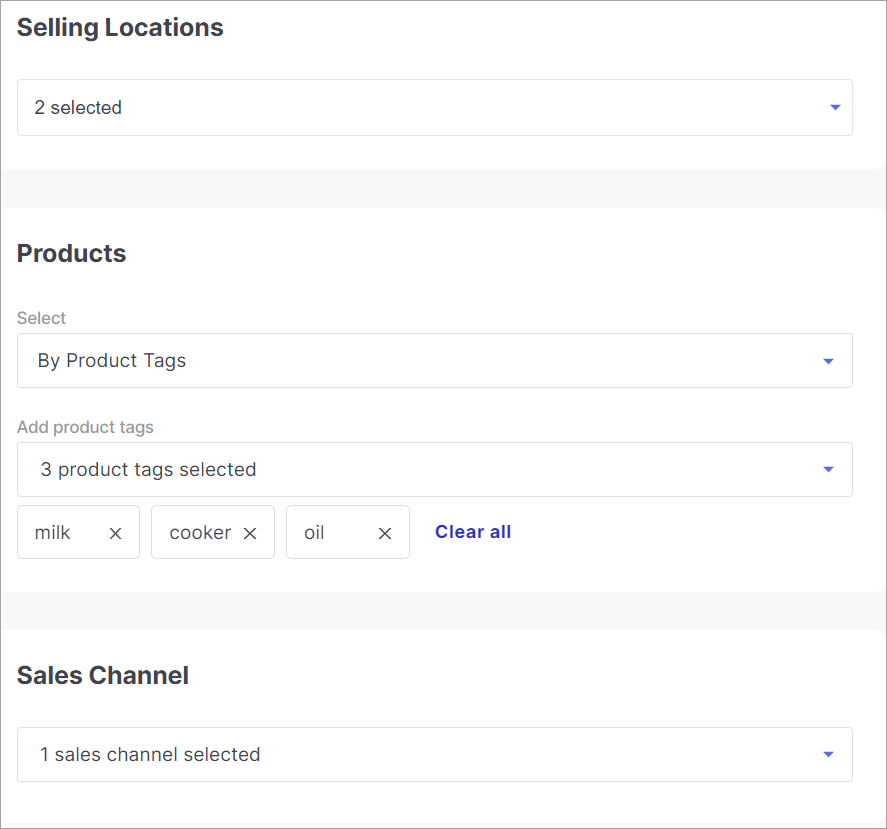
Selling Locations - Select the selling locations from the list available in the dropdown. If you have selected 'Manual' assignment preference, you can set priorities with the help of drag-and-drop.
-
Products - Select whether you want to make all the products available or select via product tags.
-
Sales Channel - Select the websites + marketplaces that will be part of the particular zone.
Click Save and your Zone will appear on the list.
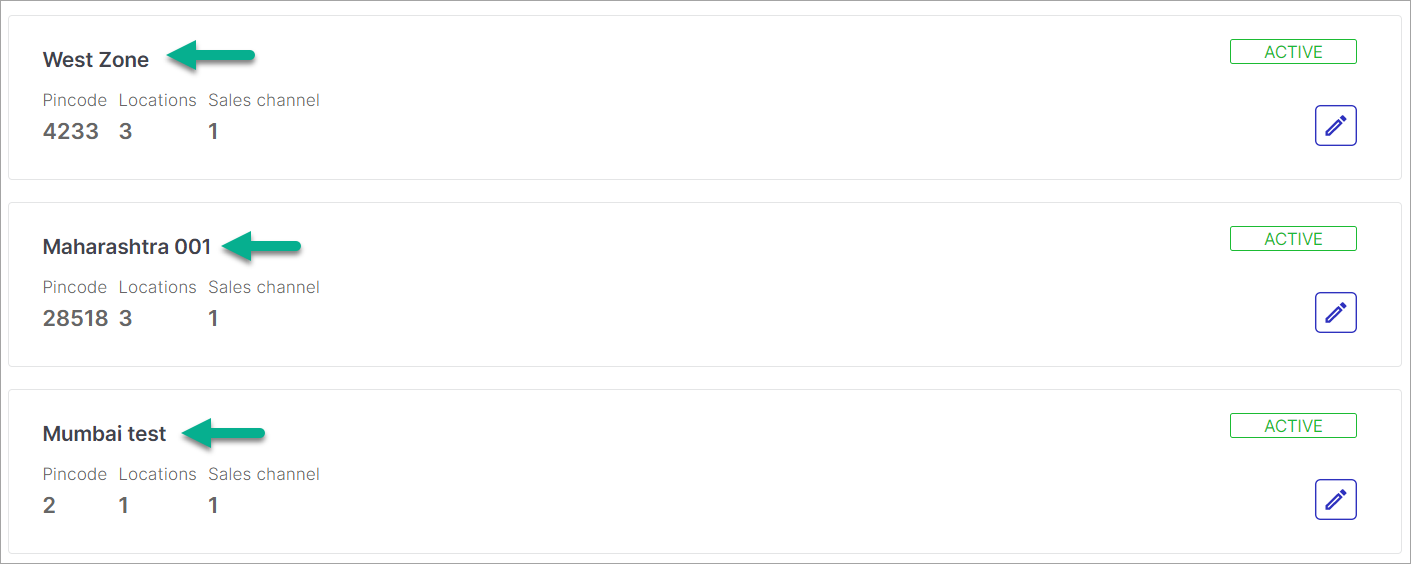
In the above snapshot, the pincode numbers you are seeing refer to the count of the total pincodes for that zone and not the pincode itself.
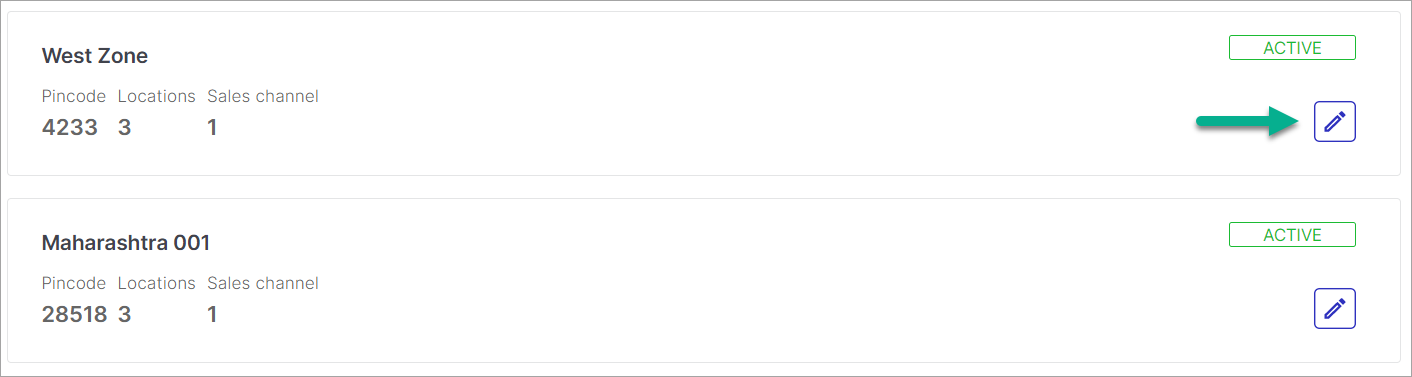
You can edit the zones that you have created by clicking the edit button.
You can set a zone as active or inactive by clicking the toggle button.

Once you have created zones, you may proceed to create shipping region. To know more about shipping region, see Shipping Region