Customer Support
Introduction
For every sales channel website, there's a Customer Support feature that allows you to manage and resolve the queries of your customers. It has a ticketing system with an option to place voice/video calls, and an option to create customized forms to fetch inputs from your customers.
Creating a Form
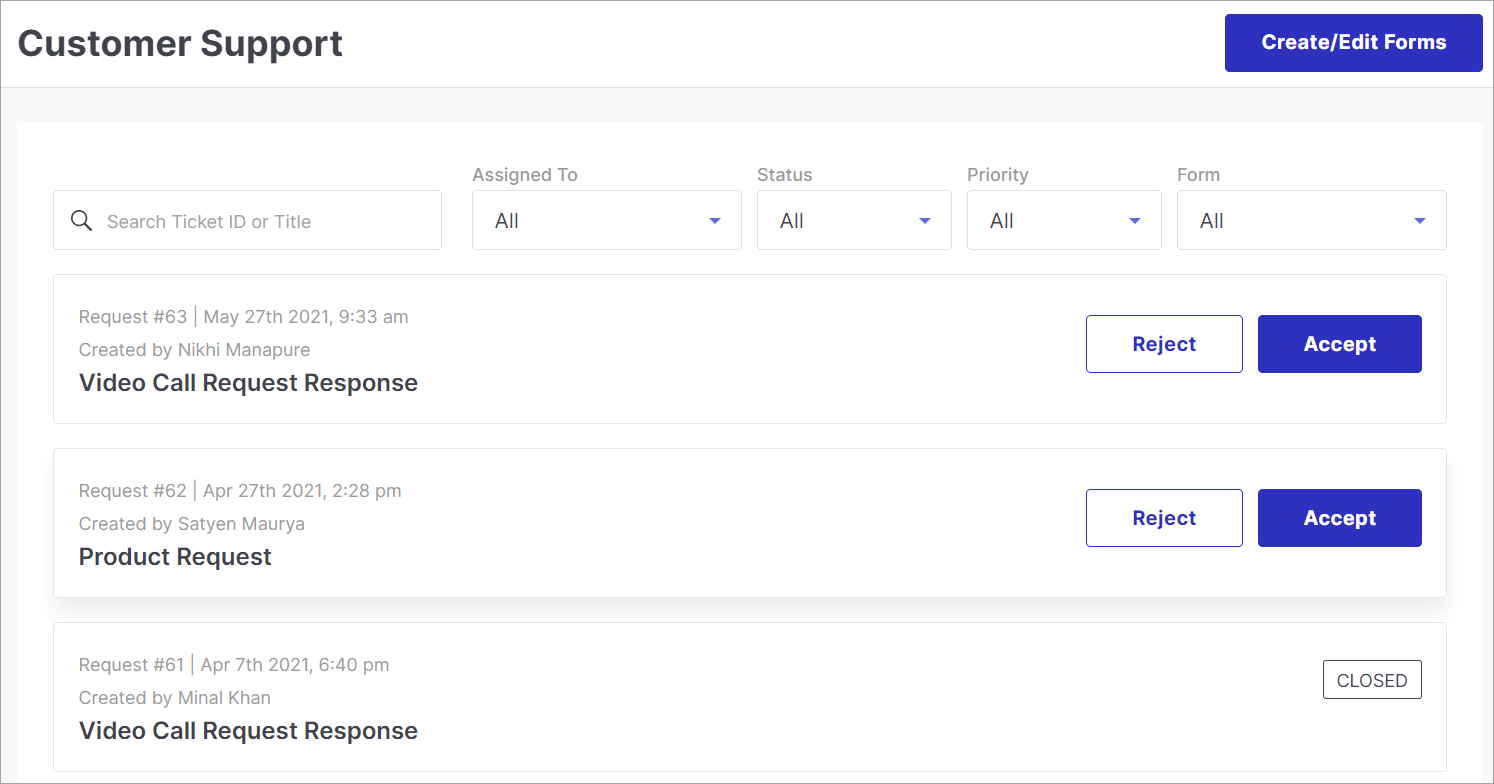
Click Create/Edit Forms on the main page.
If you have already created a form, it will be shown in the list of existing forms. However, if you haven't created a form, and if this is your first time, the list will be empty.
Click Create Form.
The page will have 2 sections: Form Inputs and Details
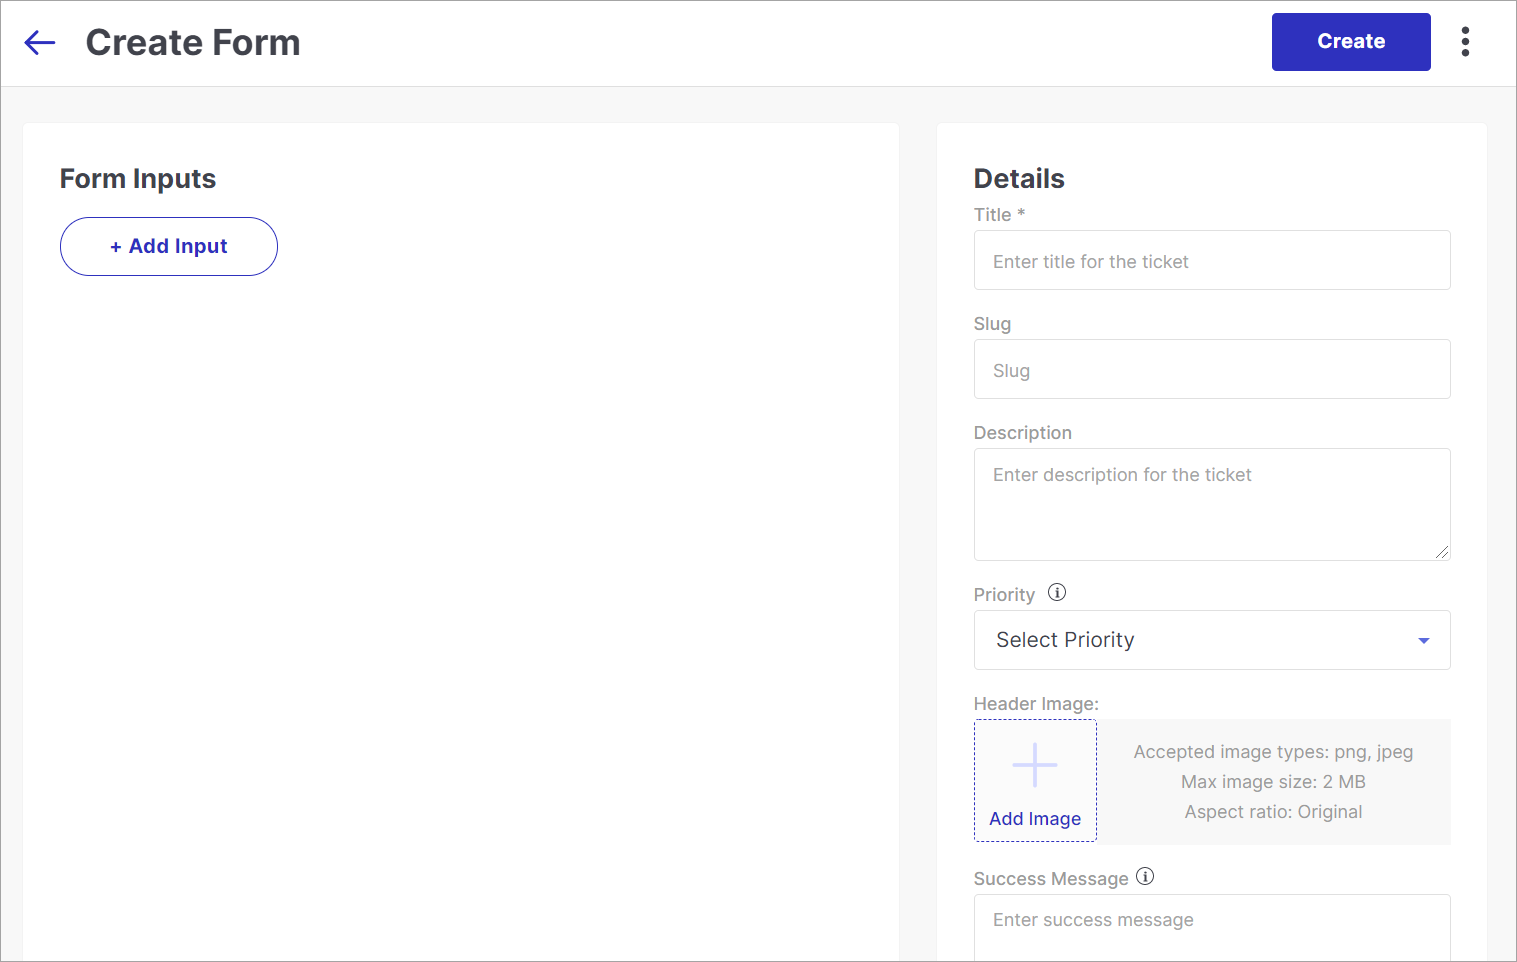
Figure 2: Create Form Page
Click Add Input and use it to create the user interface (text, button, labels, etc.) of the form.
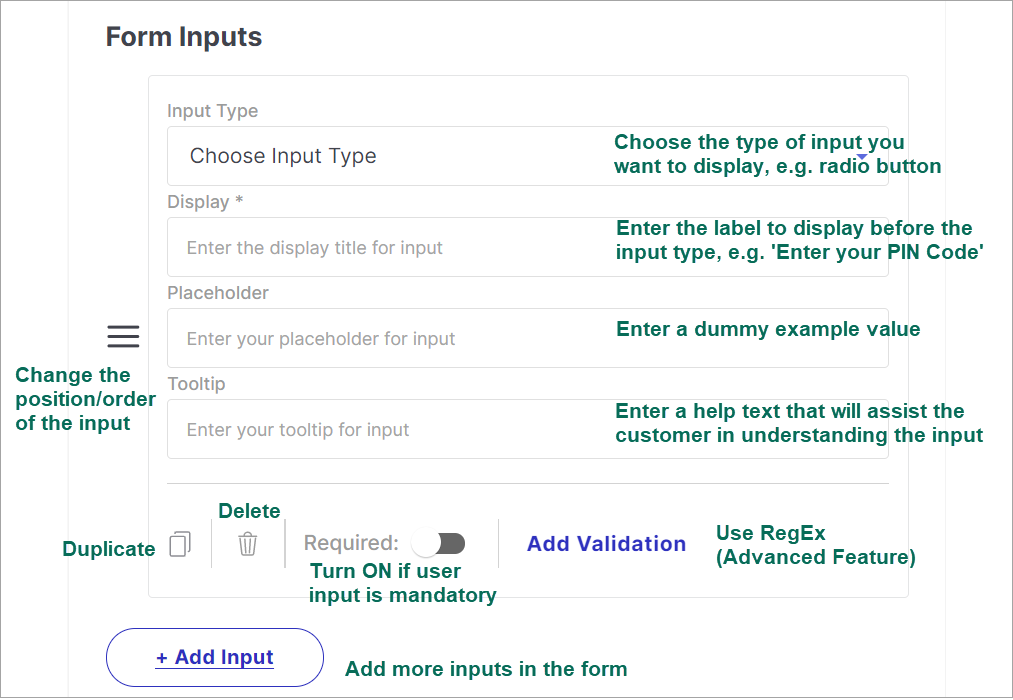
Figure 3a: Creating A Custom Form 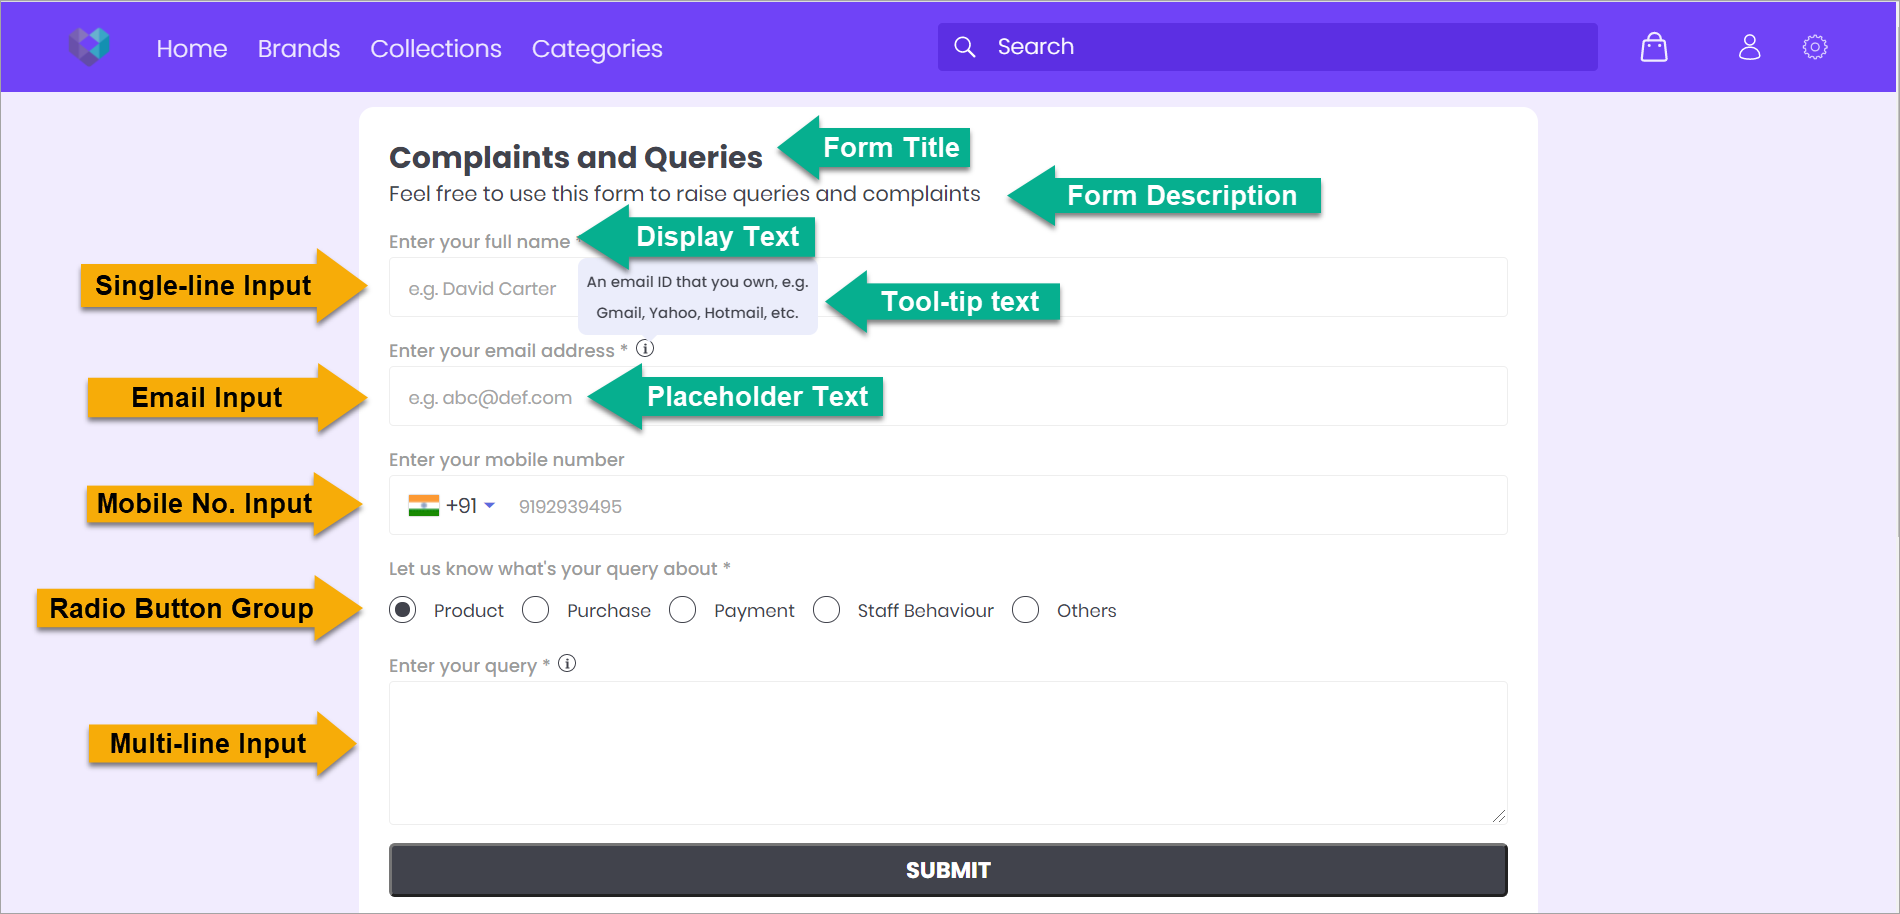
Figure 3b: Creating A Custom Form (Customer's Screen)
Single-line, Multi-line, Mobile No., Email ID, Numeric, Radio Button, Checkbox, Drop-down.
The mobile number input type includes all international country code to accommodate customers from various countries around the world.
In the Details section, give a name and enter the description of the form. The name and description will be shown to the customer as-it-is.
Choose a priority between Low, Medium, and High from the drop-down. Set the priority depending on the business impact that the form will have.
Add a header image to display on top of the form.
Write a success message which will be shown to the customer after submitting the form. The success message won't be shown if polling is turned ON in the form.
Use the Auto Assign to option to assign the task to a staff. You can choose a specific staff or more than 1 staff. In case of multiple staff, the tickets will be assigned in a round-robin fashion to the next available staff. The same is true if you don't choose any staff.
In the Advanced option, there are 3 checkboxes:
- Customer Login required: Tick the checkbox to enable customer login before filling this form.
- Notify on new response: Tick the checkbox to notify only those staff that were chosen in the Auto Assign to option. Else, it notifies all the staff on the mobile app of Fynd Platform.
- Poll for Staff Assignment and Video Call: Tick the checkbox to search for an available staff in real-time so that a customer can immediately talk to the staff via a video call.
Click Create.
Once the form is created, you can click on the URL to view the form.
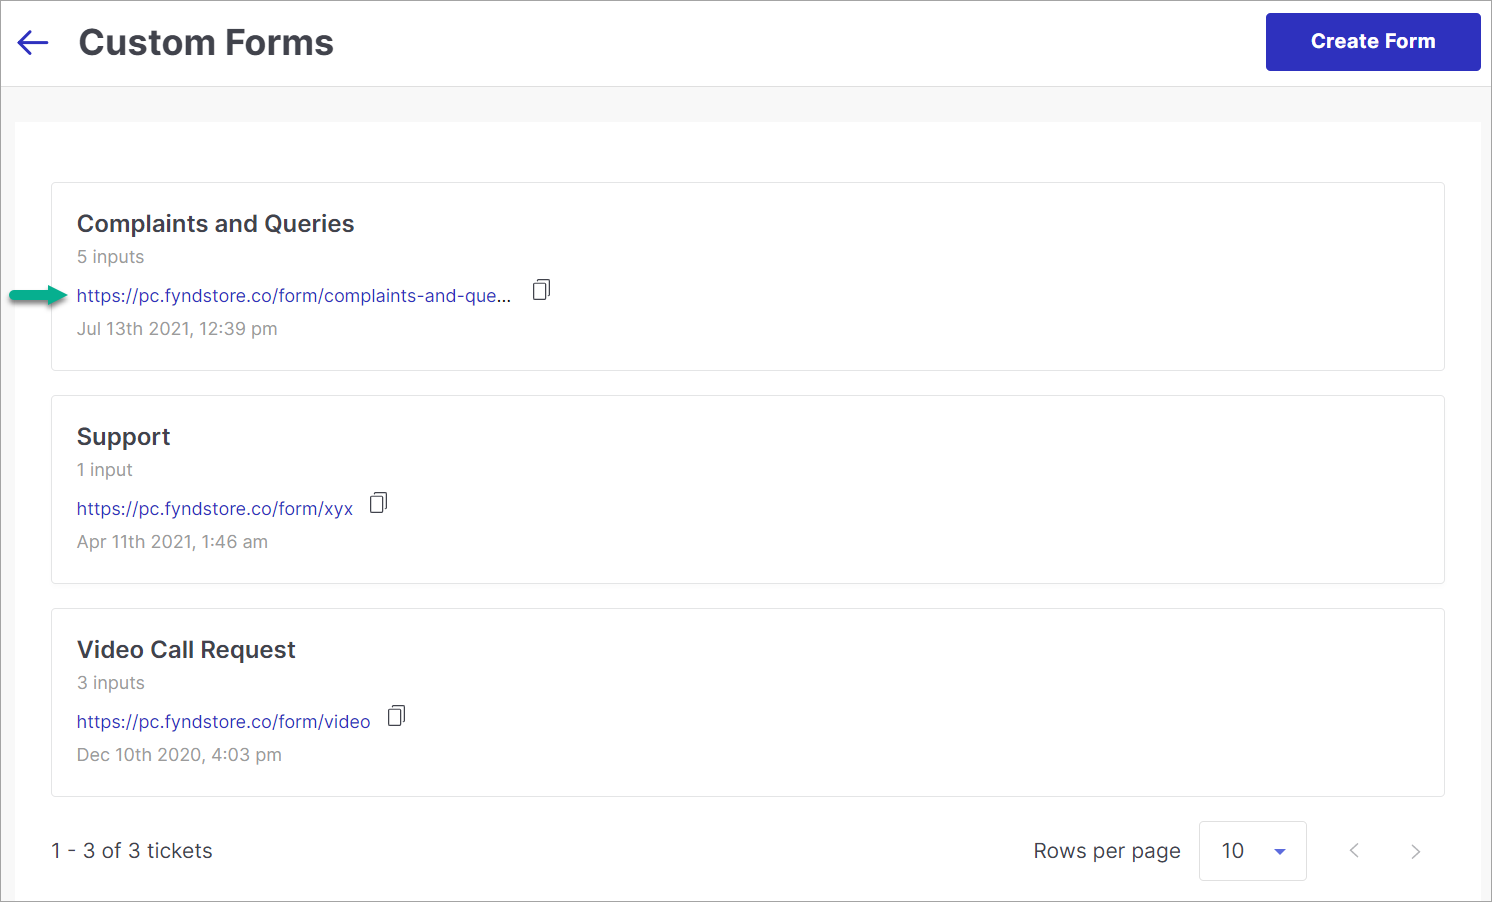
Figure 4: List Of Forms
Output
Managing Tickets
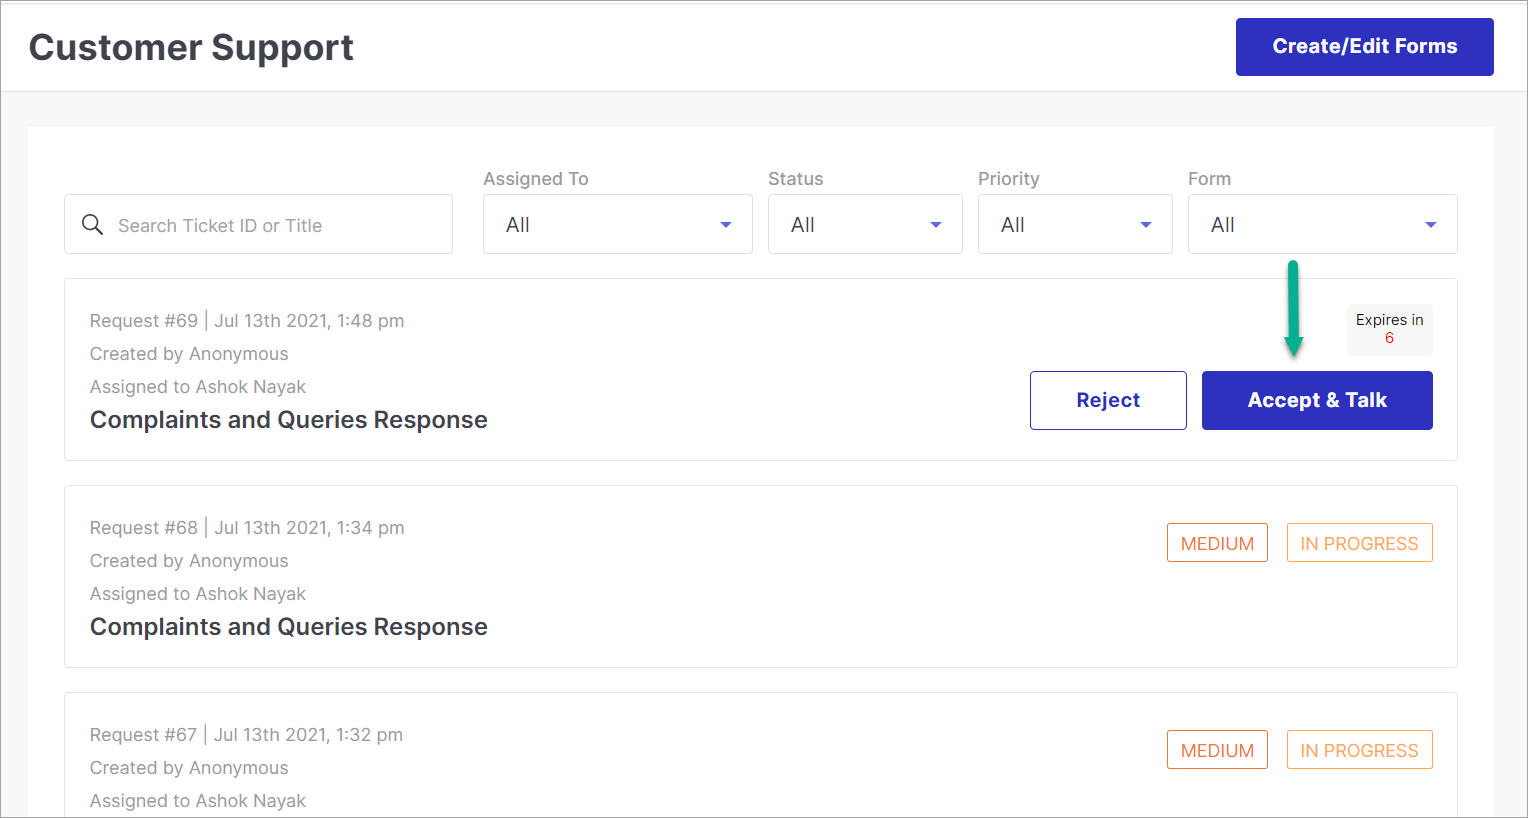
Customer inputs are logged as tickets. The tickets are visible on the Customer Support page.
The assigned staff can manage the ticket as shown in the below video.
If polling is turned ON in the form, the customer can directly chat with the staff.
The assigned staff will get some time (as per the polling duration set by you in the form) to accept and join the video call.
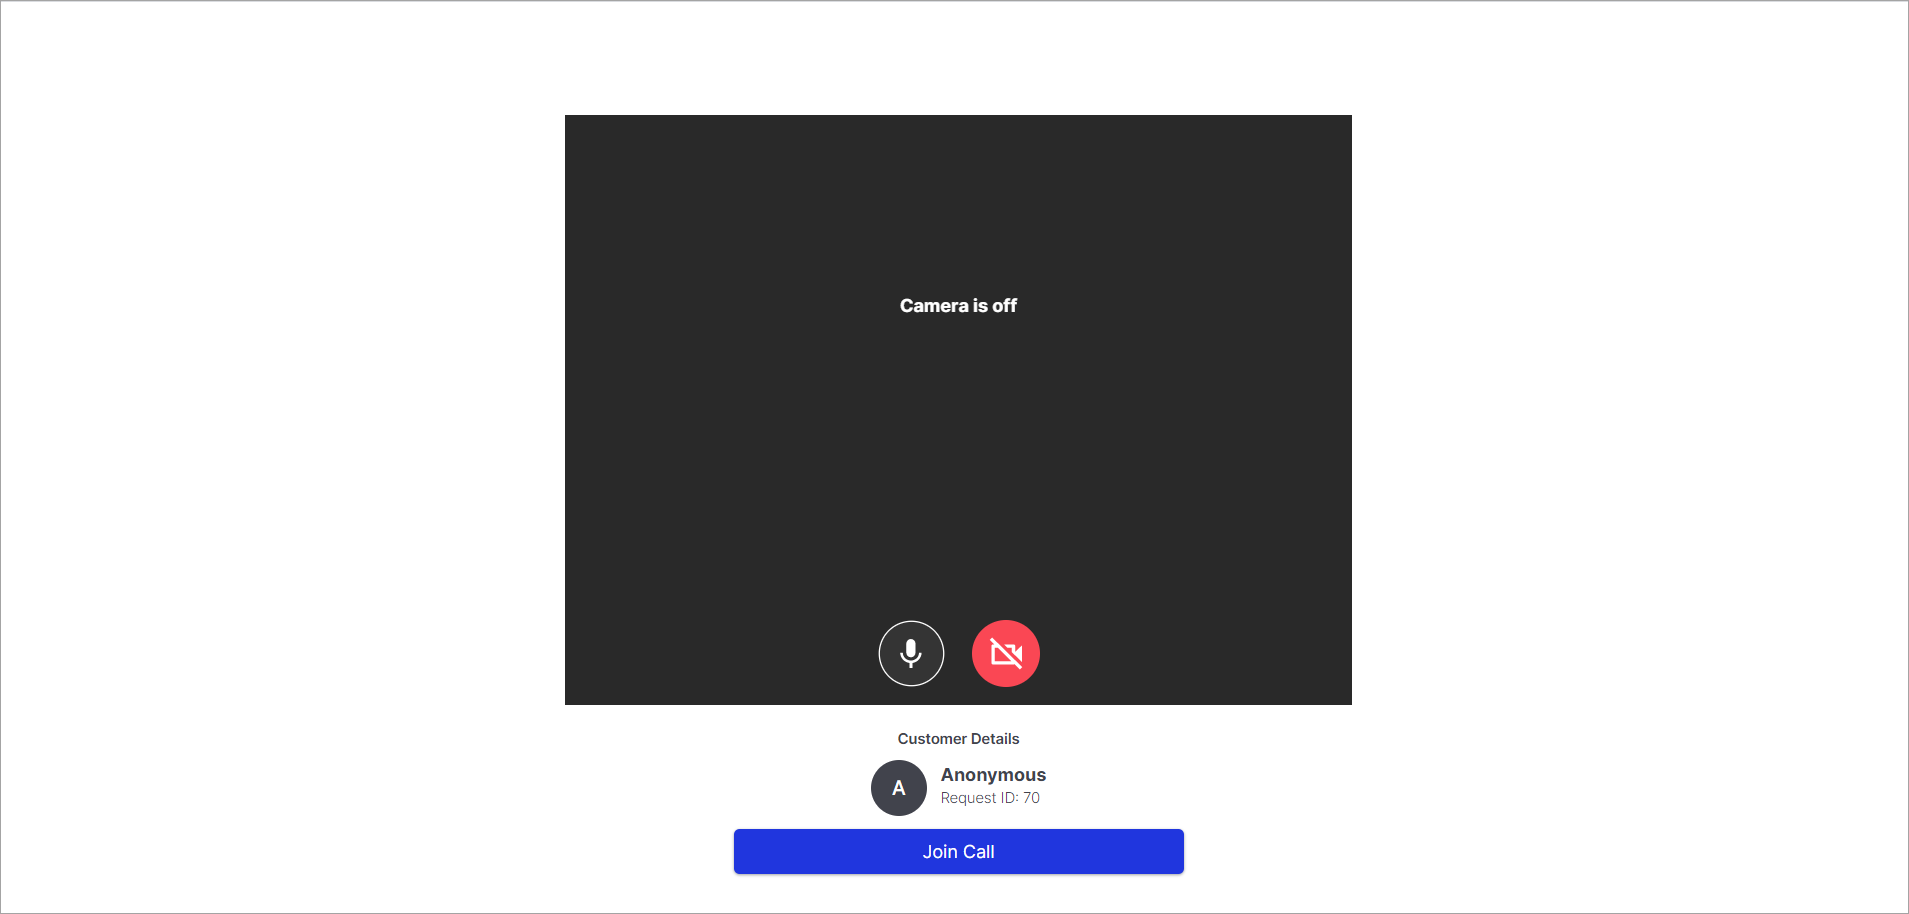
Staff should get ready for the customer to join.
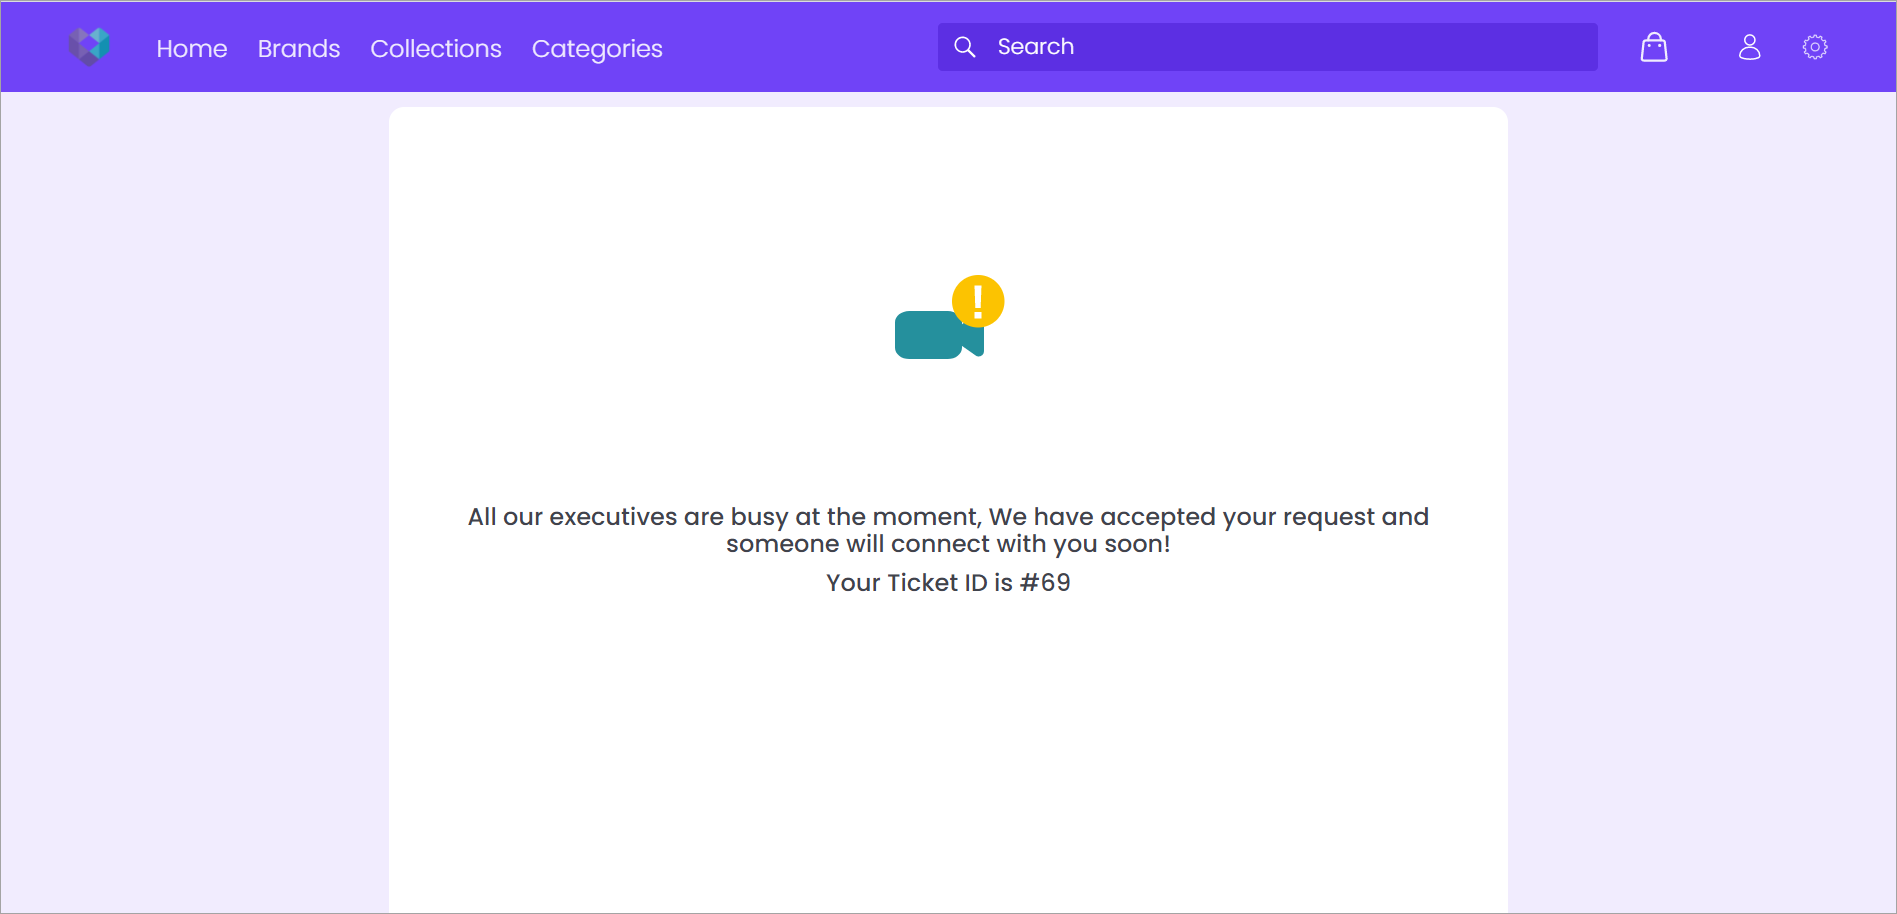
The available staff will be shown to the customer.
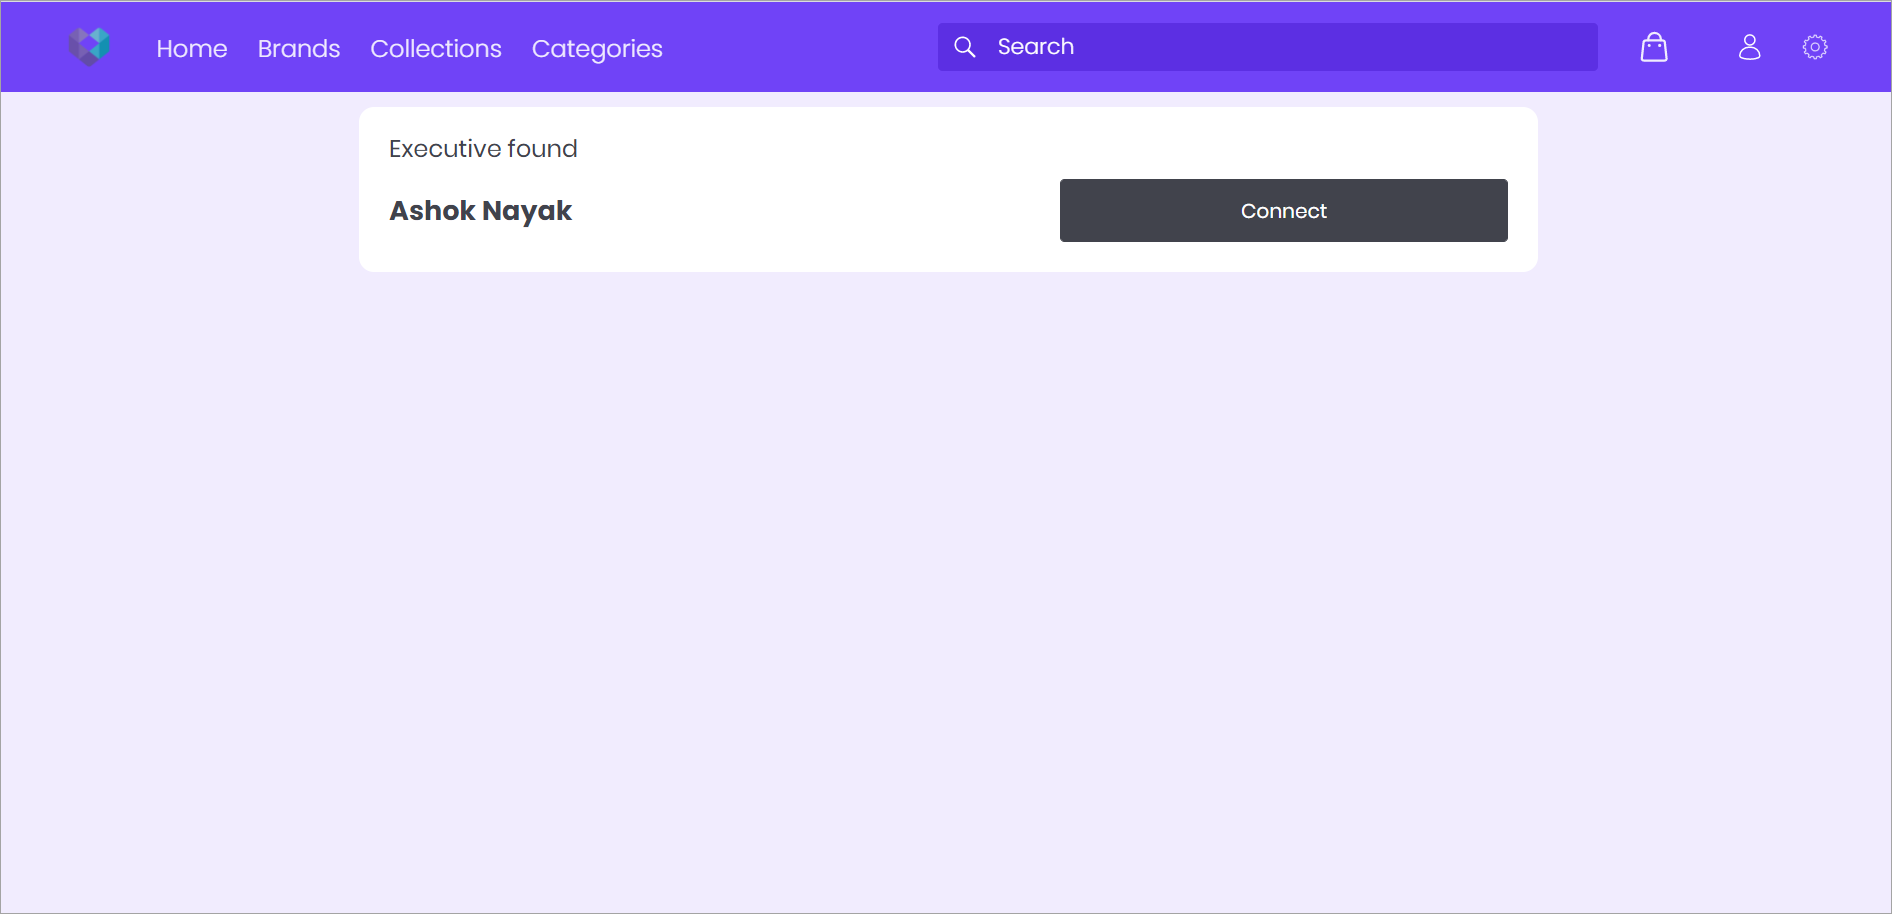
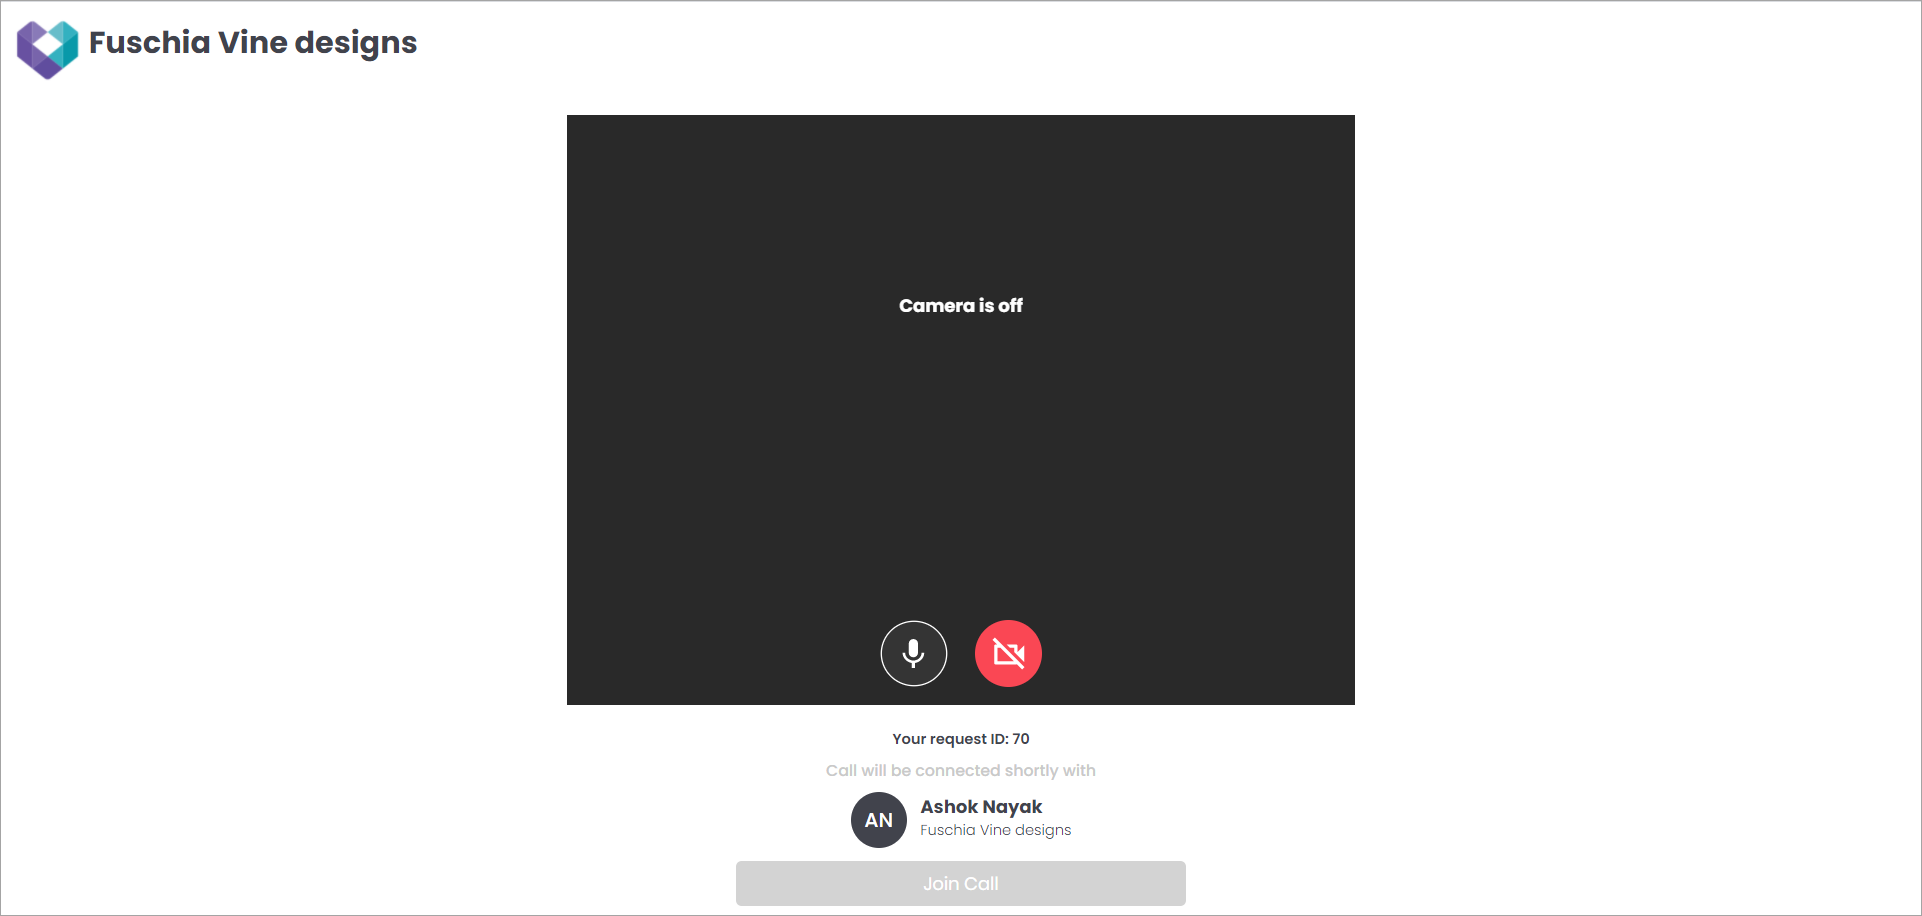
The customer can connect to the video call and ask his/her queries to the staff.
If the polling duration ends or if the polling option is disabled in the form, a ticket will be created. The staff can later access the ticket and act on it.
Accepting a ticket changes its status to 'In Progress', and rejecting a ticket will change its status to 'Closed'.