MBuzz WhatsApp Bot
Introduction
MBuzz WhatsApp Bot extension provides an automated software program designed to interact with buyers on the WhatsApp messaging platform. It assists users on multiple levels:
- Enables conversational interactions with users.
- Supports multiple languages for seamless communication with users from diverse backgrounds.
- Enhances shopping experience by providing product recommendations from Fynd.
- Offers image-search functionality by allowing users to upload images to the bot and receive recommendations for similar products within the chat.
You need to create a Twilio account to use this particular extension. Setting up a Twilio account and configuring the Mbuzz WhatsApp bot extension is a parallel process.
Steps to use MBuzz WhatsApp Bot Extension
-
Go to Extension Marketplace, and install the MBuzz WhatsApp Bot extension from there.
-
Go to Extensions in Fynd Platform.
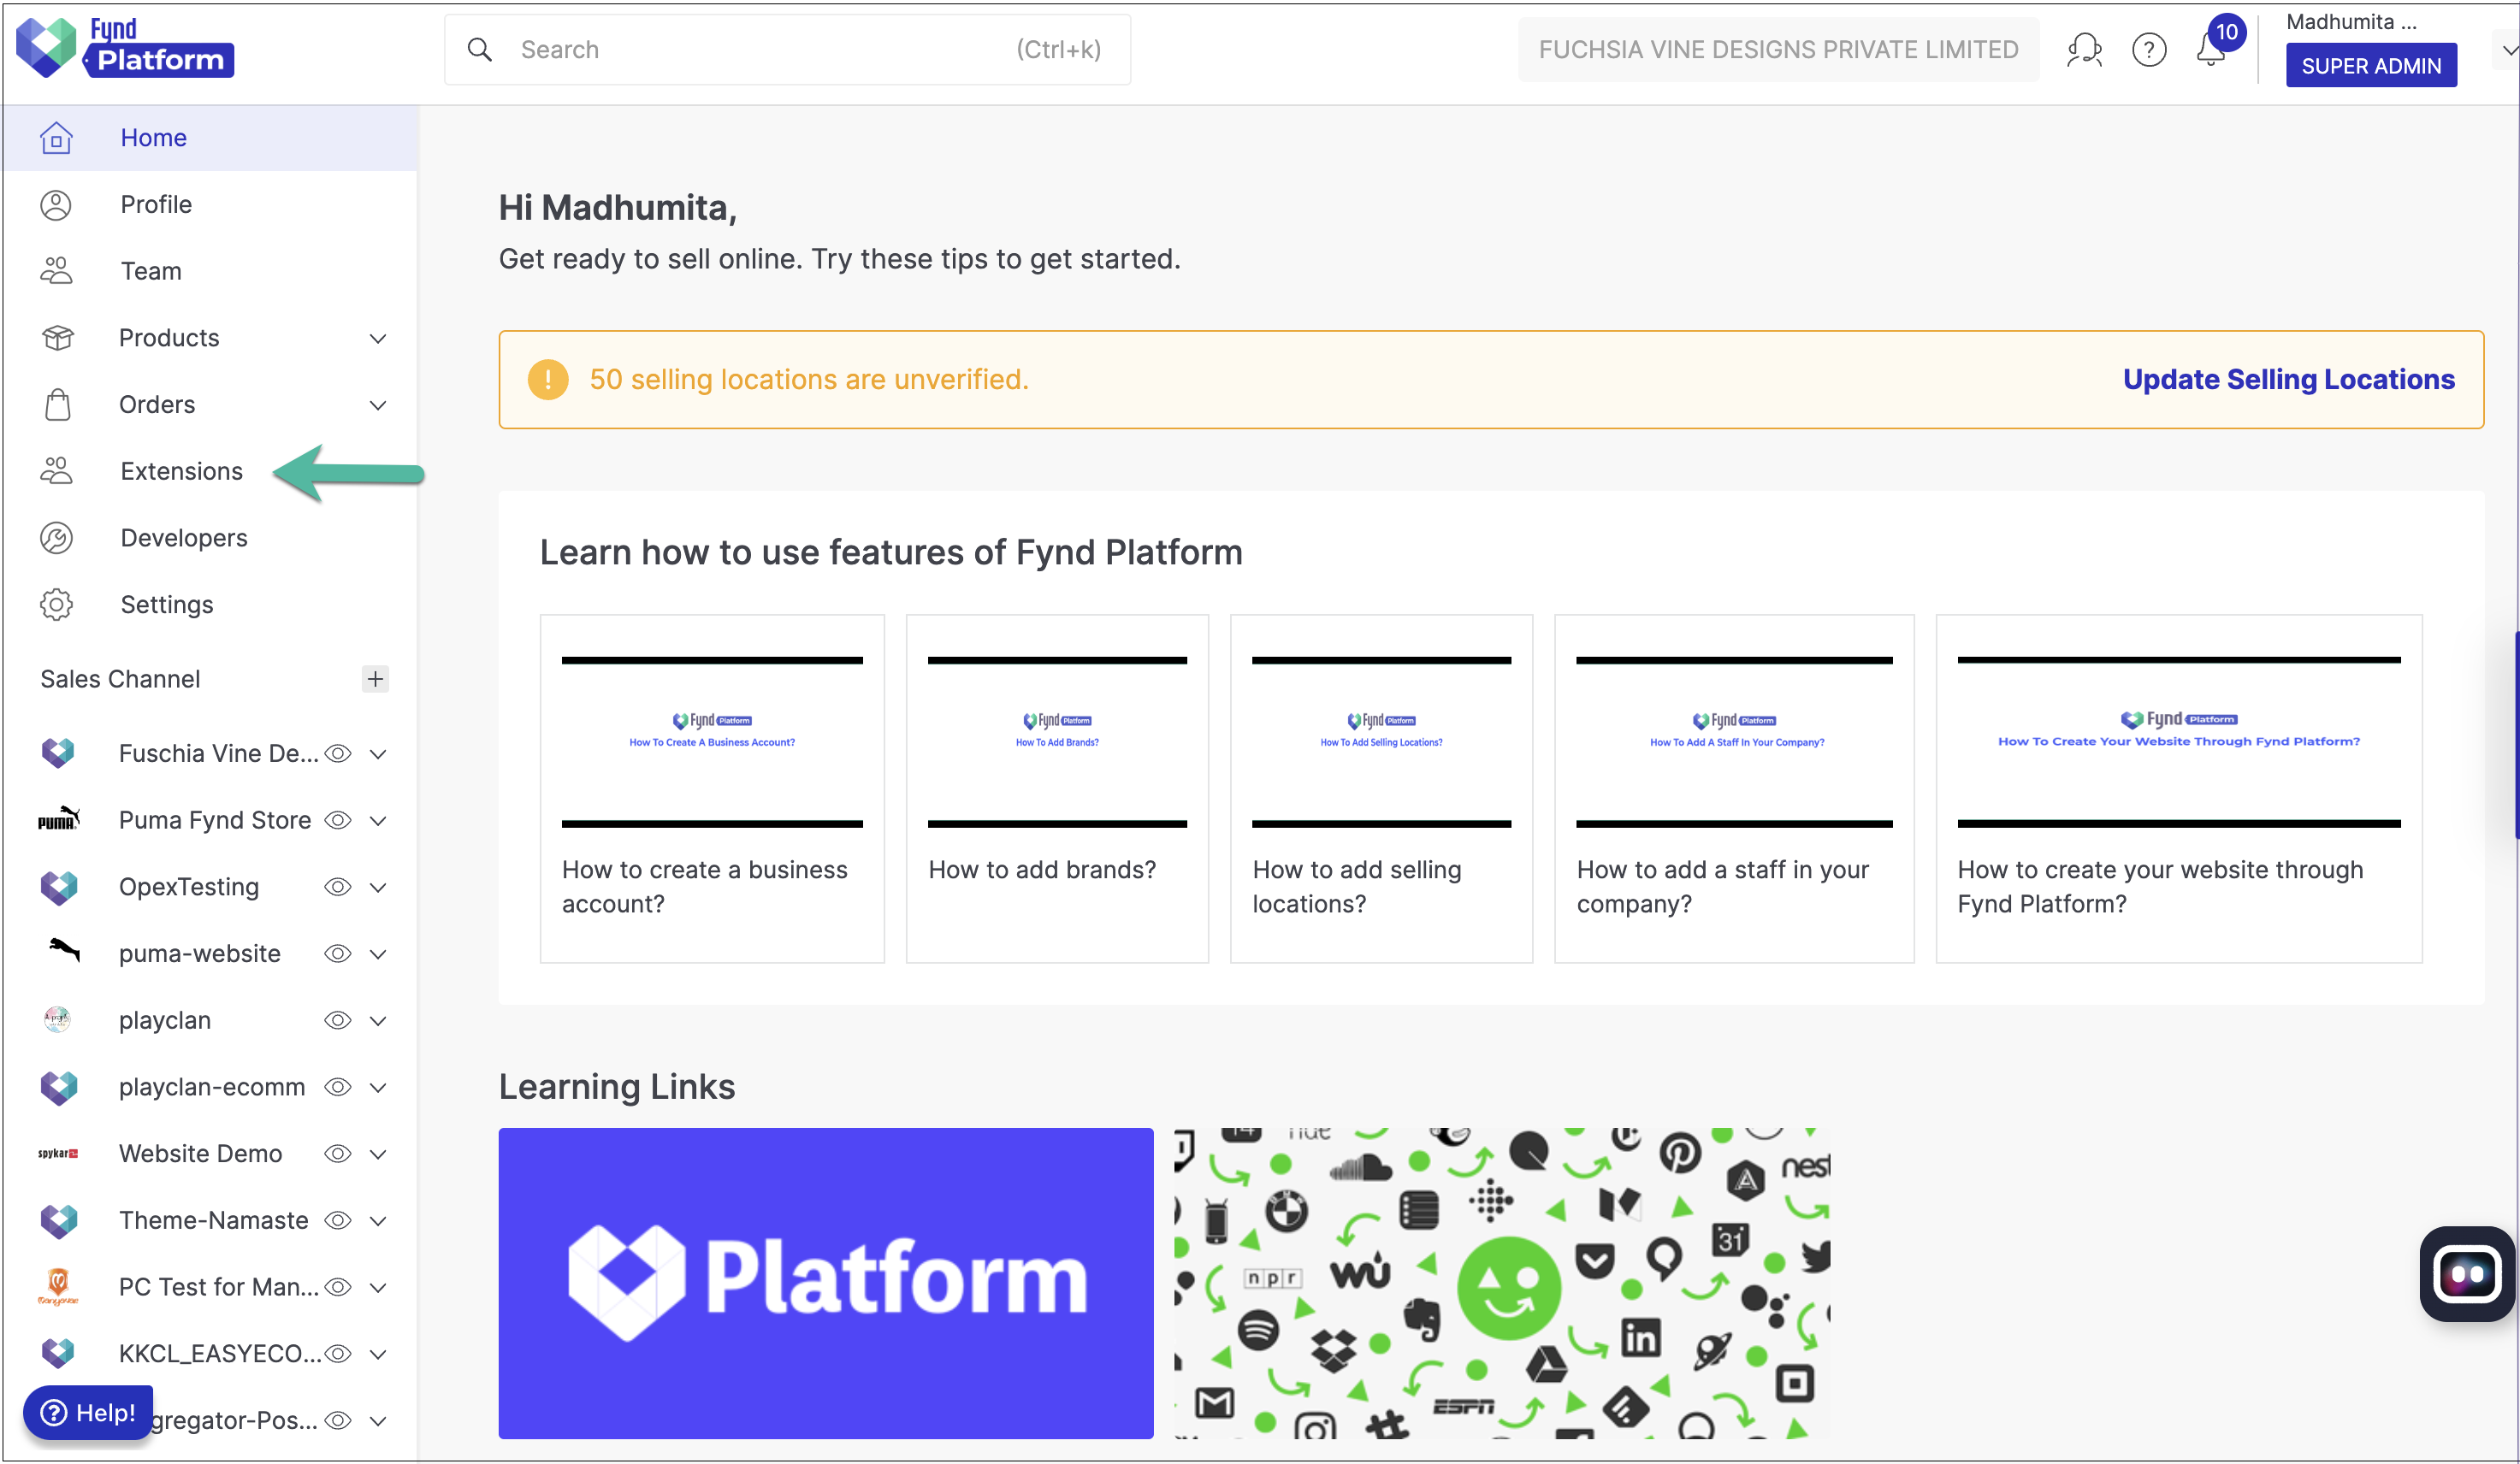
Figure 1: Extension Section - Fynd Platform
-
Search for the MBuzz WhatsApp Bot extension in the search box, and open it.

Figure 2: Mbuzz WhatsApp Bot Extension
-
Select the sales channel with which you want to configure the extension.
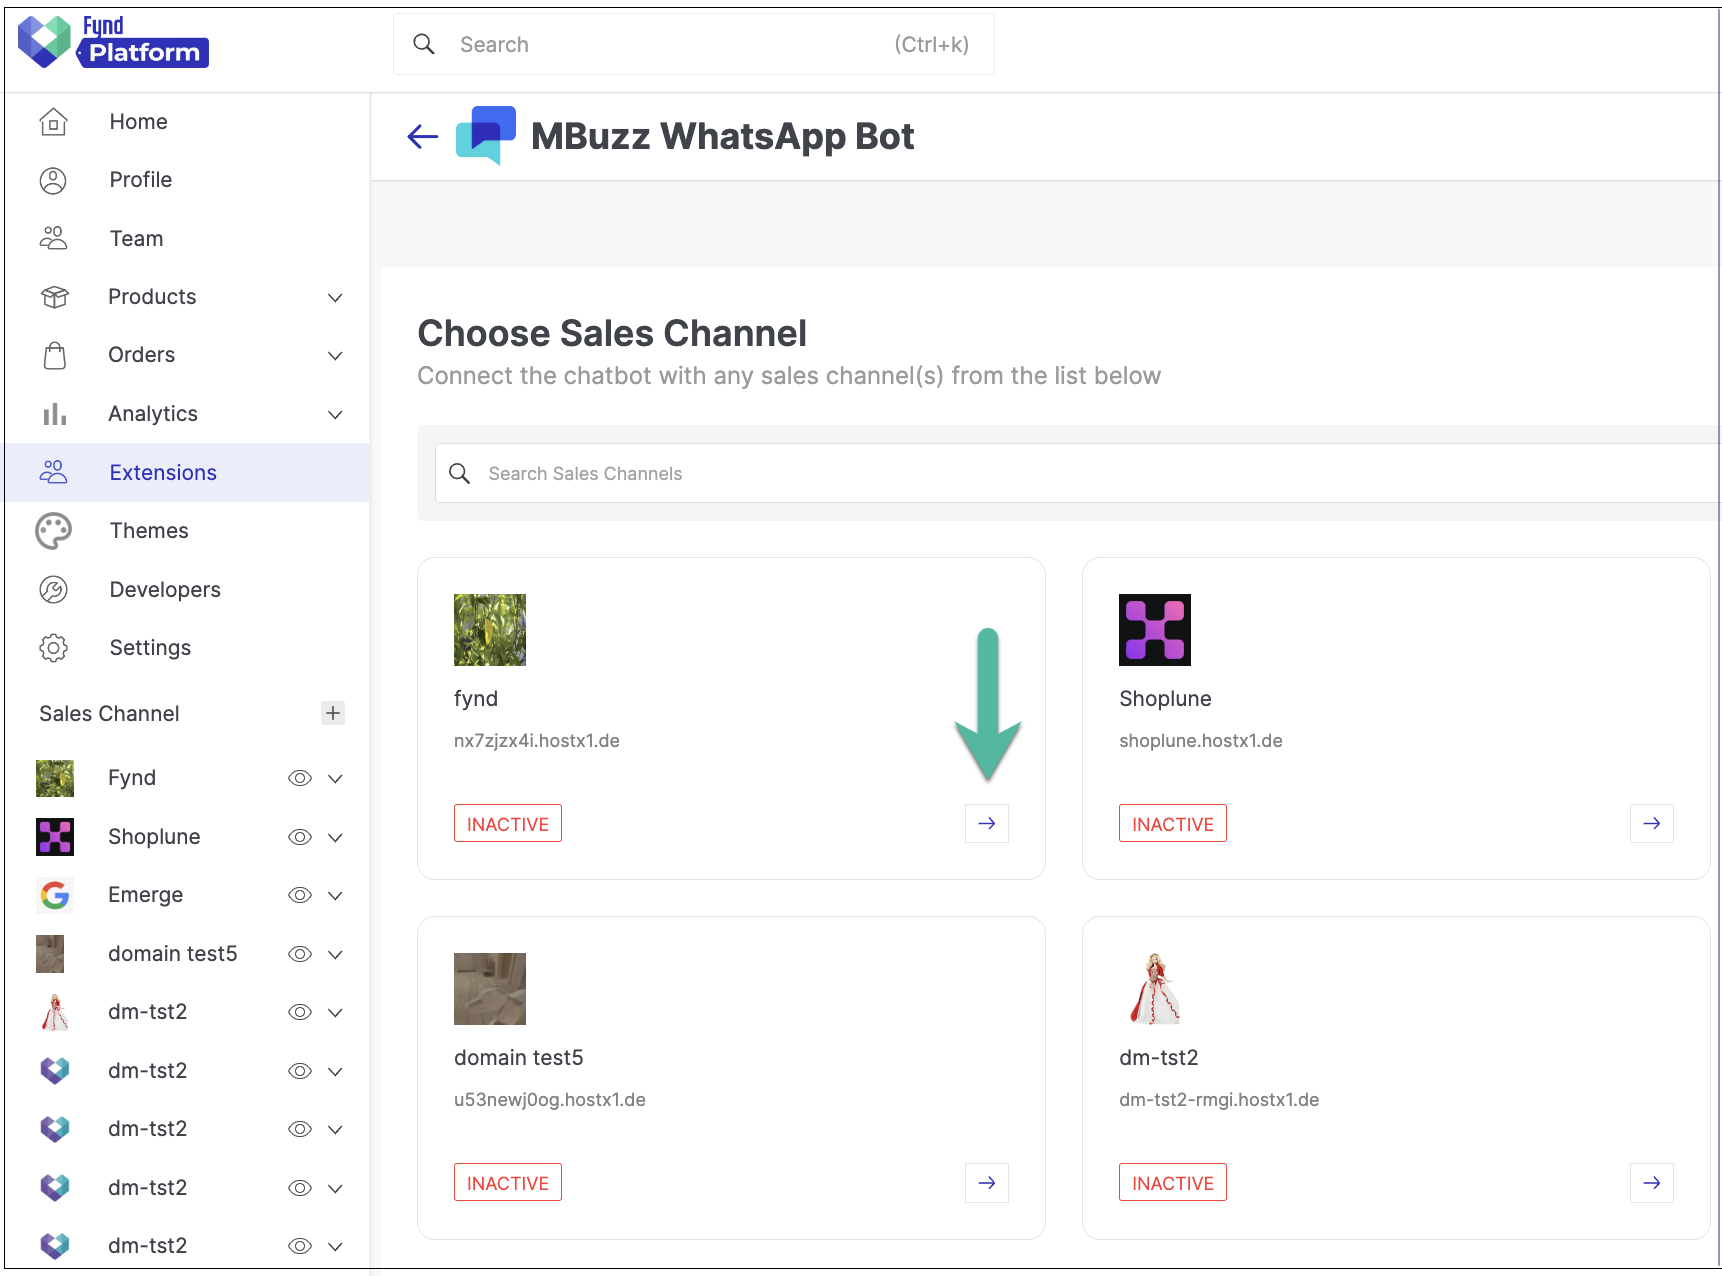
Figure 3: Selecting Sales channel
-
Choose your preferred provider for the configuration in the Configure Provider section.

Figure 4: Configure Provider
-
Set up a Twilio account.
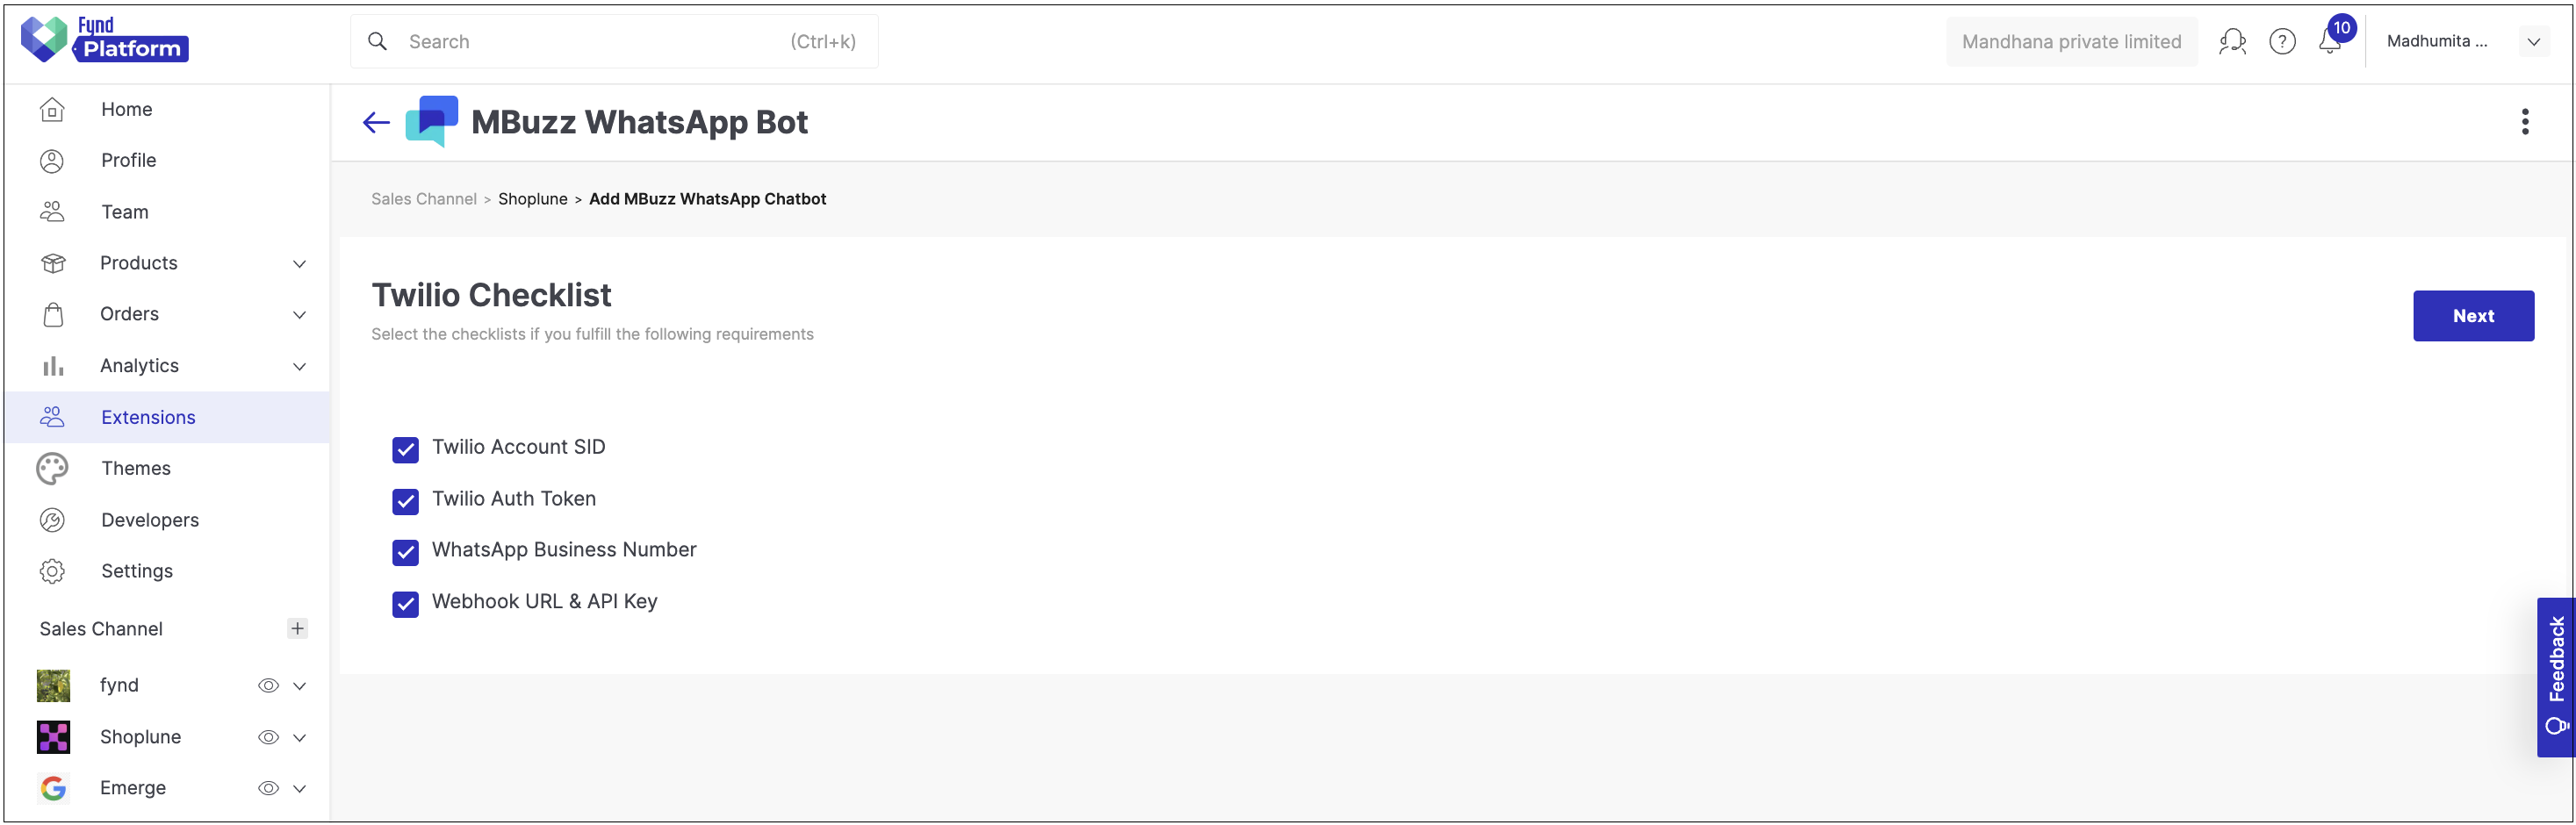
Twilio Checklist
Ensure all the details mentioned in the Twilio Checklist box are provided while configuring the account with the chatbot, and then click Next.
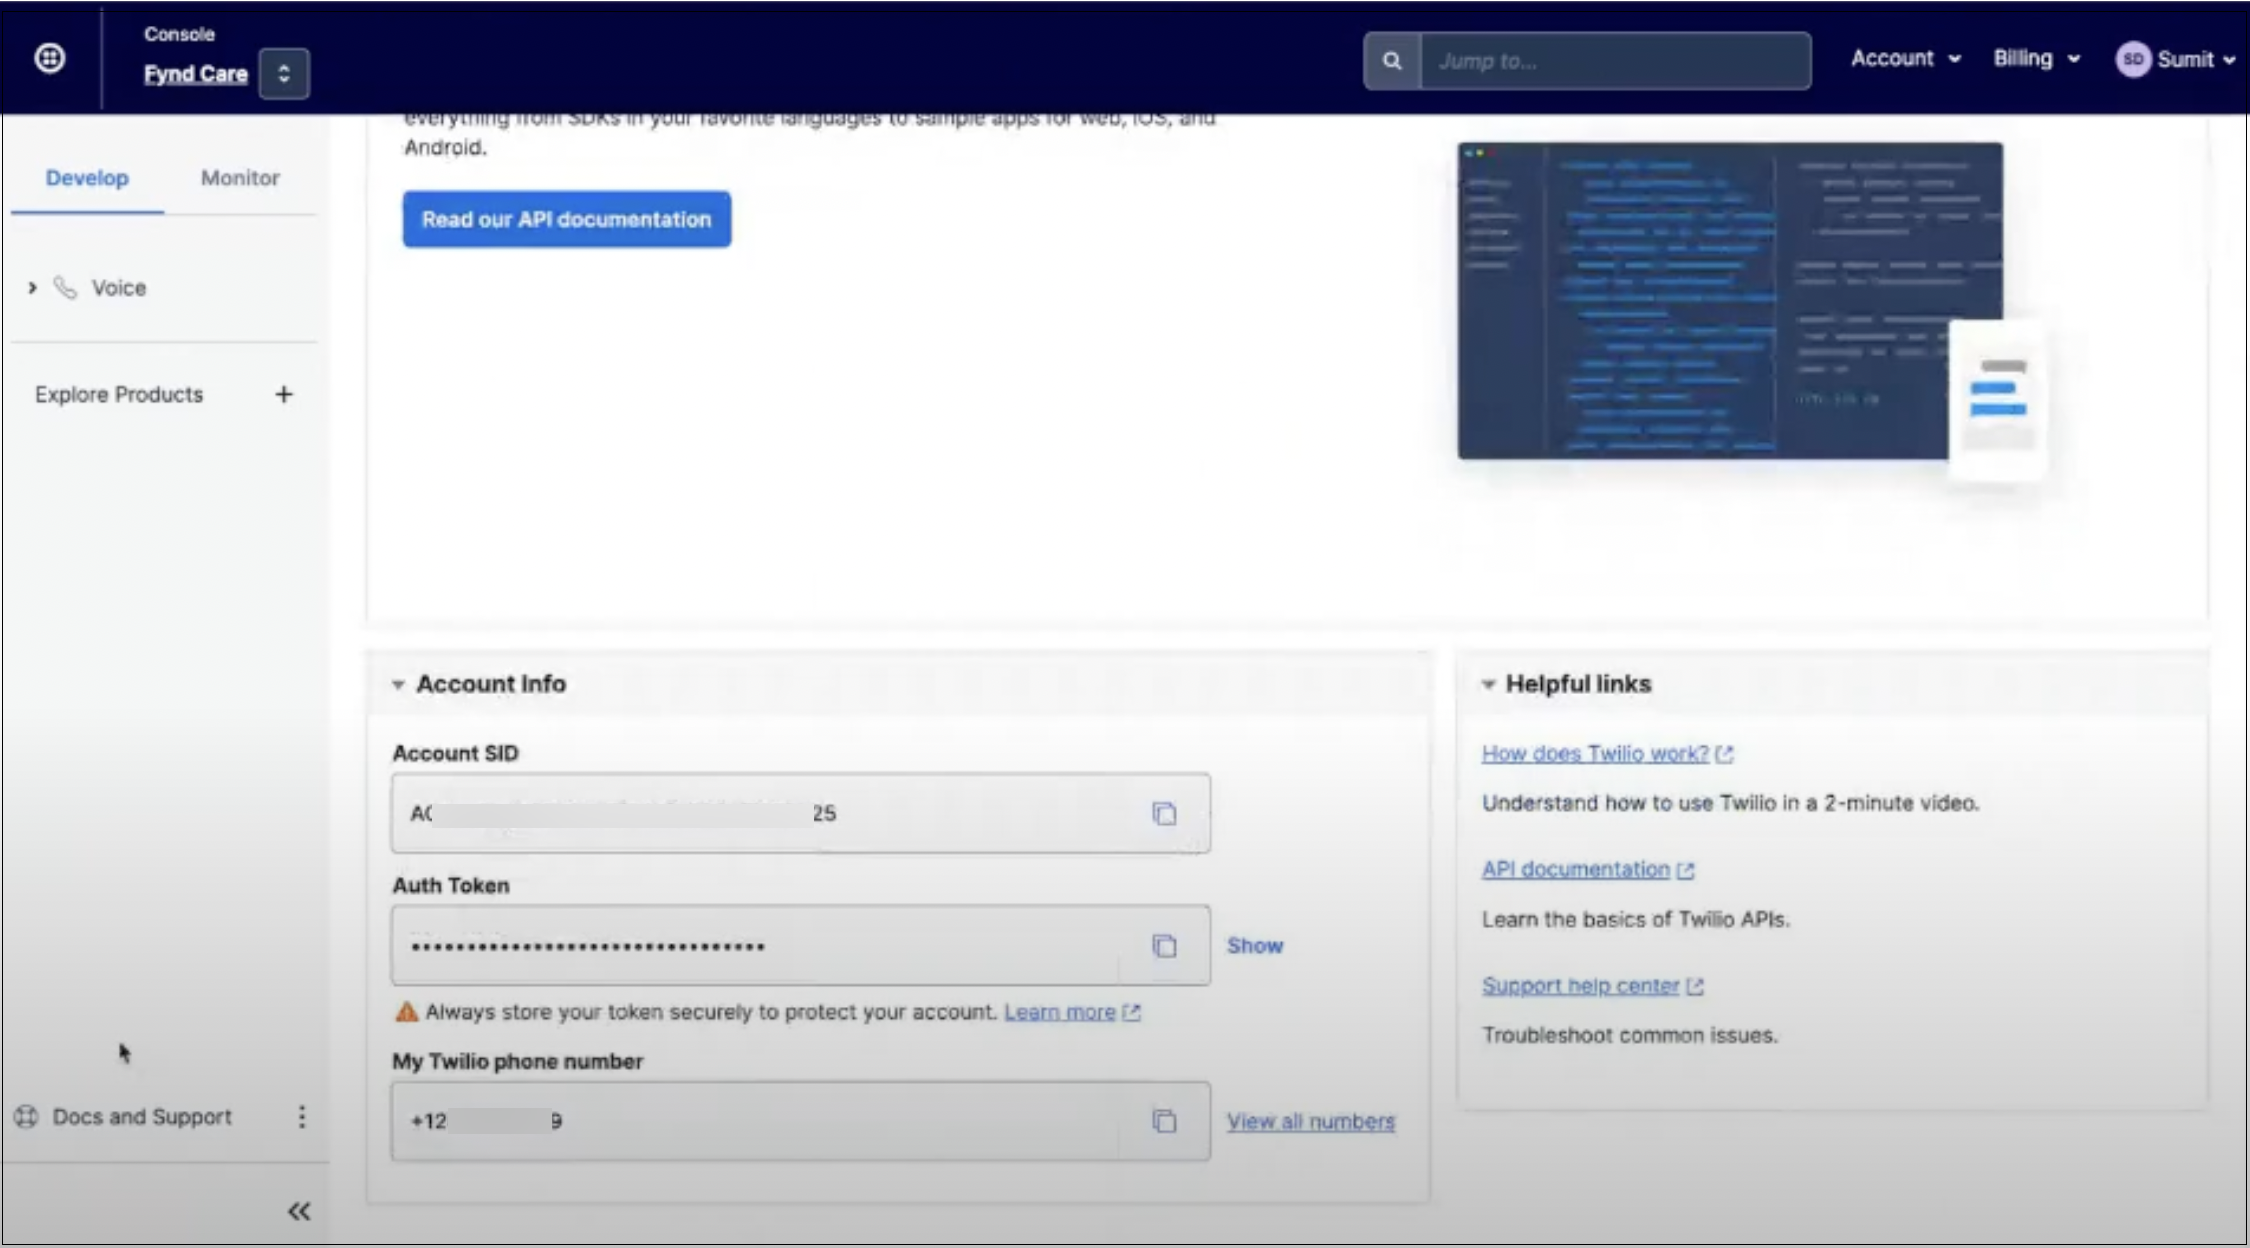
Configure Twilio Details
Go to your Twilio account and Copy Account SID and Auth Token. Then, paste them into the Configure Twilio Details page. Provide your WhatsApp Business Number, then click Next.
Step 1:
Step 2:
.png)
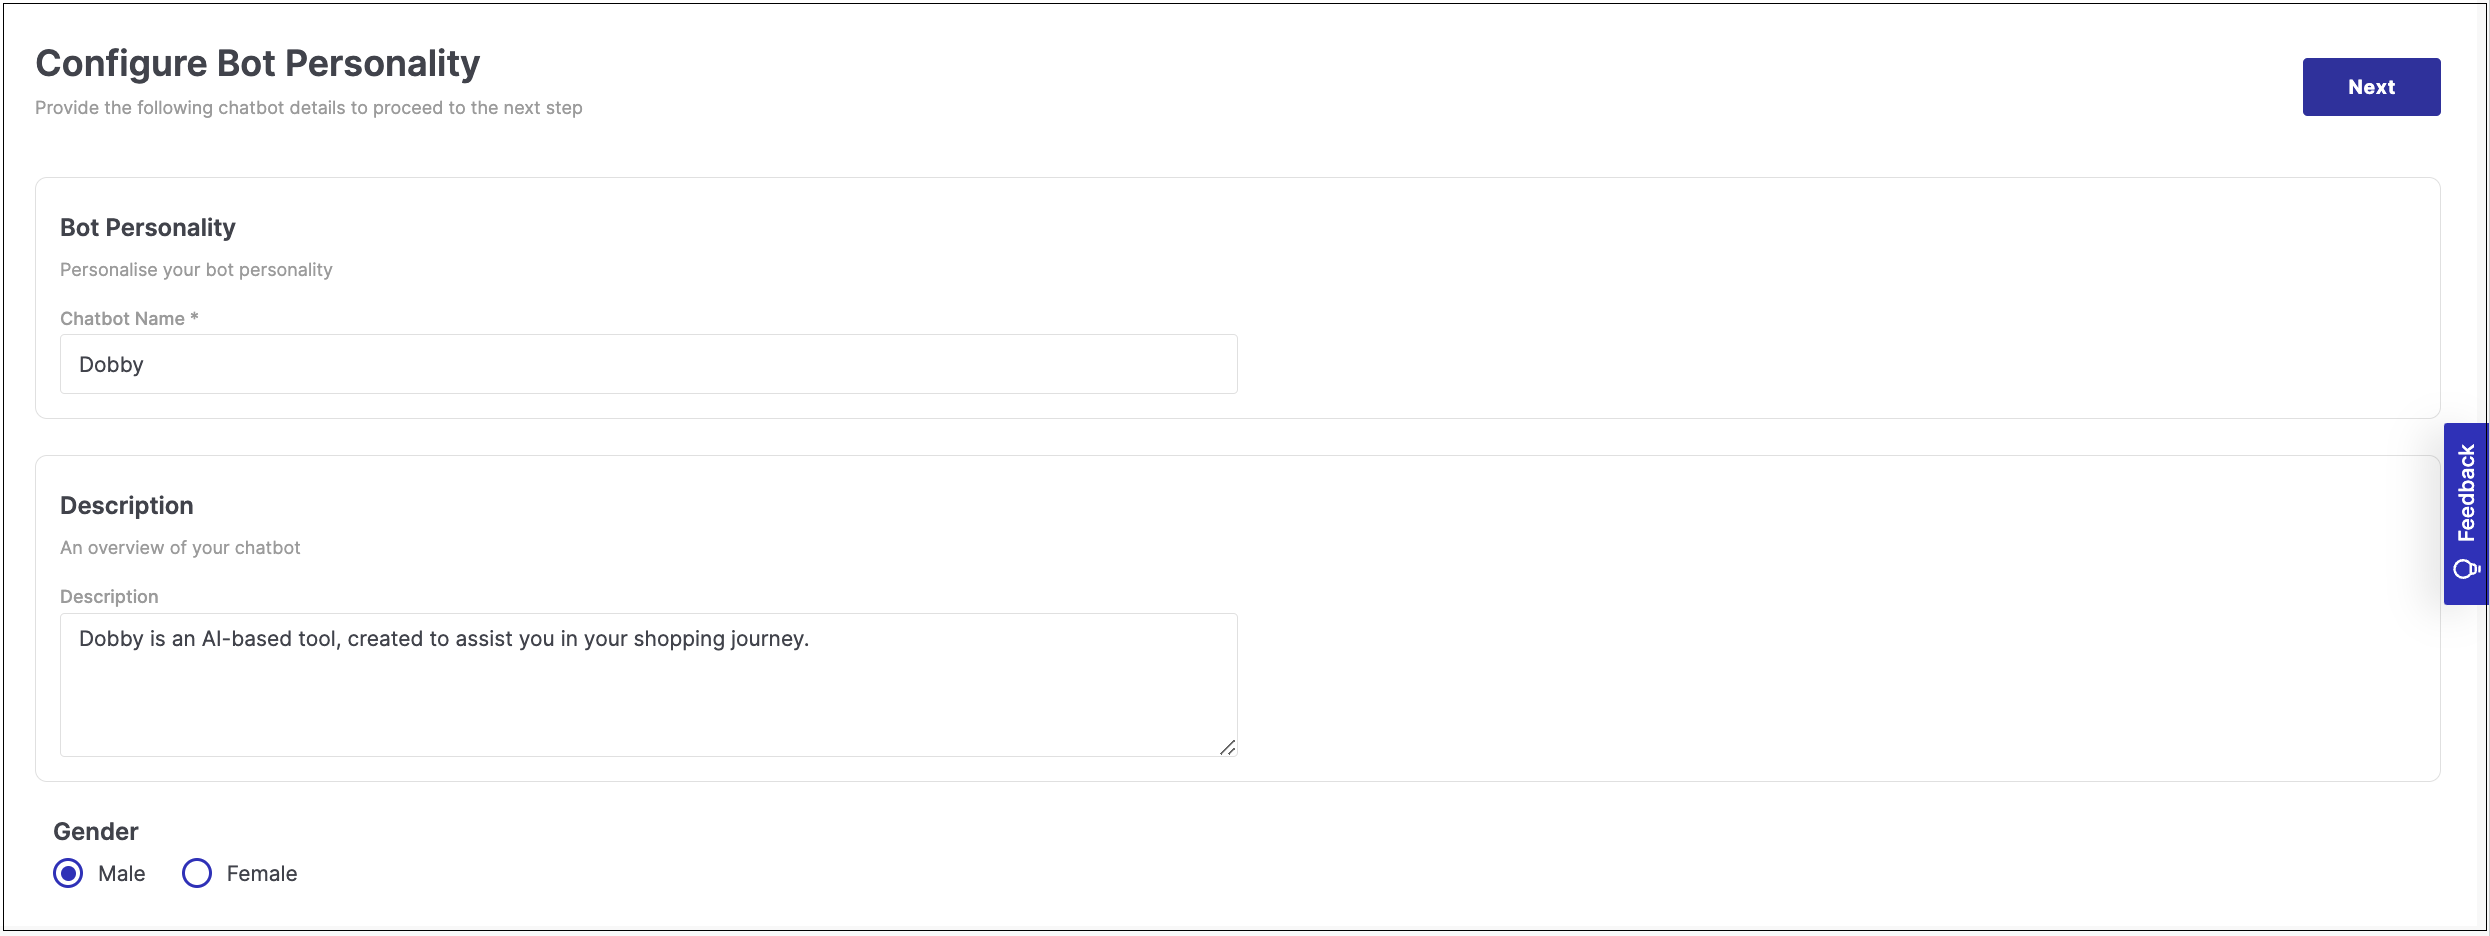
Configure Bot Personality
You will have to provide a unique chatbot name, along with the functionality the bot will perform in the Bot Personality and the Description sections, respectively. You need to select whether you want to keep your chatbot, Male or Female. Once these steps are completed, click Next to proceed to the next page.
Sync Bot Intelligence
In this section, select the Knowledge Base you want to feed your bot. You can either select any one or all in the recommended knowledge Base provided in the checklist. Click Sync, and the Next.
.png)
Your chatbot configuration is done but is yet to be live. For that, you need to click Finish Setup. Your product is now synced with the bot.
.png)
Final Output
A QR code will be generated on the top of the Summary page along with a link connecting to WhatsApp. You can visit the WhatsApp page by following the link.
.png)