Meta Pixel
Introduction
The Meta Pixel extension provides you with the ability to monitor the actions of visitors on your website, by collecting data to help you track conversions from Facebook ads, optimize ads, create specific audiences for future ads and retarget individuals who have already taken action on your website. With this extension, managing various events such as adding items to a cart, adding items to a wishlist, making a purchase, and more, is made simple and straightforward. It also supports deduplication of events.
Learn more about deduplication.
A Meta (Facebook) Business account. If you don't have an account, click here to create.
Steps to use Meta Pixel Extension
-
Go to Meta Business Manager.
-
Click Log In.
Figure 1: Clicking Log In Button
-
Sign in with your Meta Business (i.e., Facebook Business) account.
Figure 2: Meta (Facebook) Business Sign In
-
Go to Events Manager.
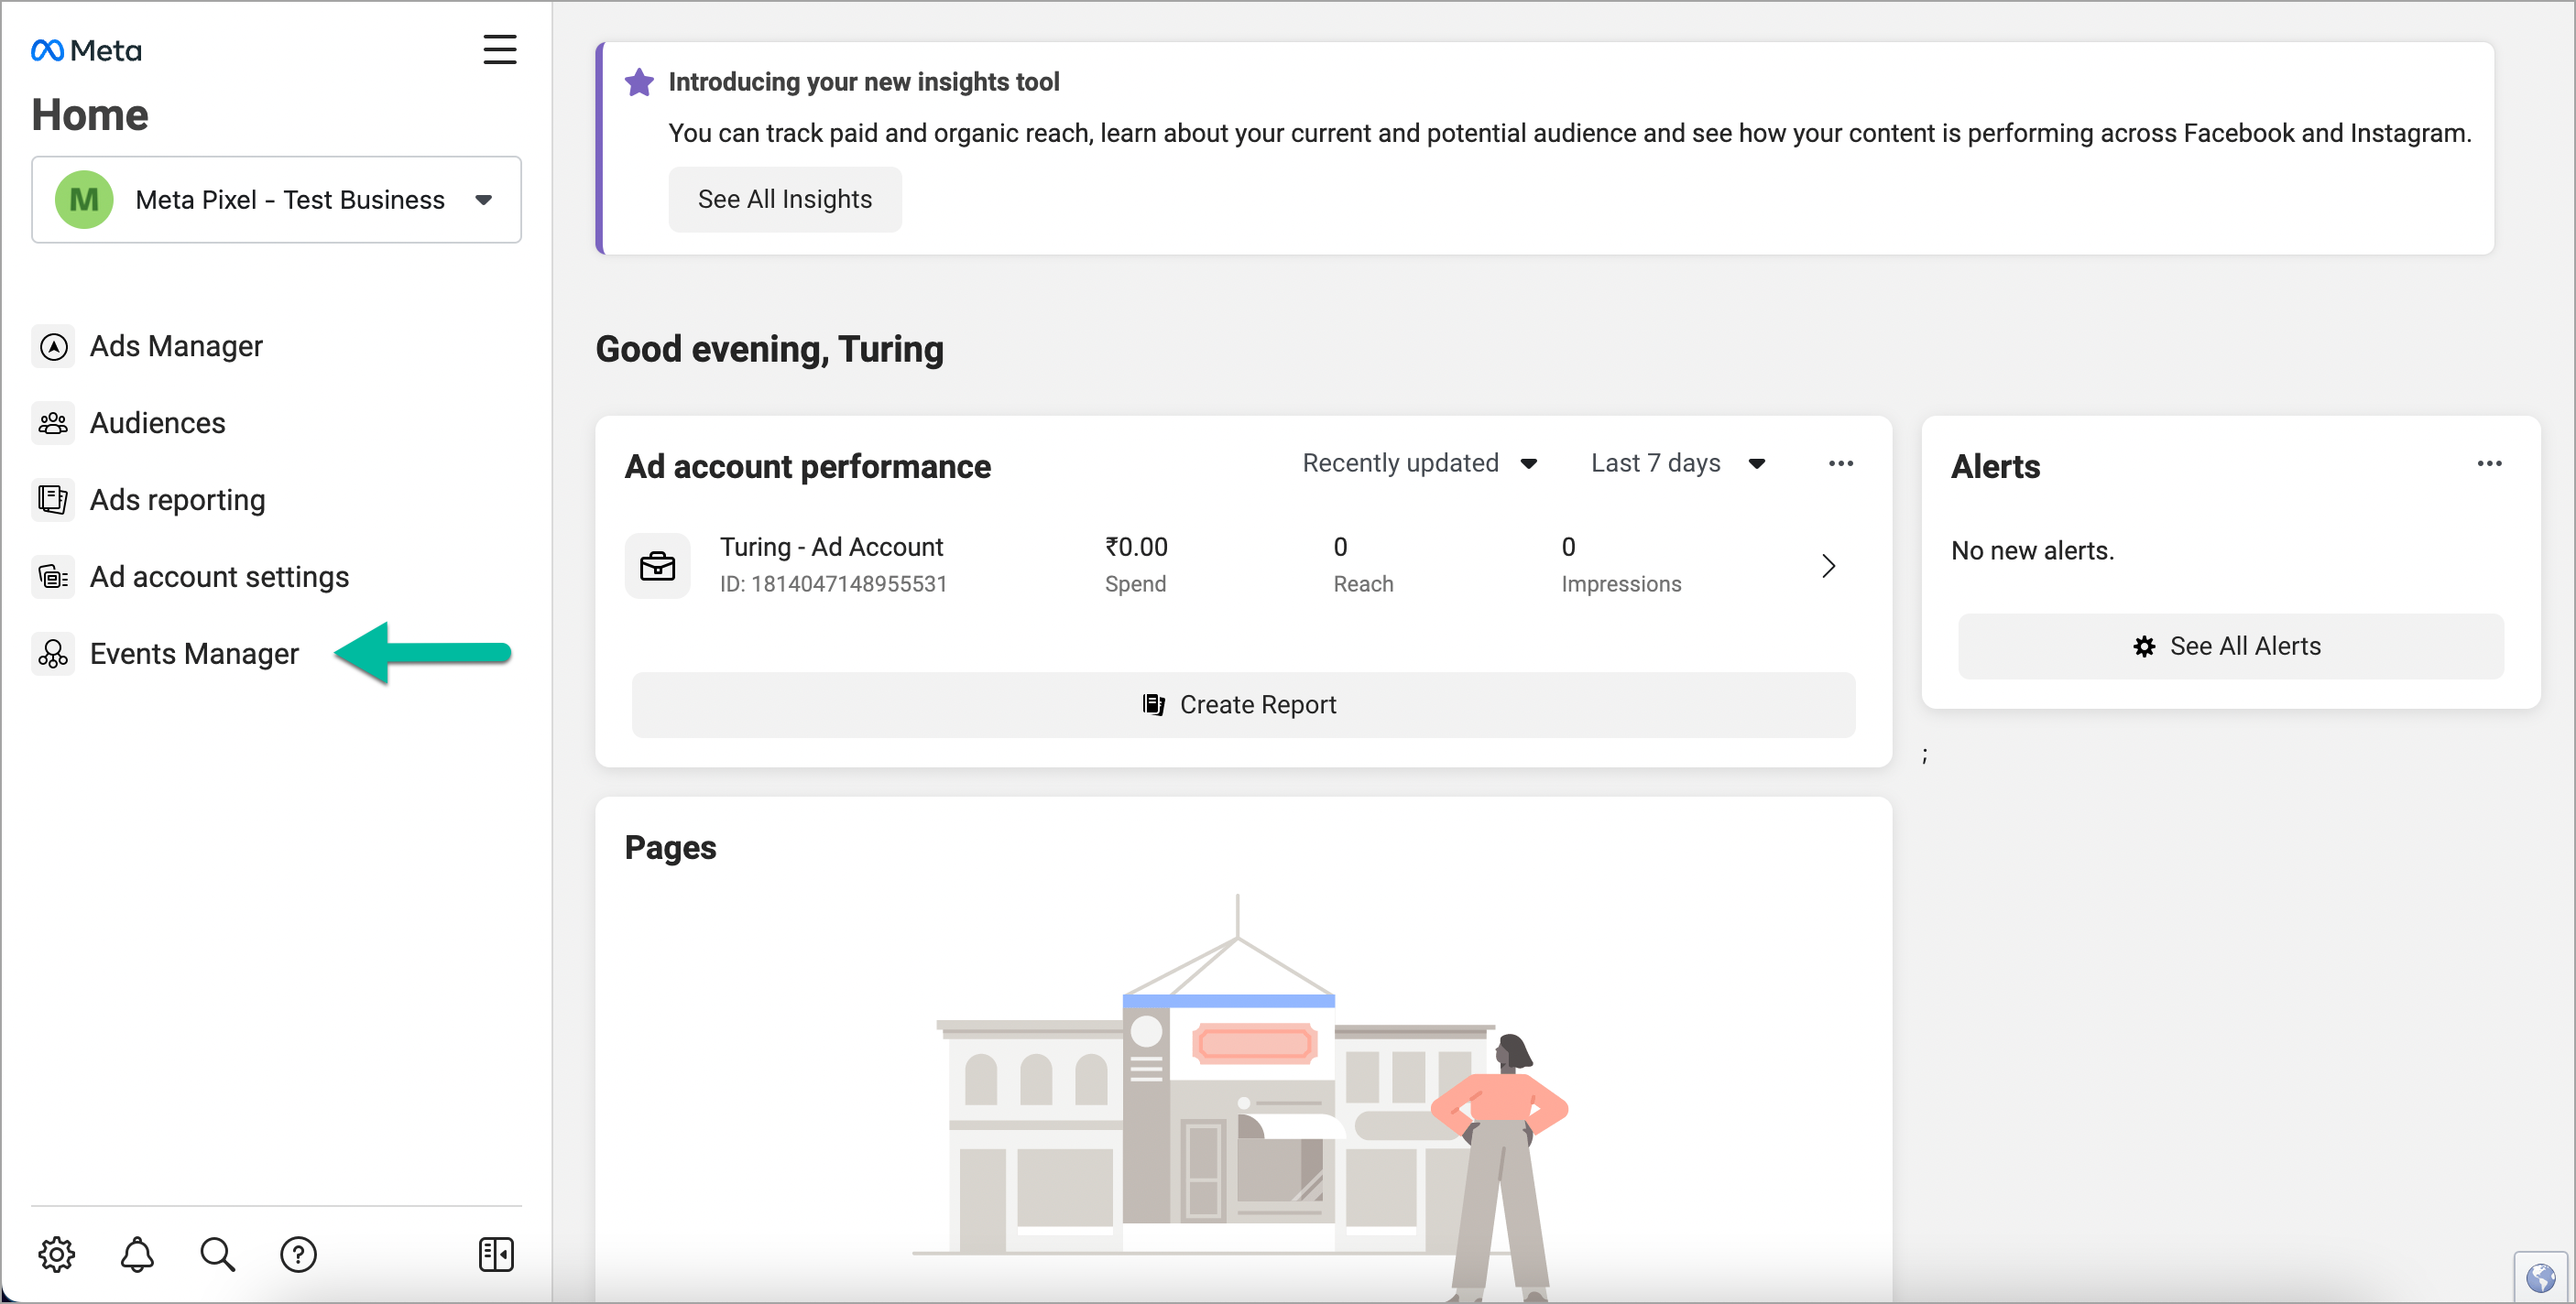
Figure 3: Meta Events Manager
-
Click Connect data sources.
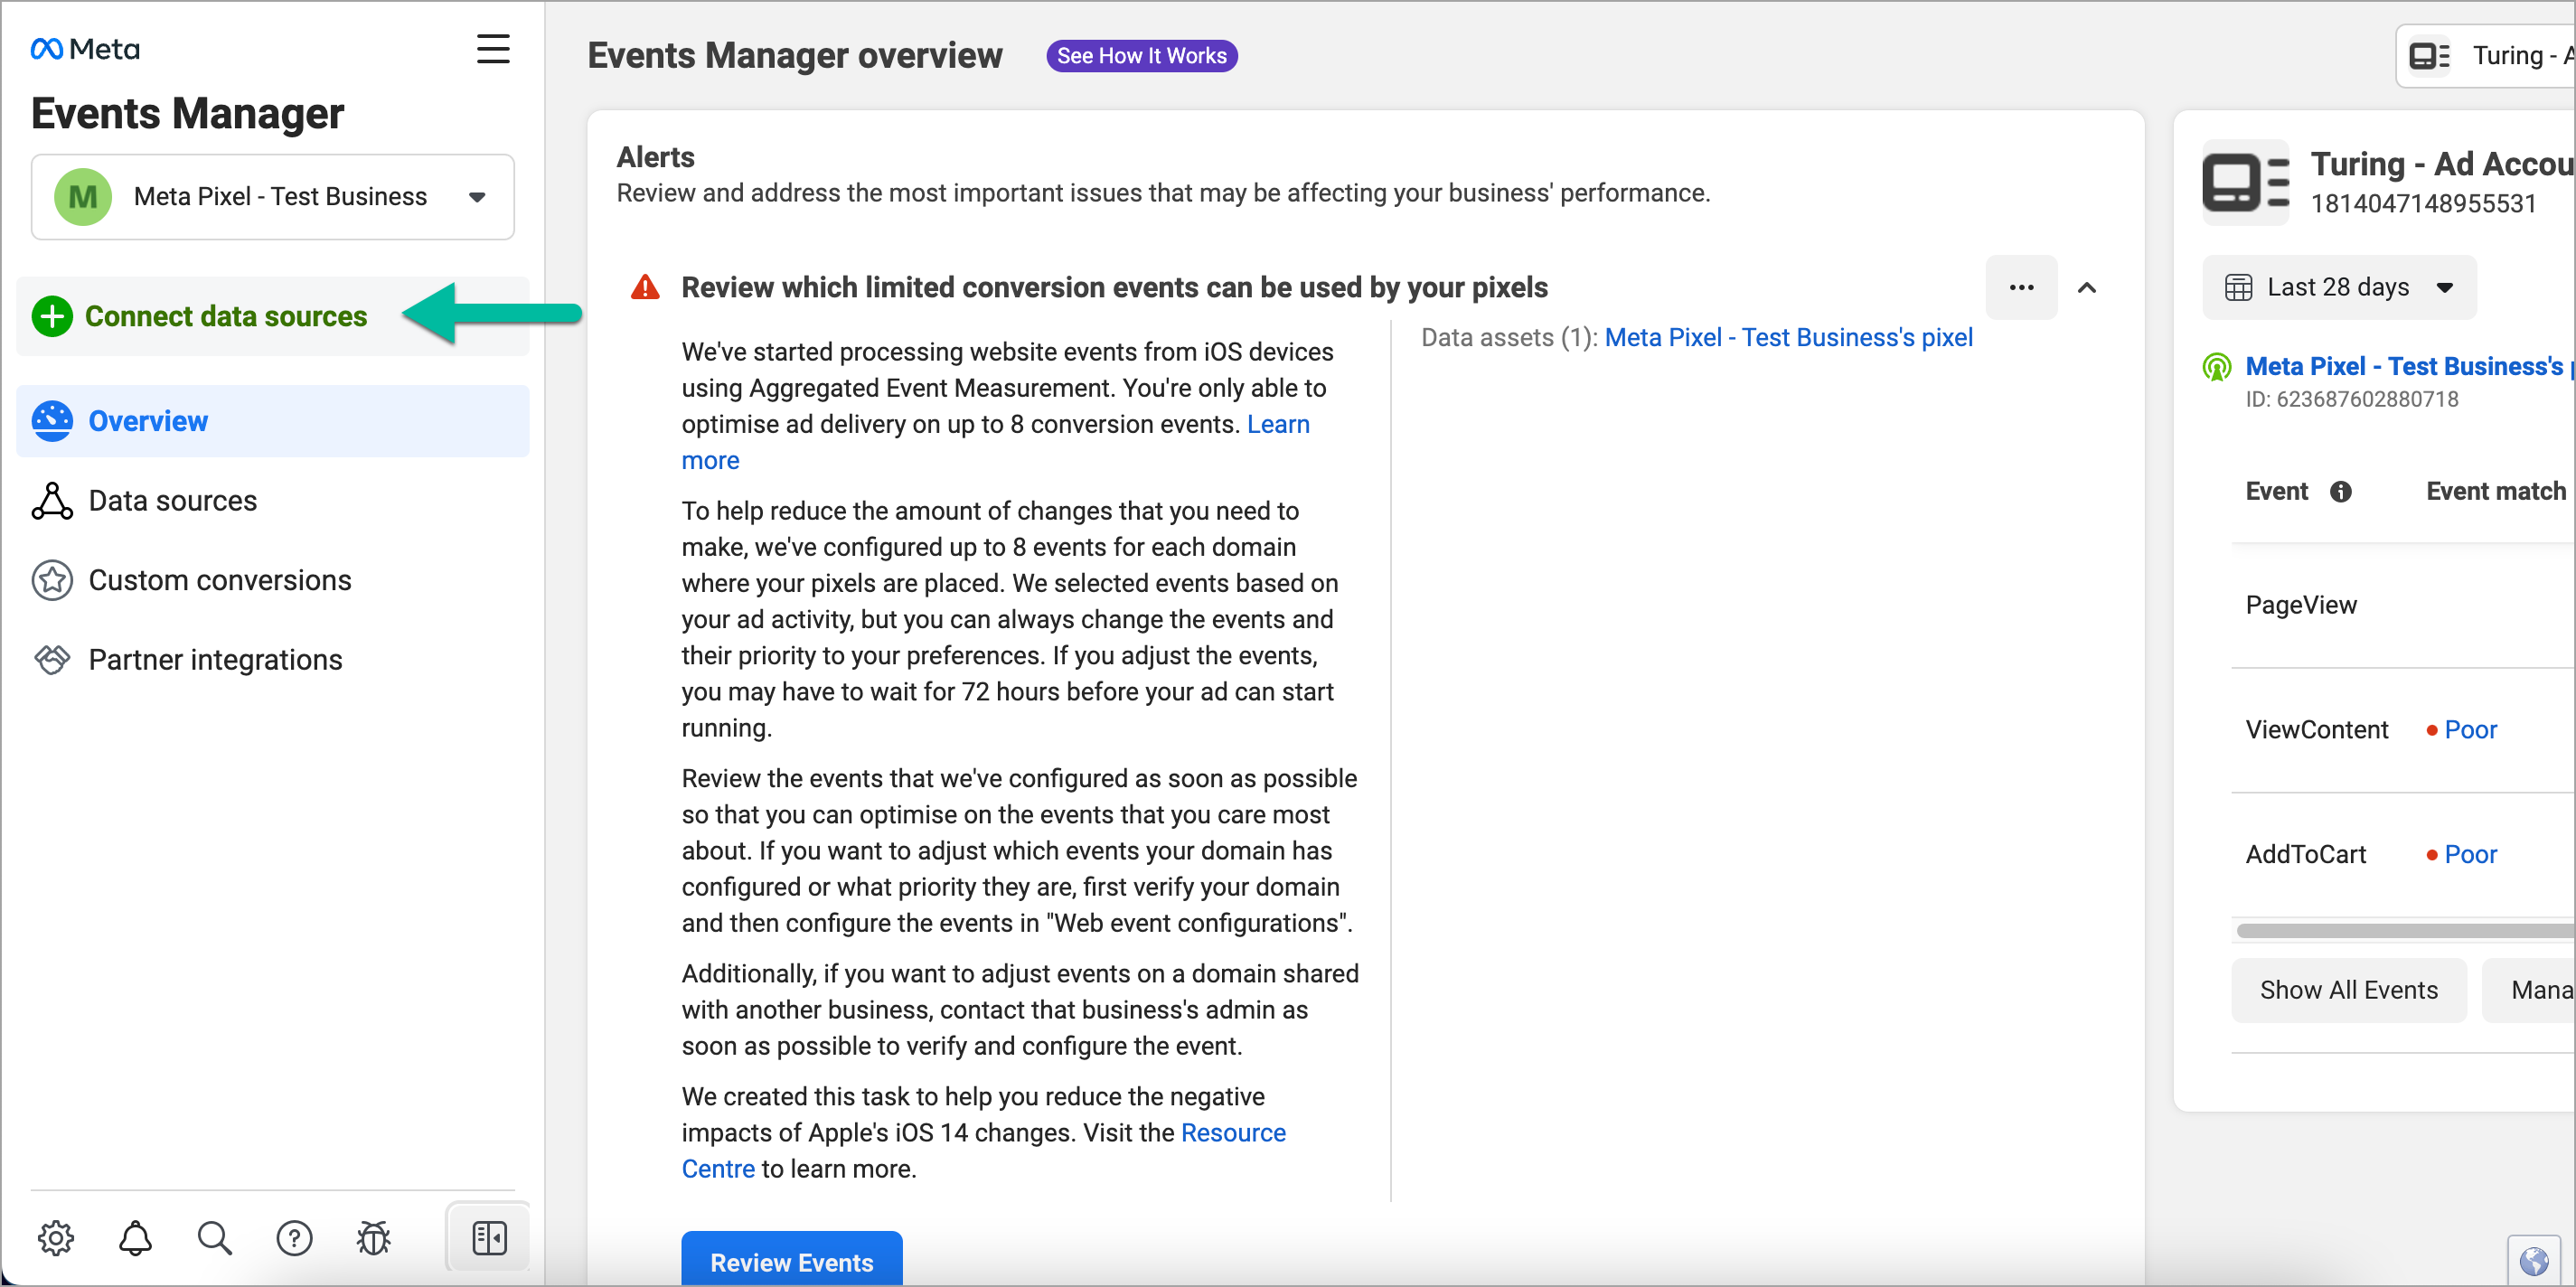
Figure 4: Connecting Data Sources
-
Select Web in the Connect a new data source popup.
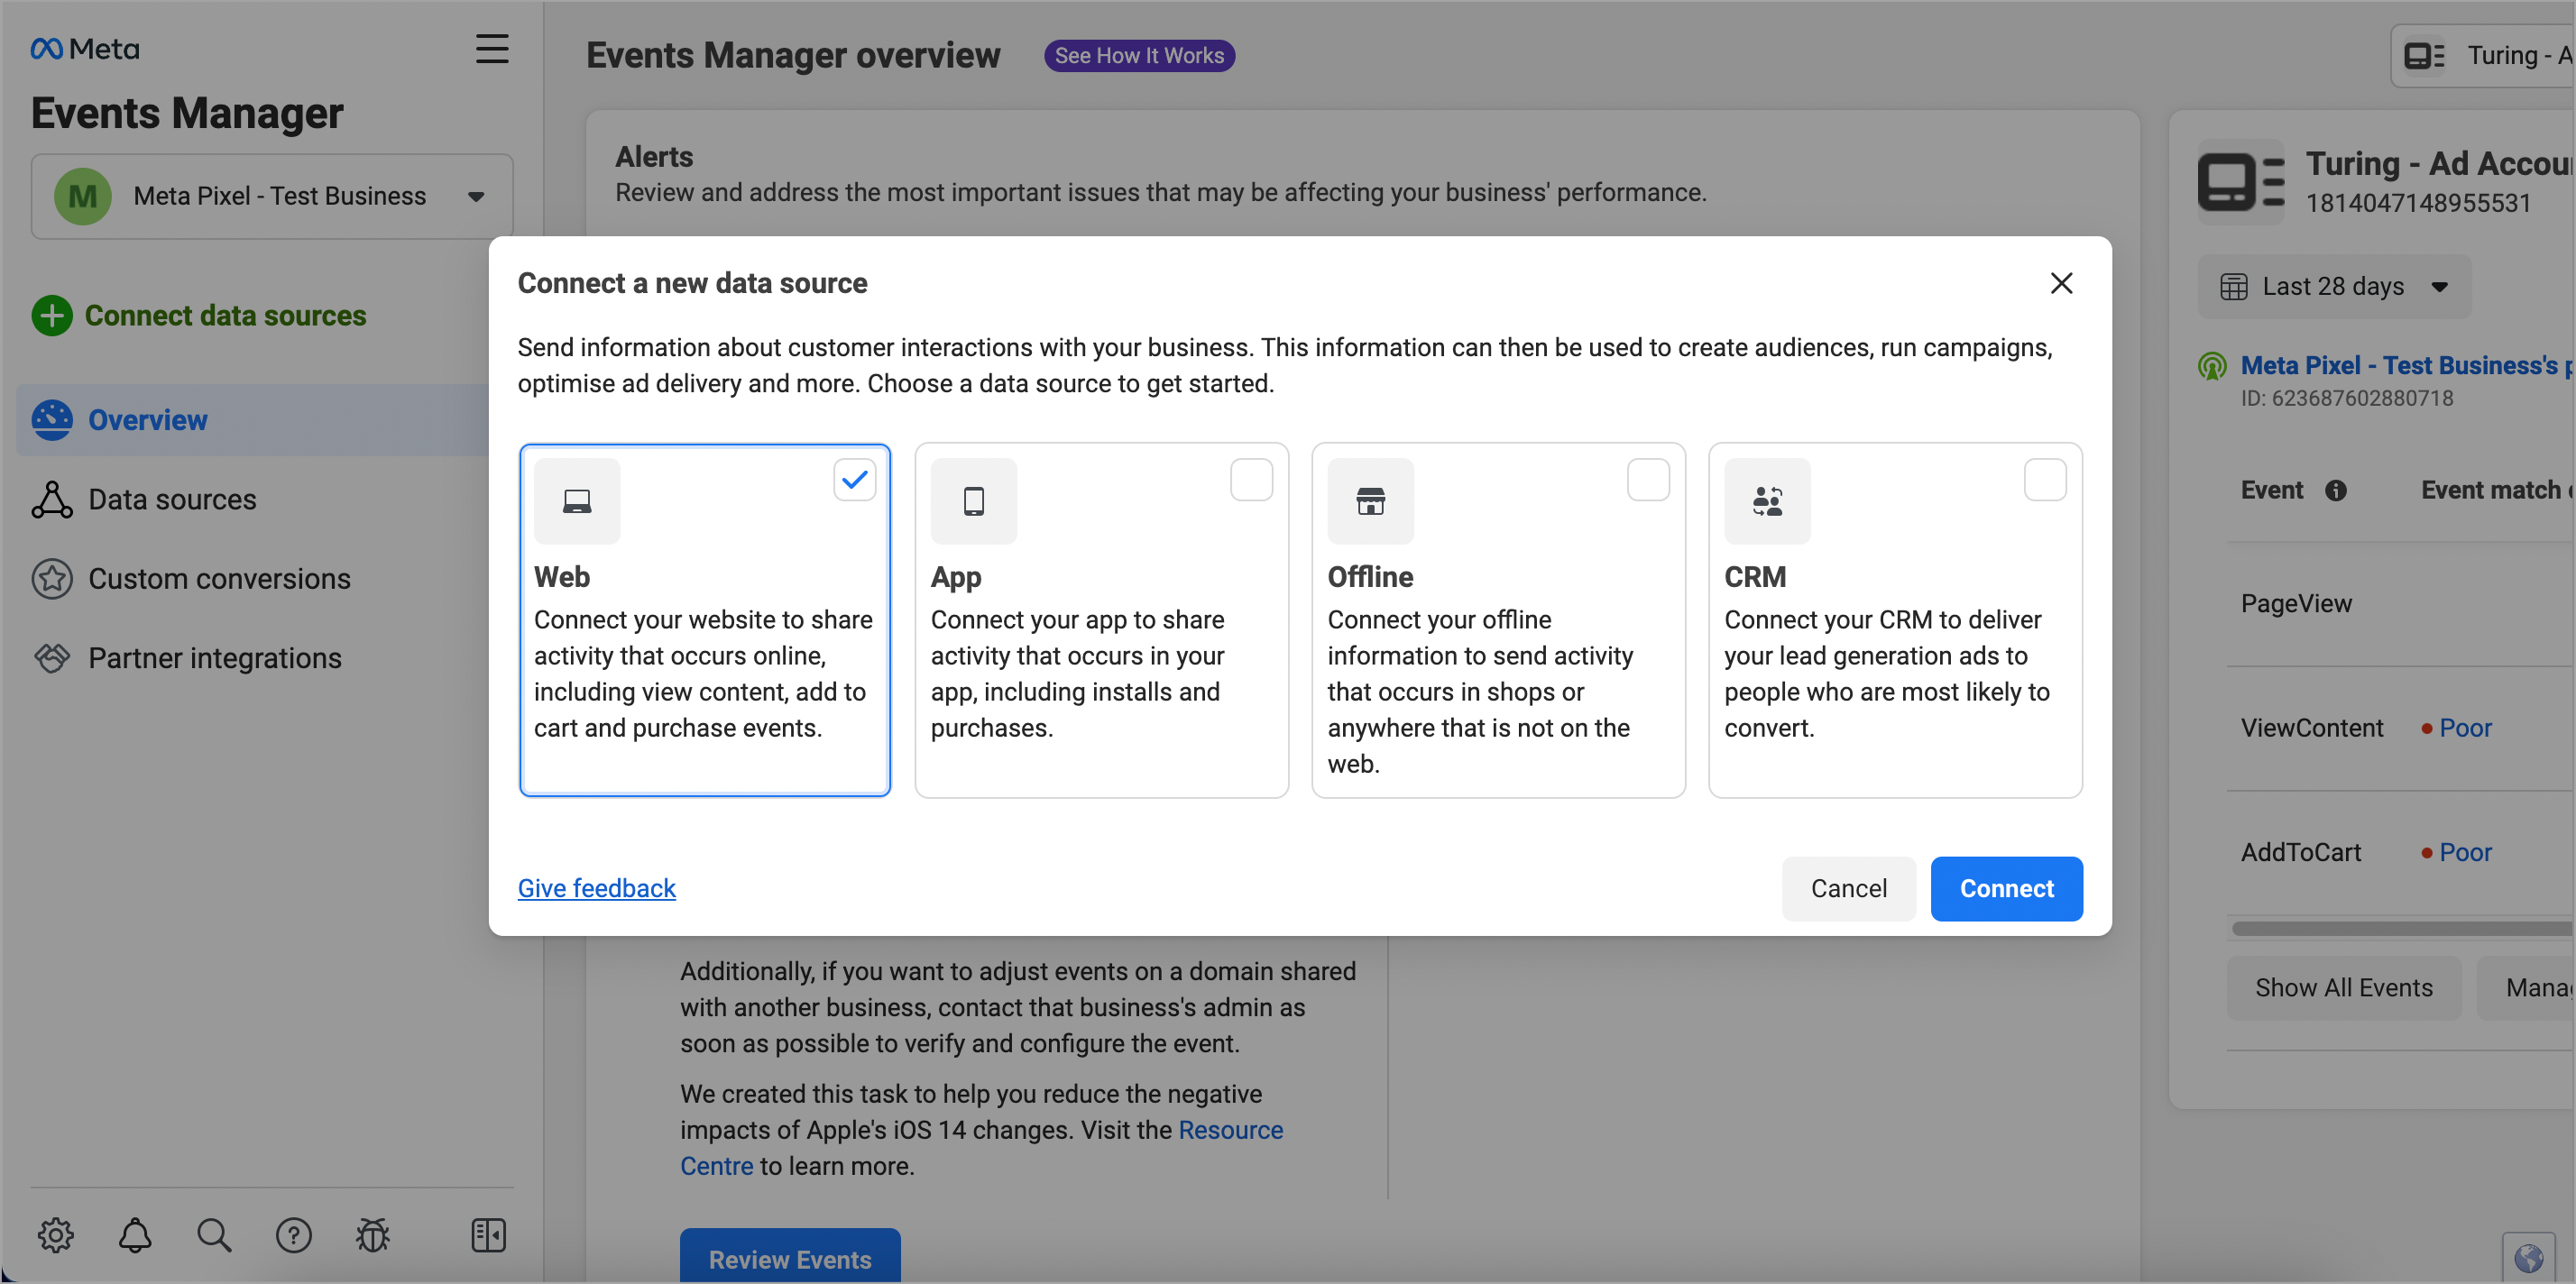
Figure 5: Selecting a Web Option
-
Click Connect.
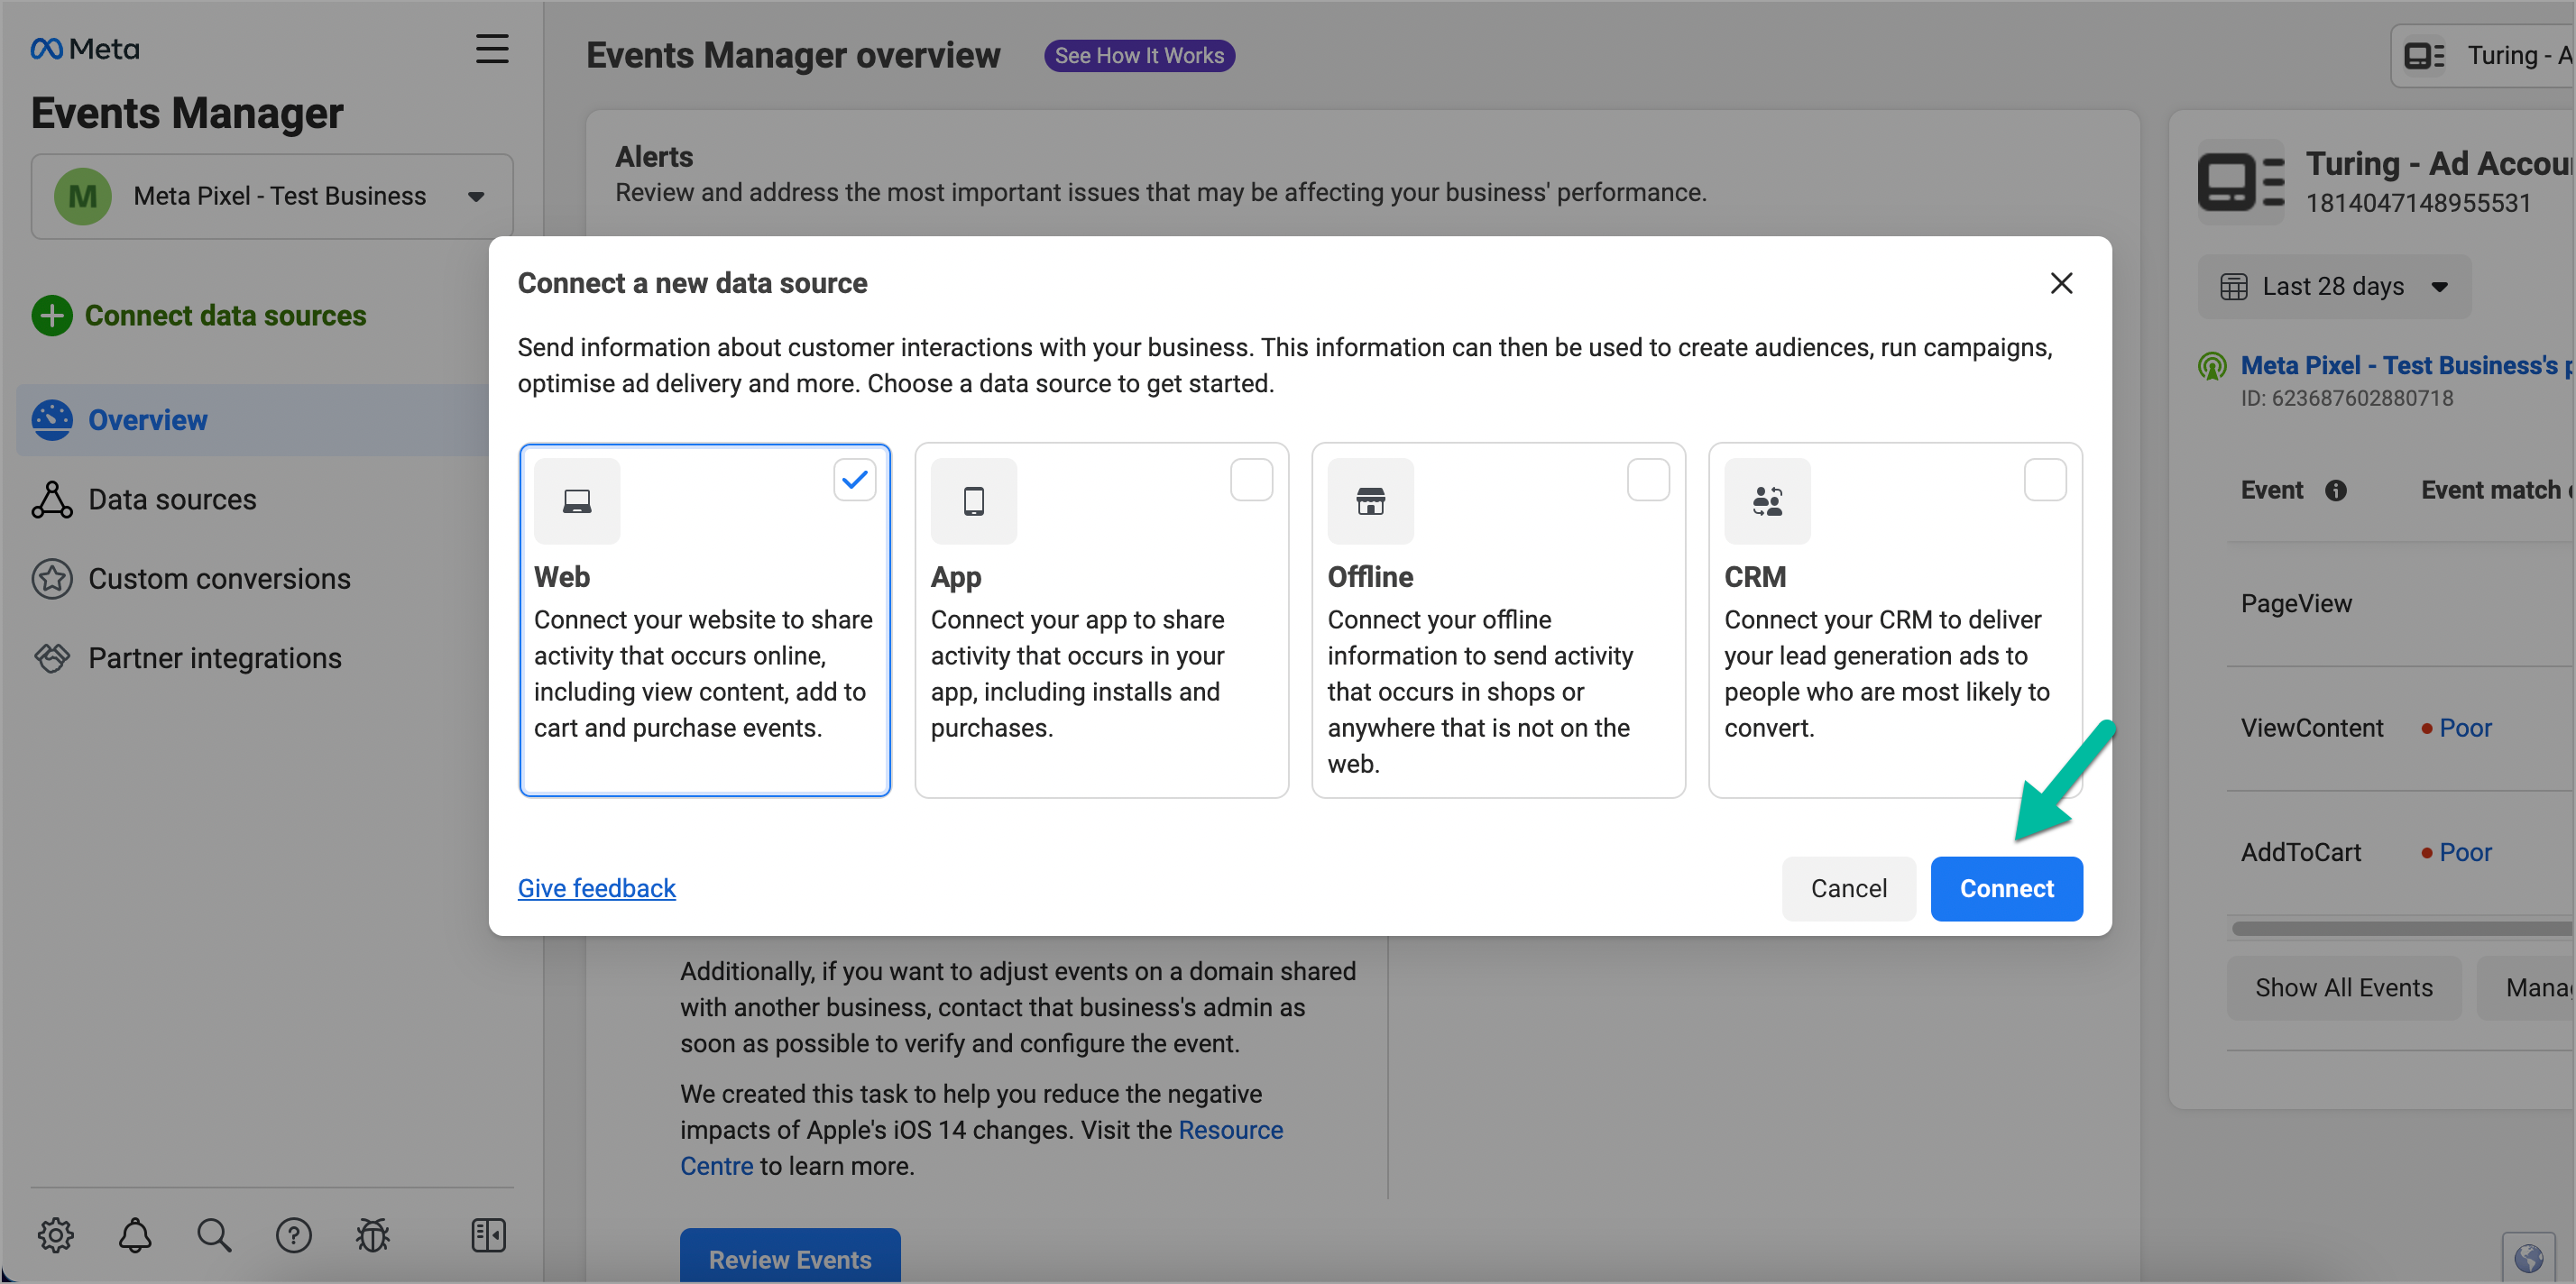
Figure 6: Clicking Connect Button
-
Enter suitable name for your pixel.
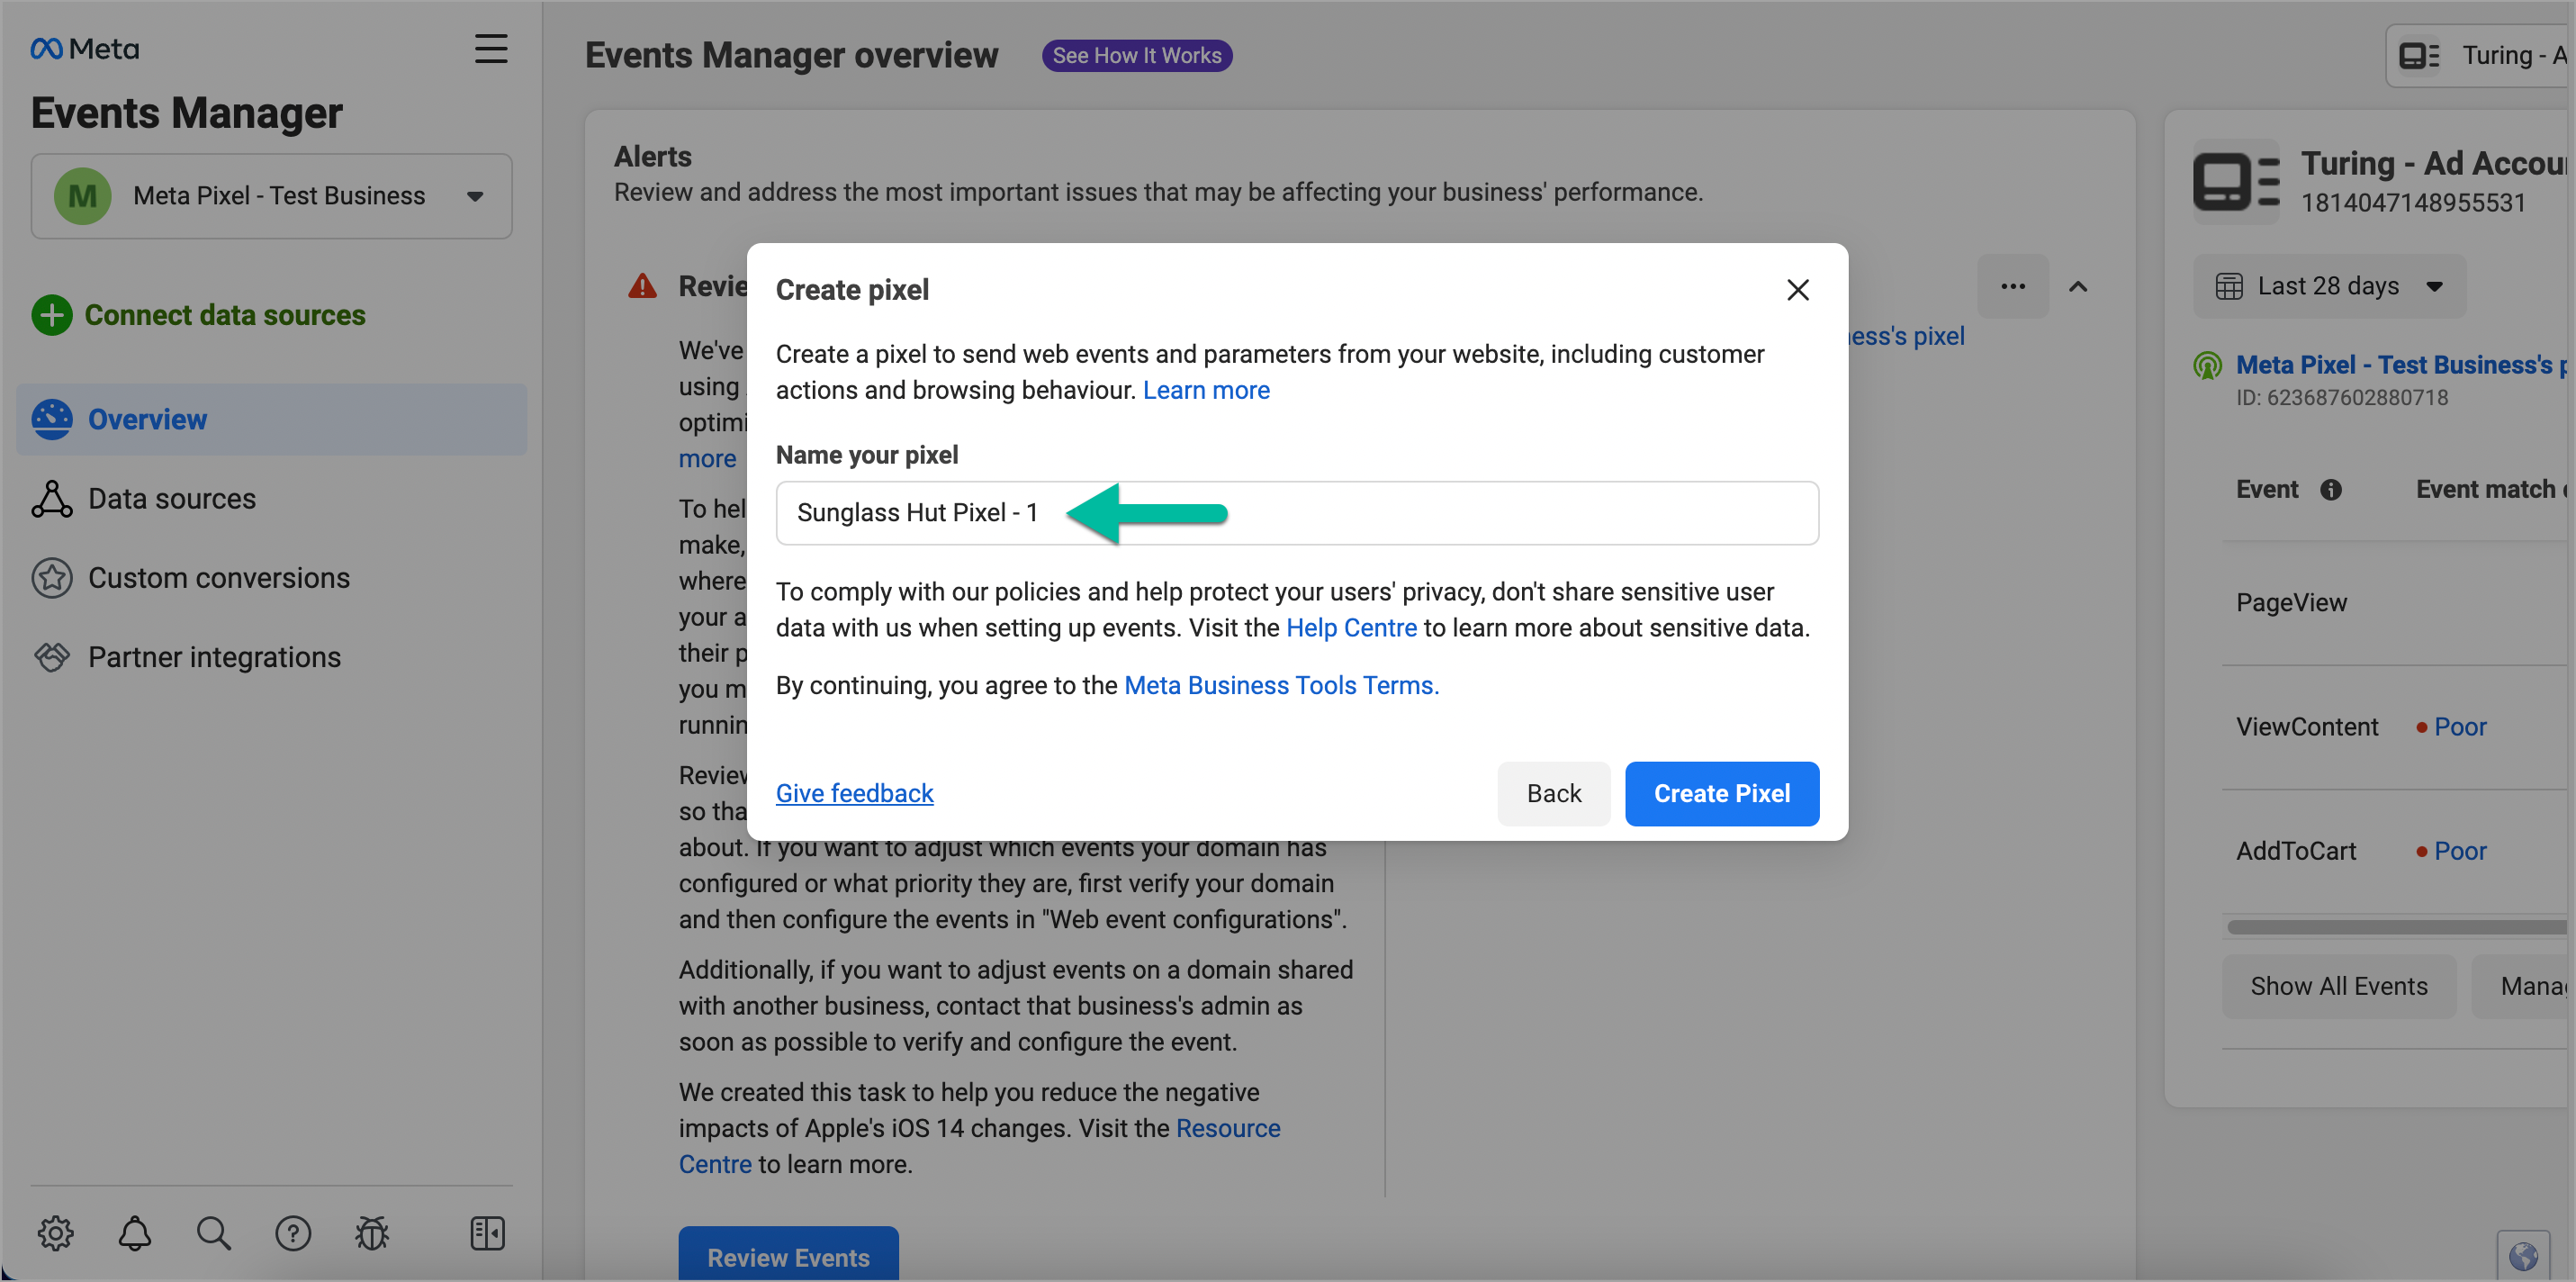
Figure 7: Providing Suitable Pixel Name
-
Click Create Pixel.
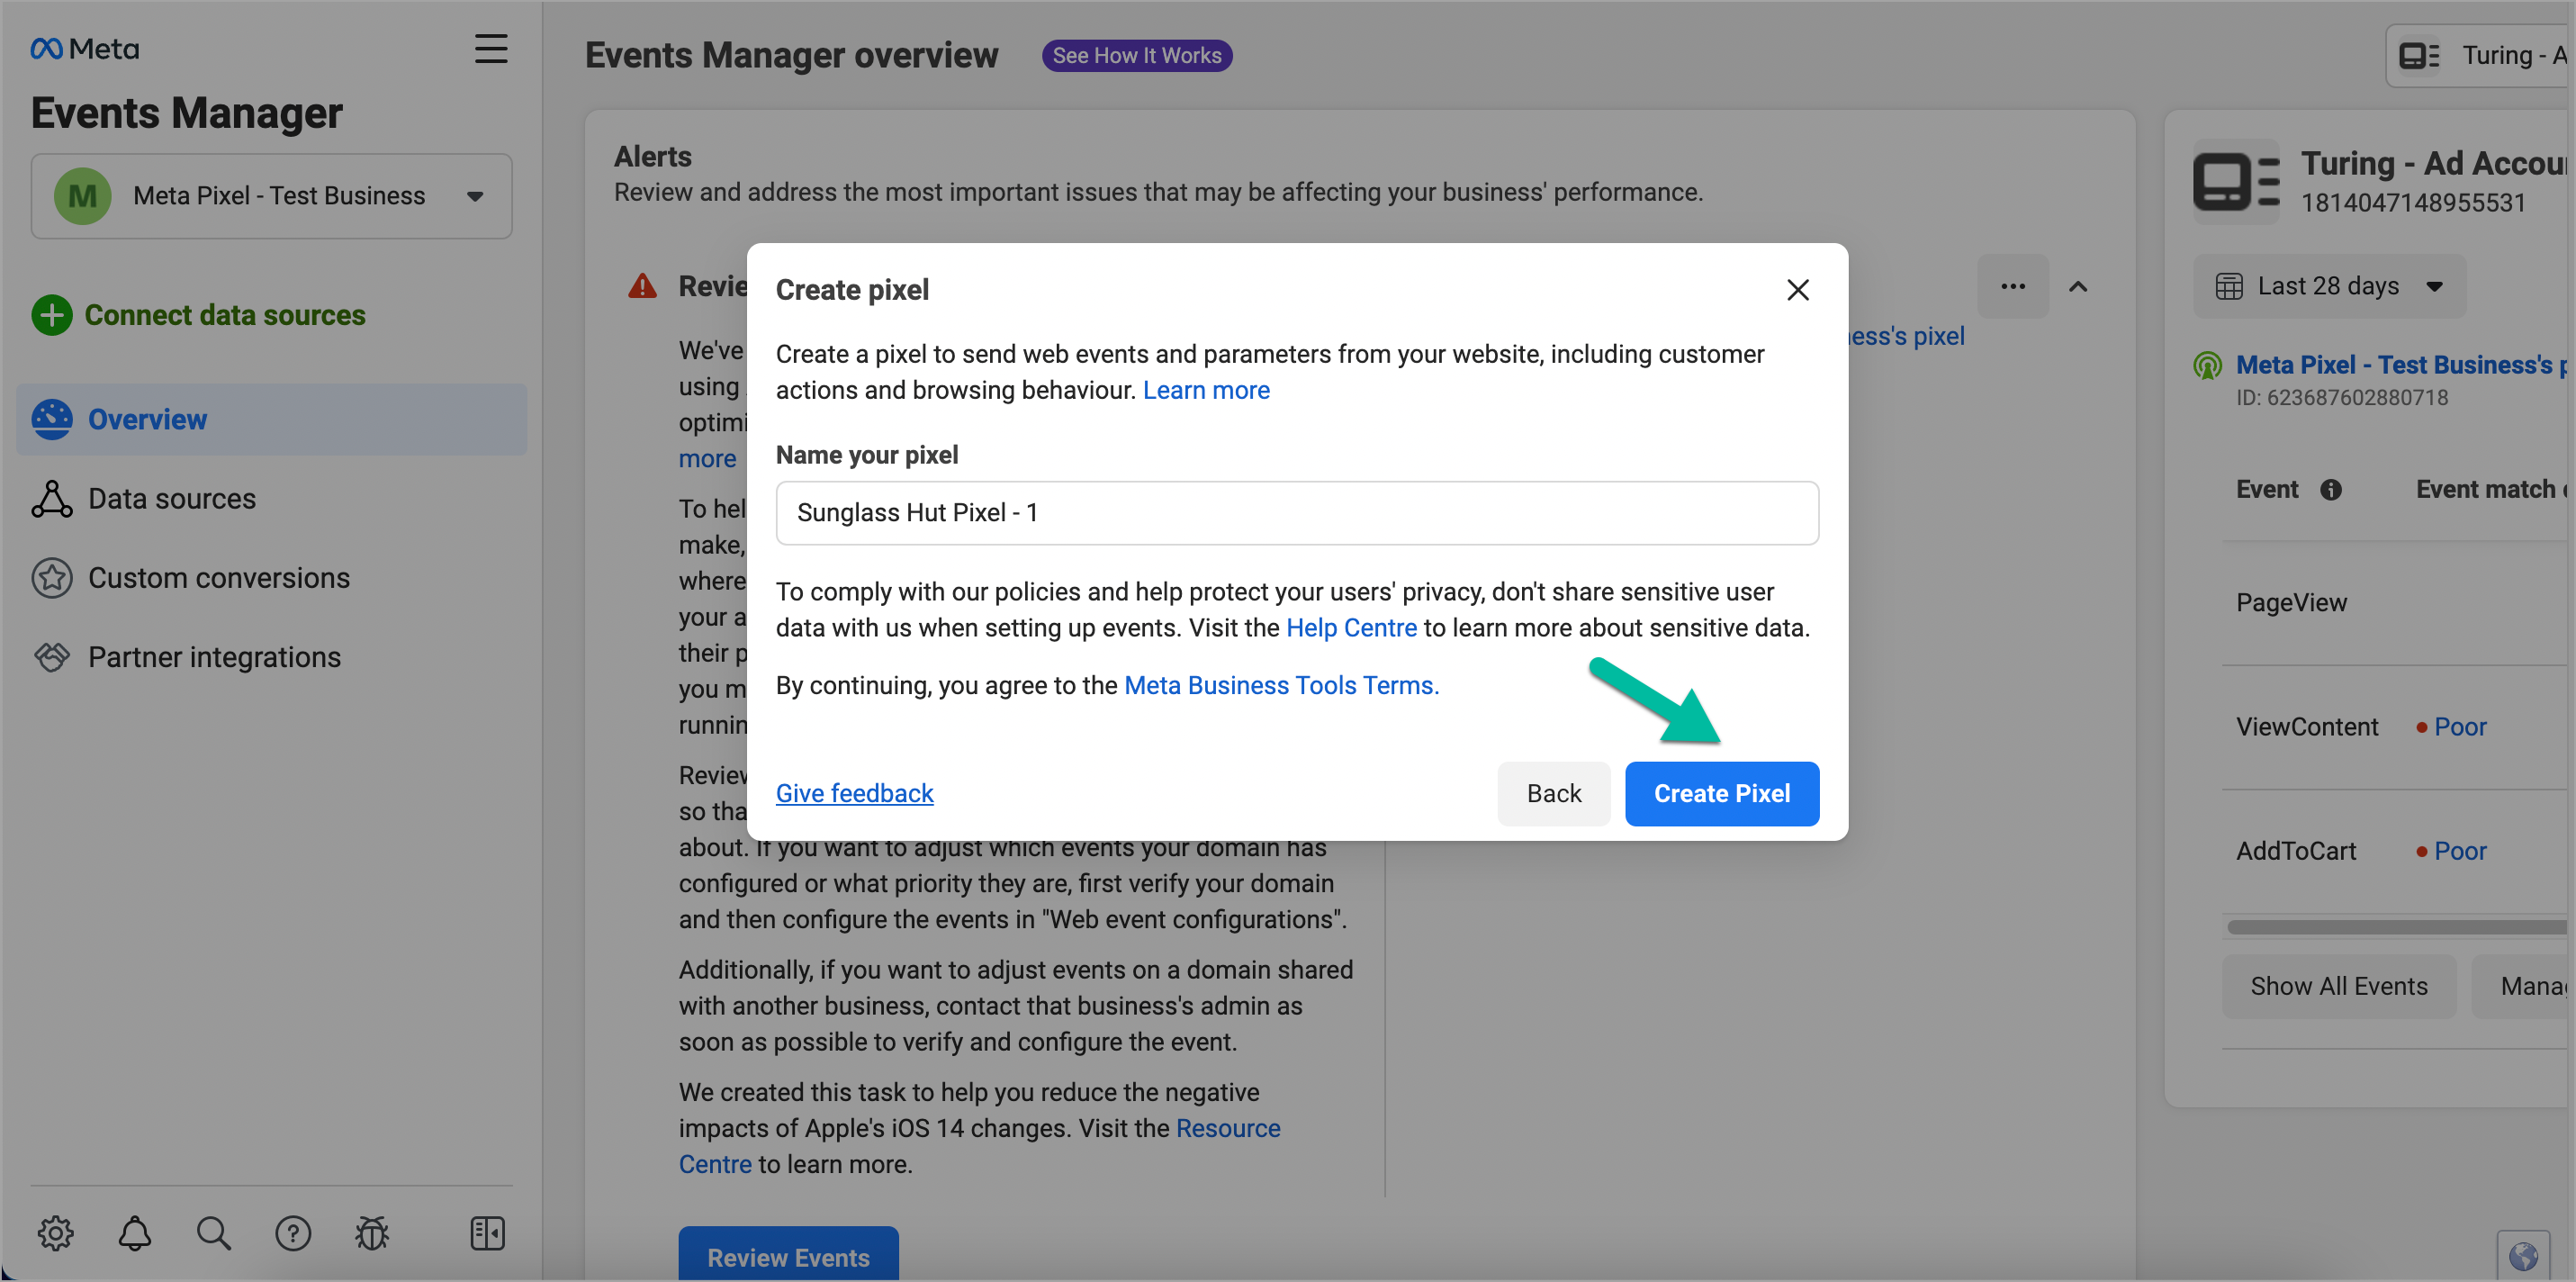
Figure 8: Clicking Create Pixel Button
-
Enter the URL of your website.
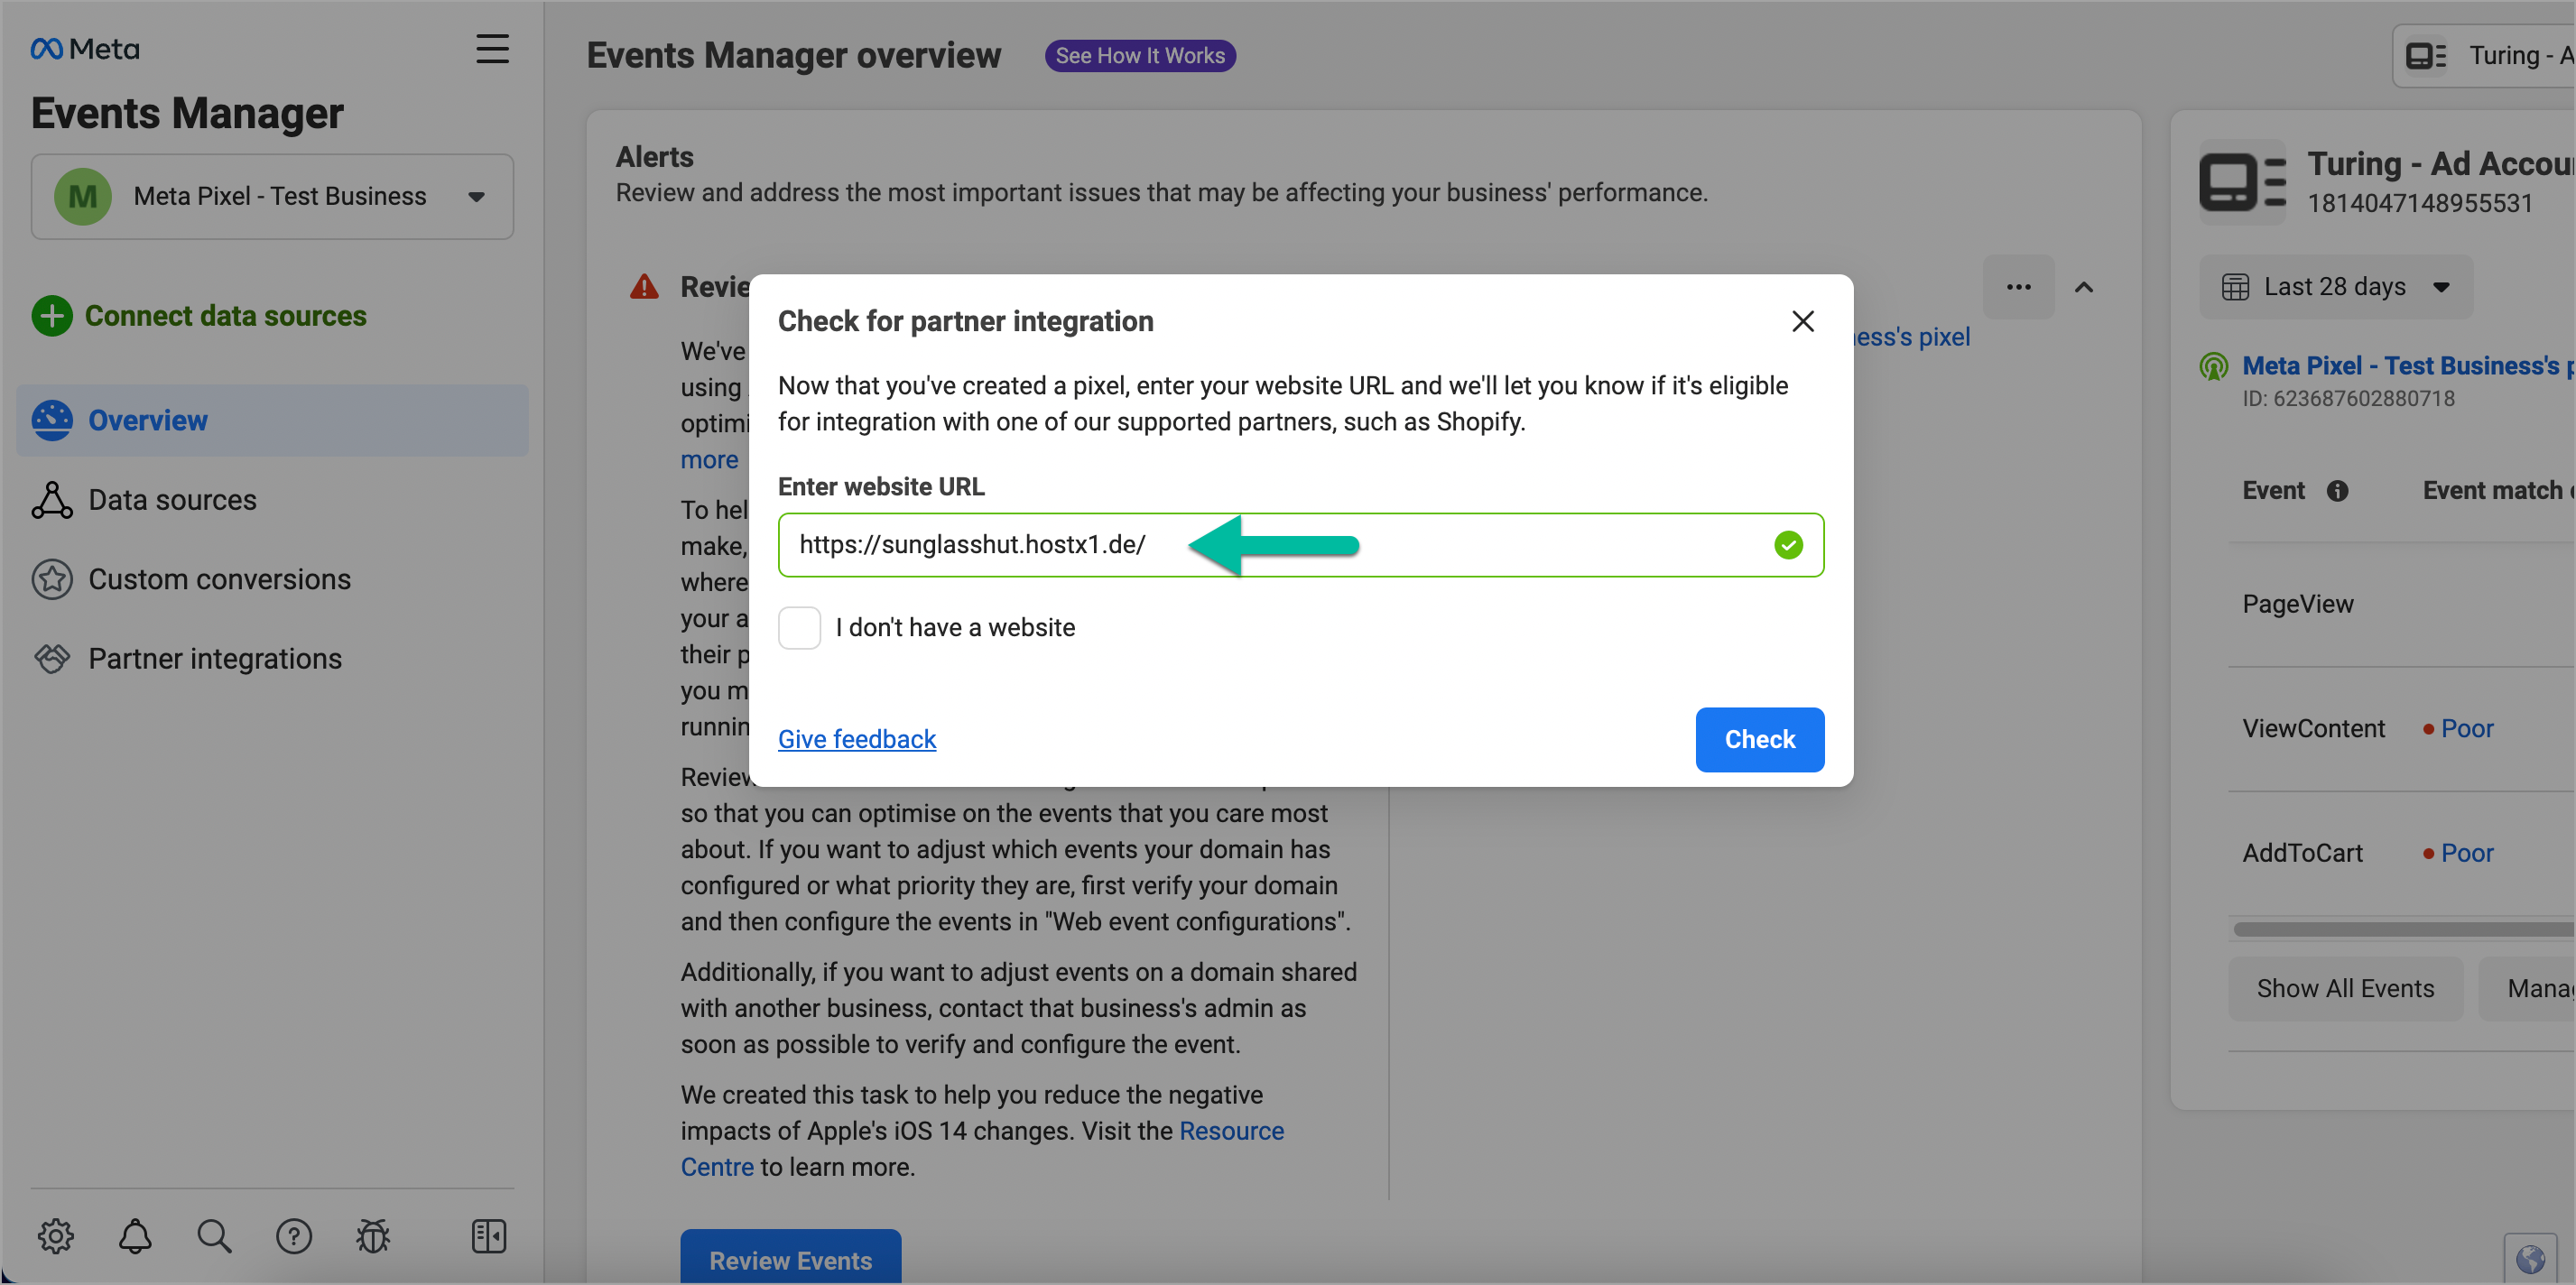
Figure 9: Adding URL of Website
-
Click Check.
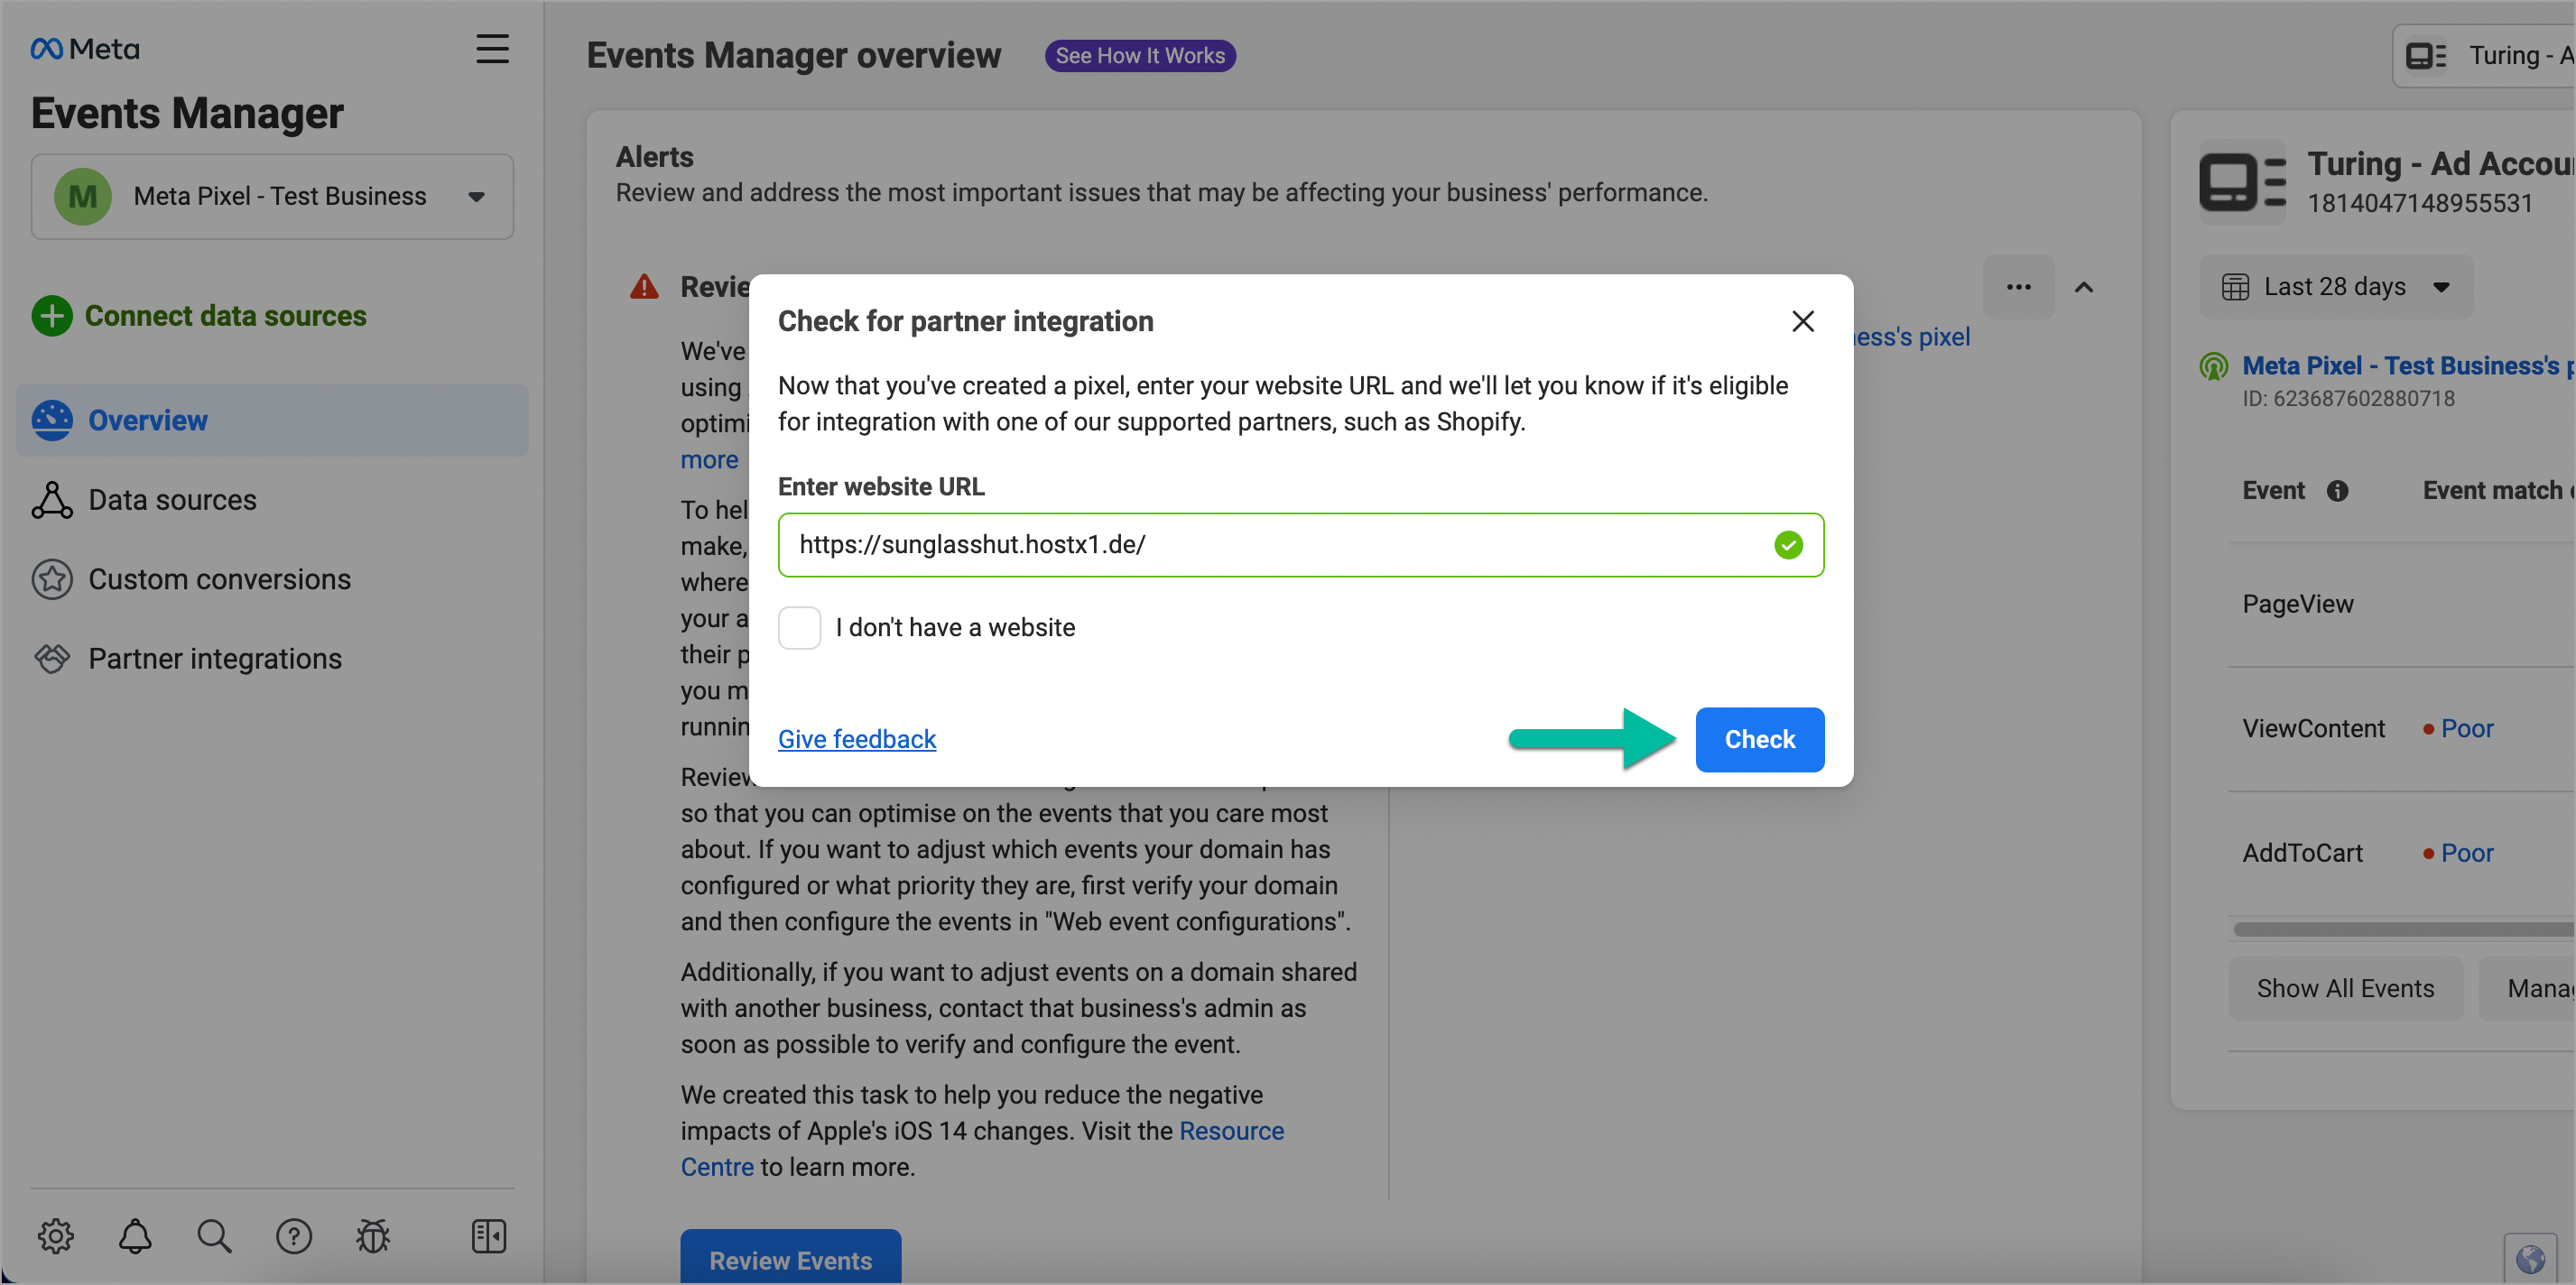
Figure 10: Clicking Check Button
-
(Recommended) Choose Conversions API and Meta pixel option.
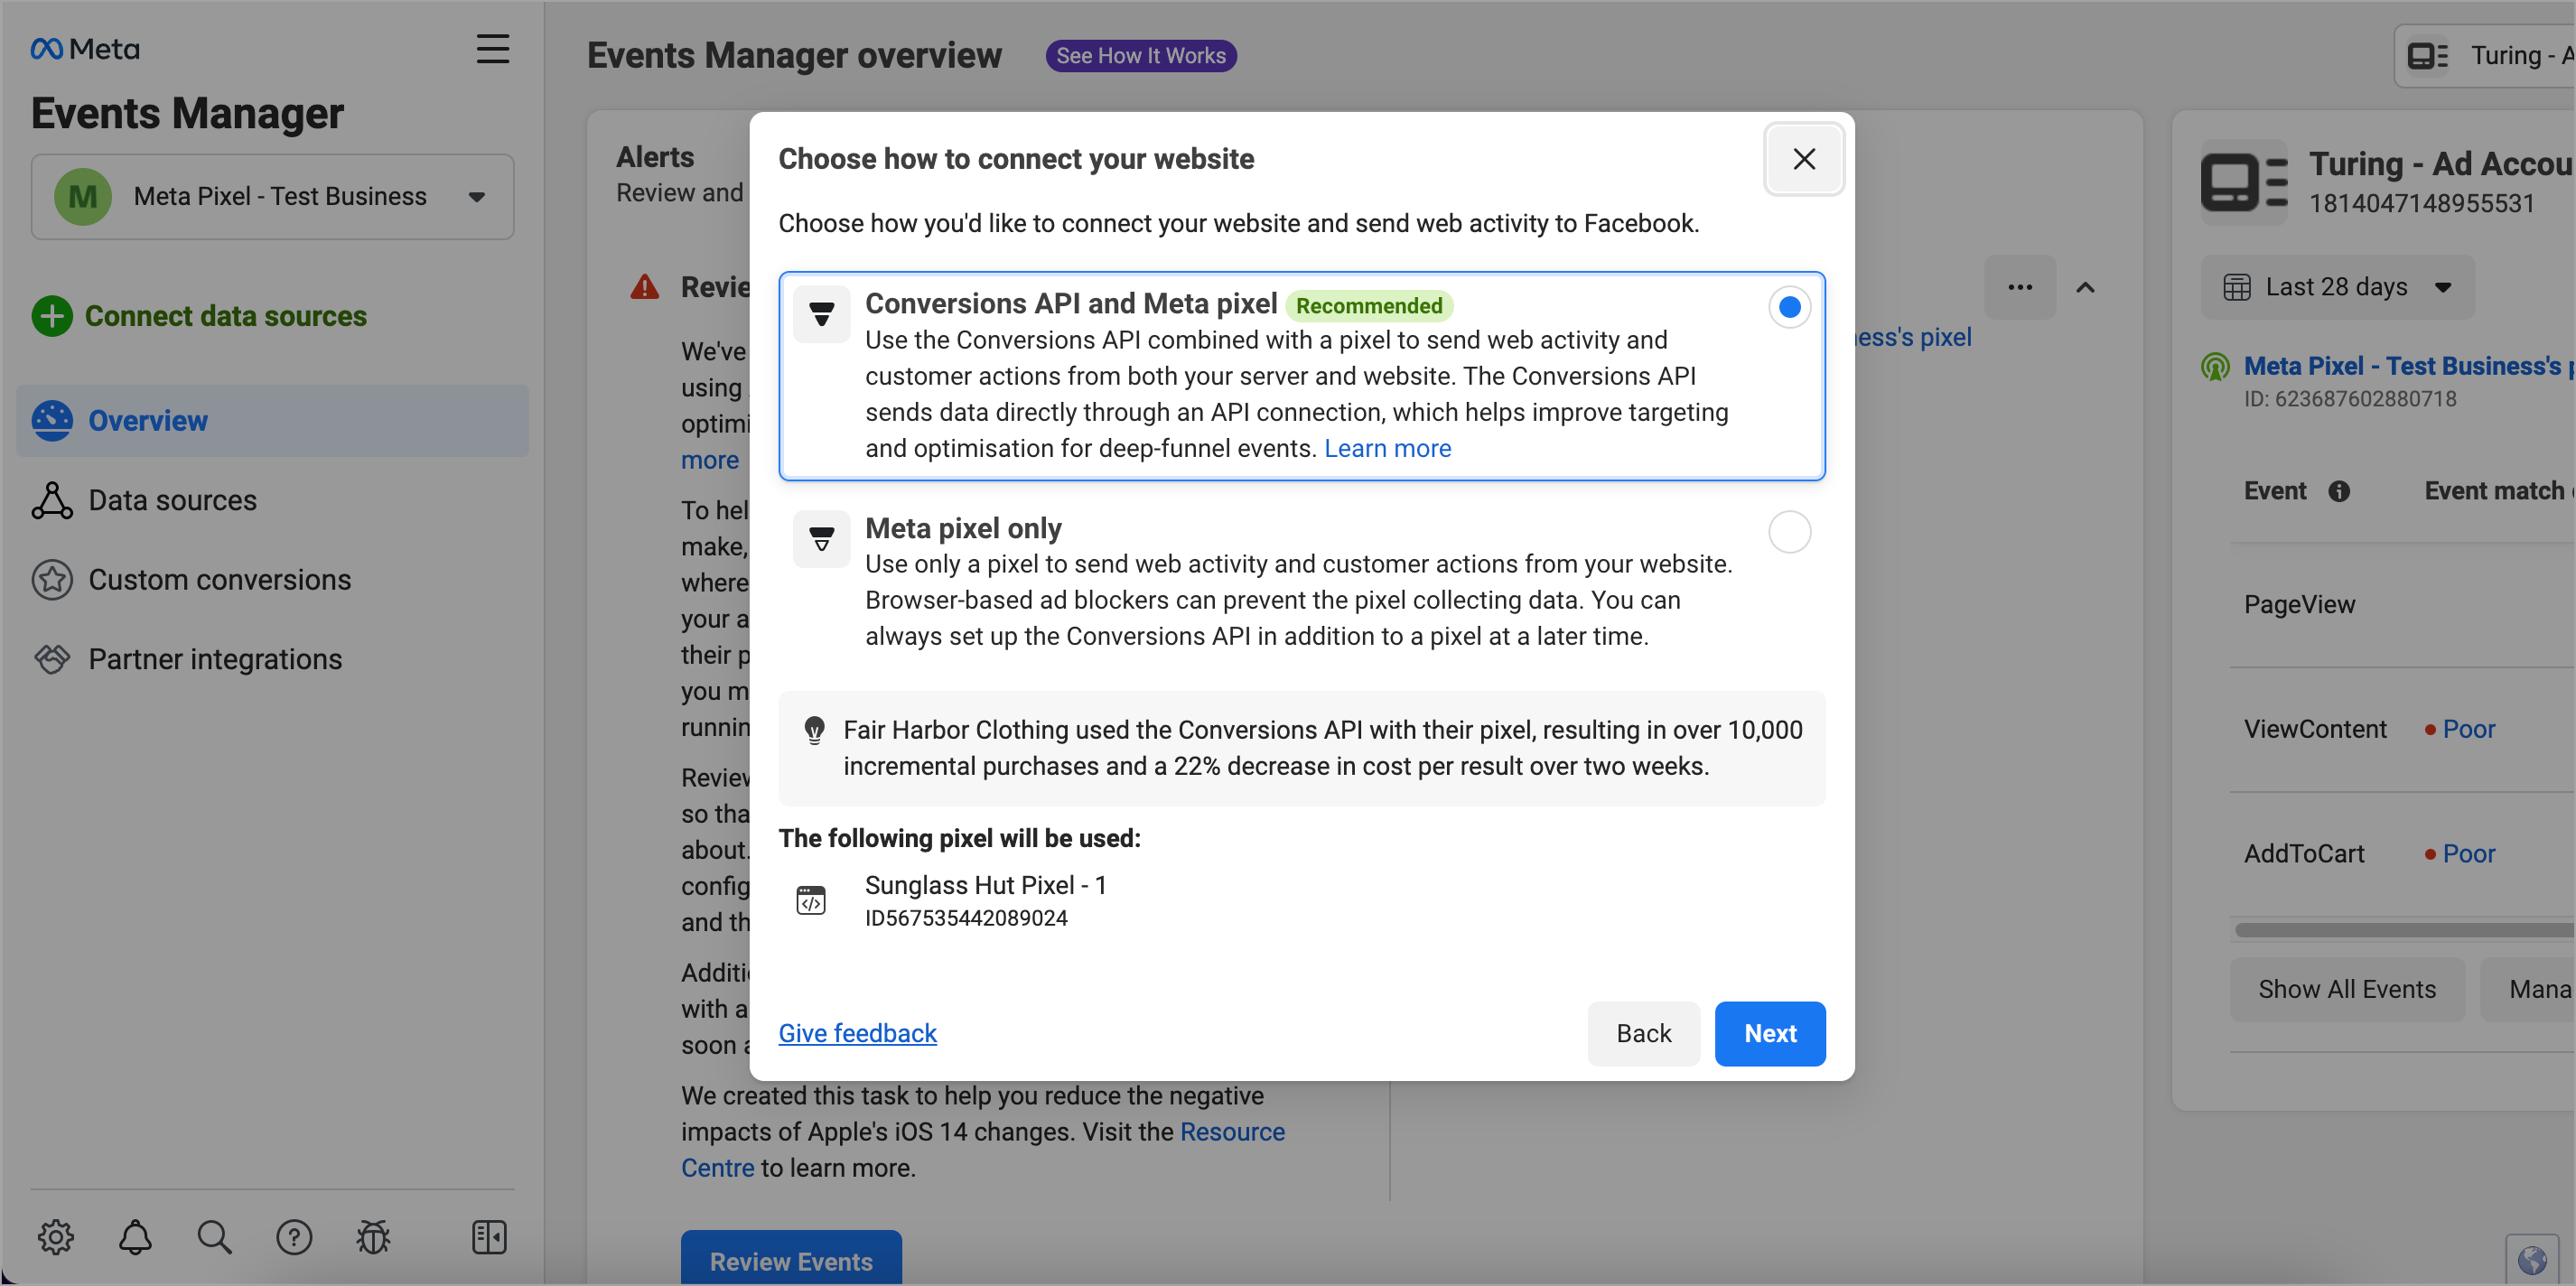
Figure 11: Choosing Recommended Option
-
Click Next.
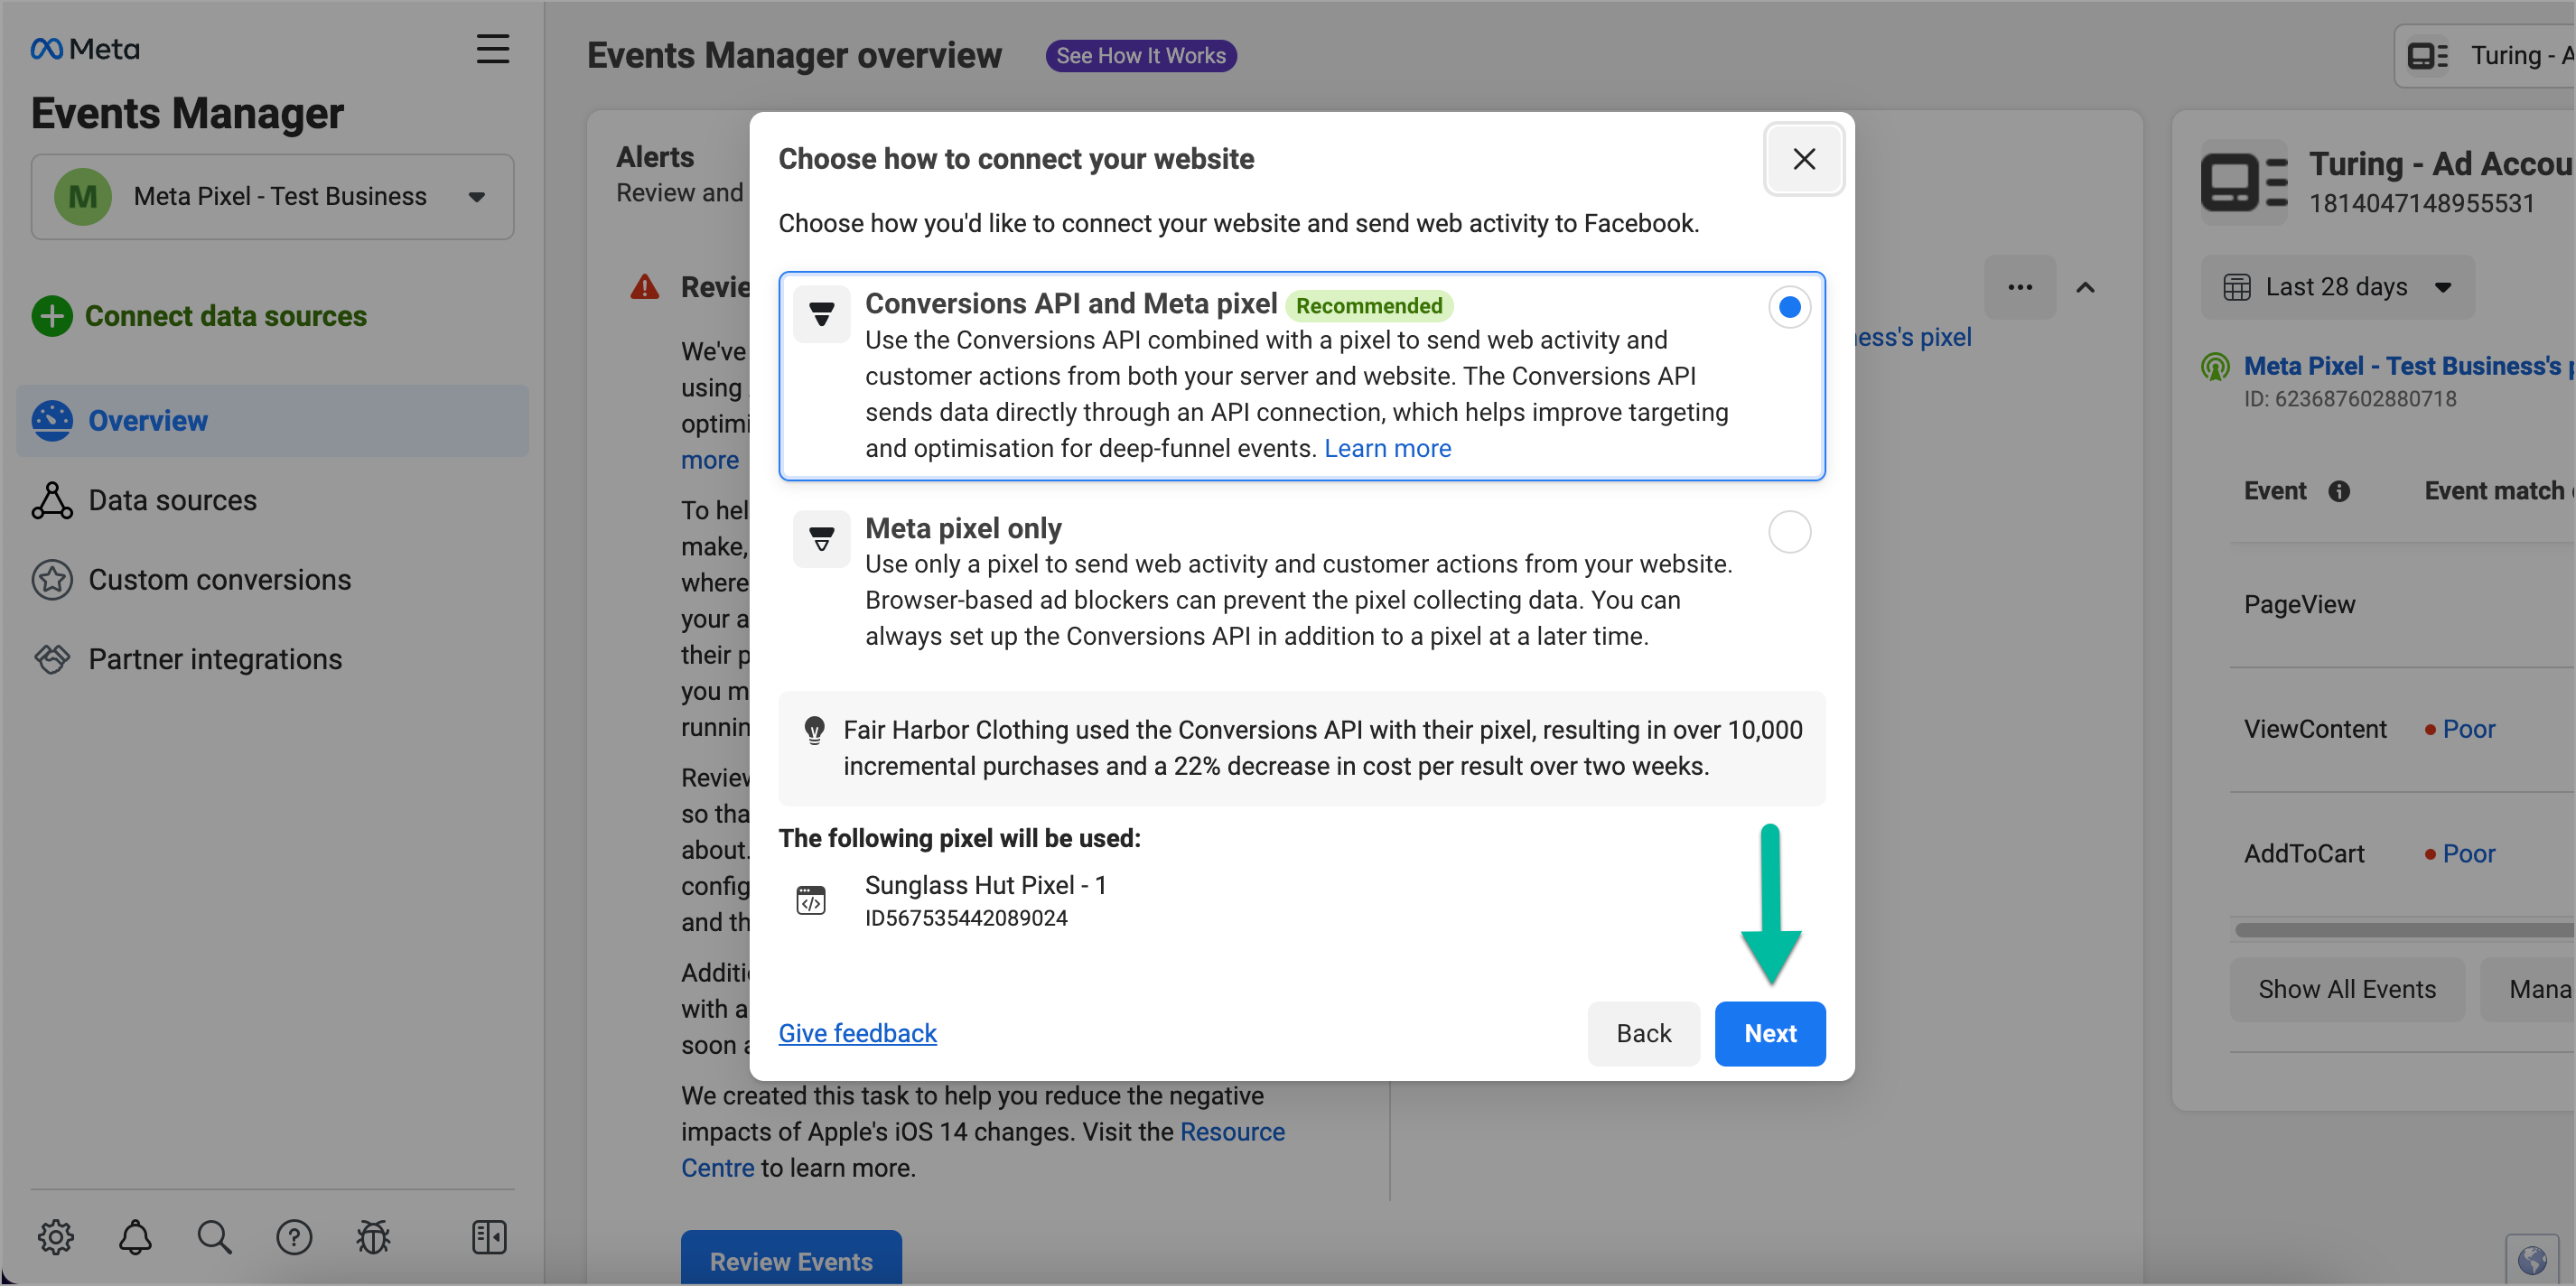
Figure 12: Clicking Next Button
-
Choose Set up manually option.

Figure 13: Choosing Set Up Manually Option
-
Click Next.
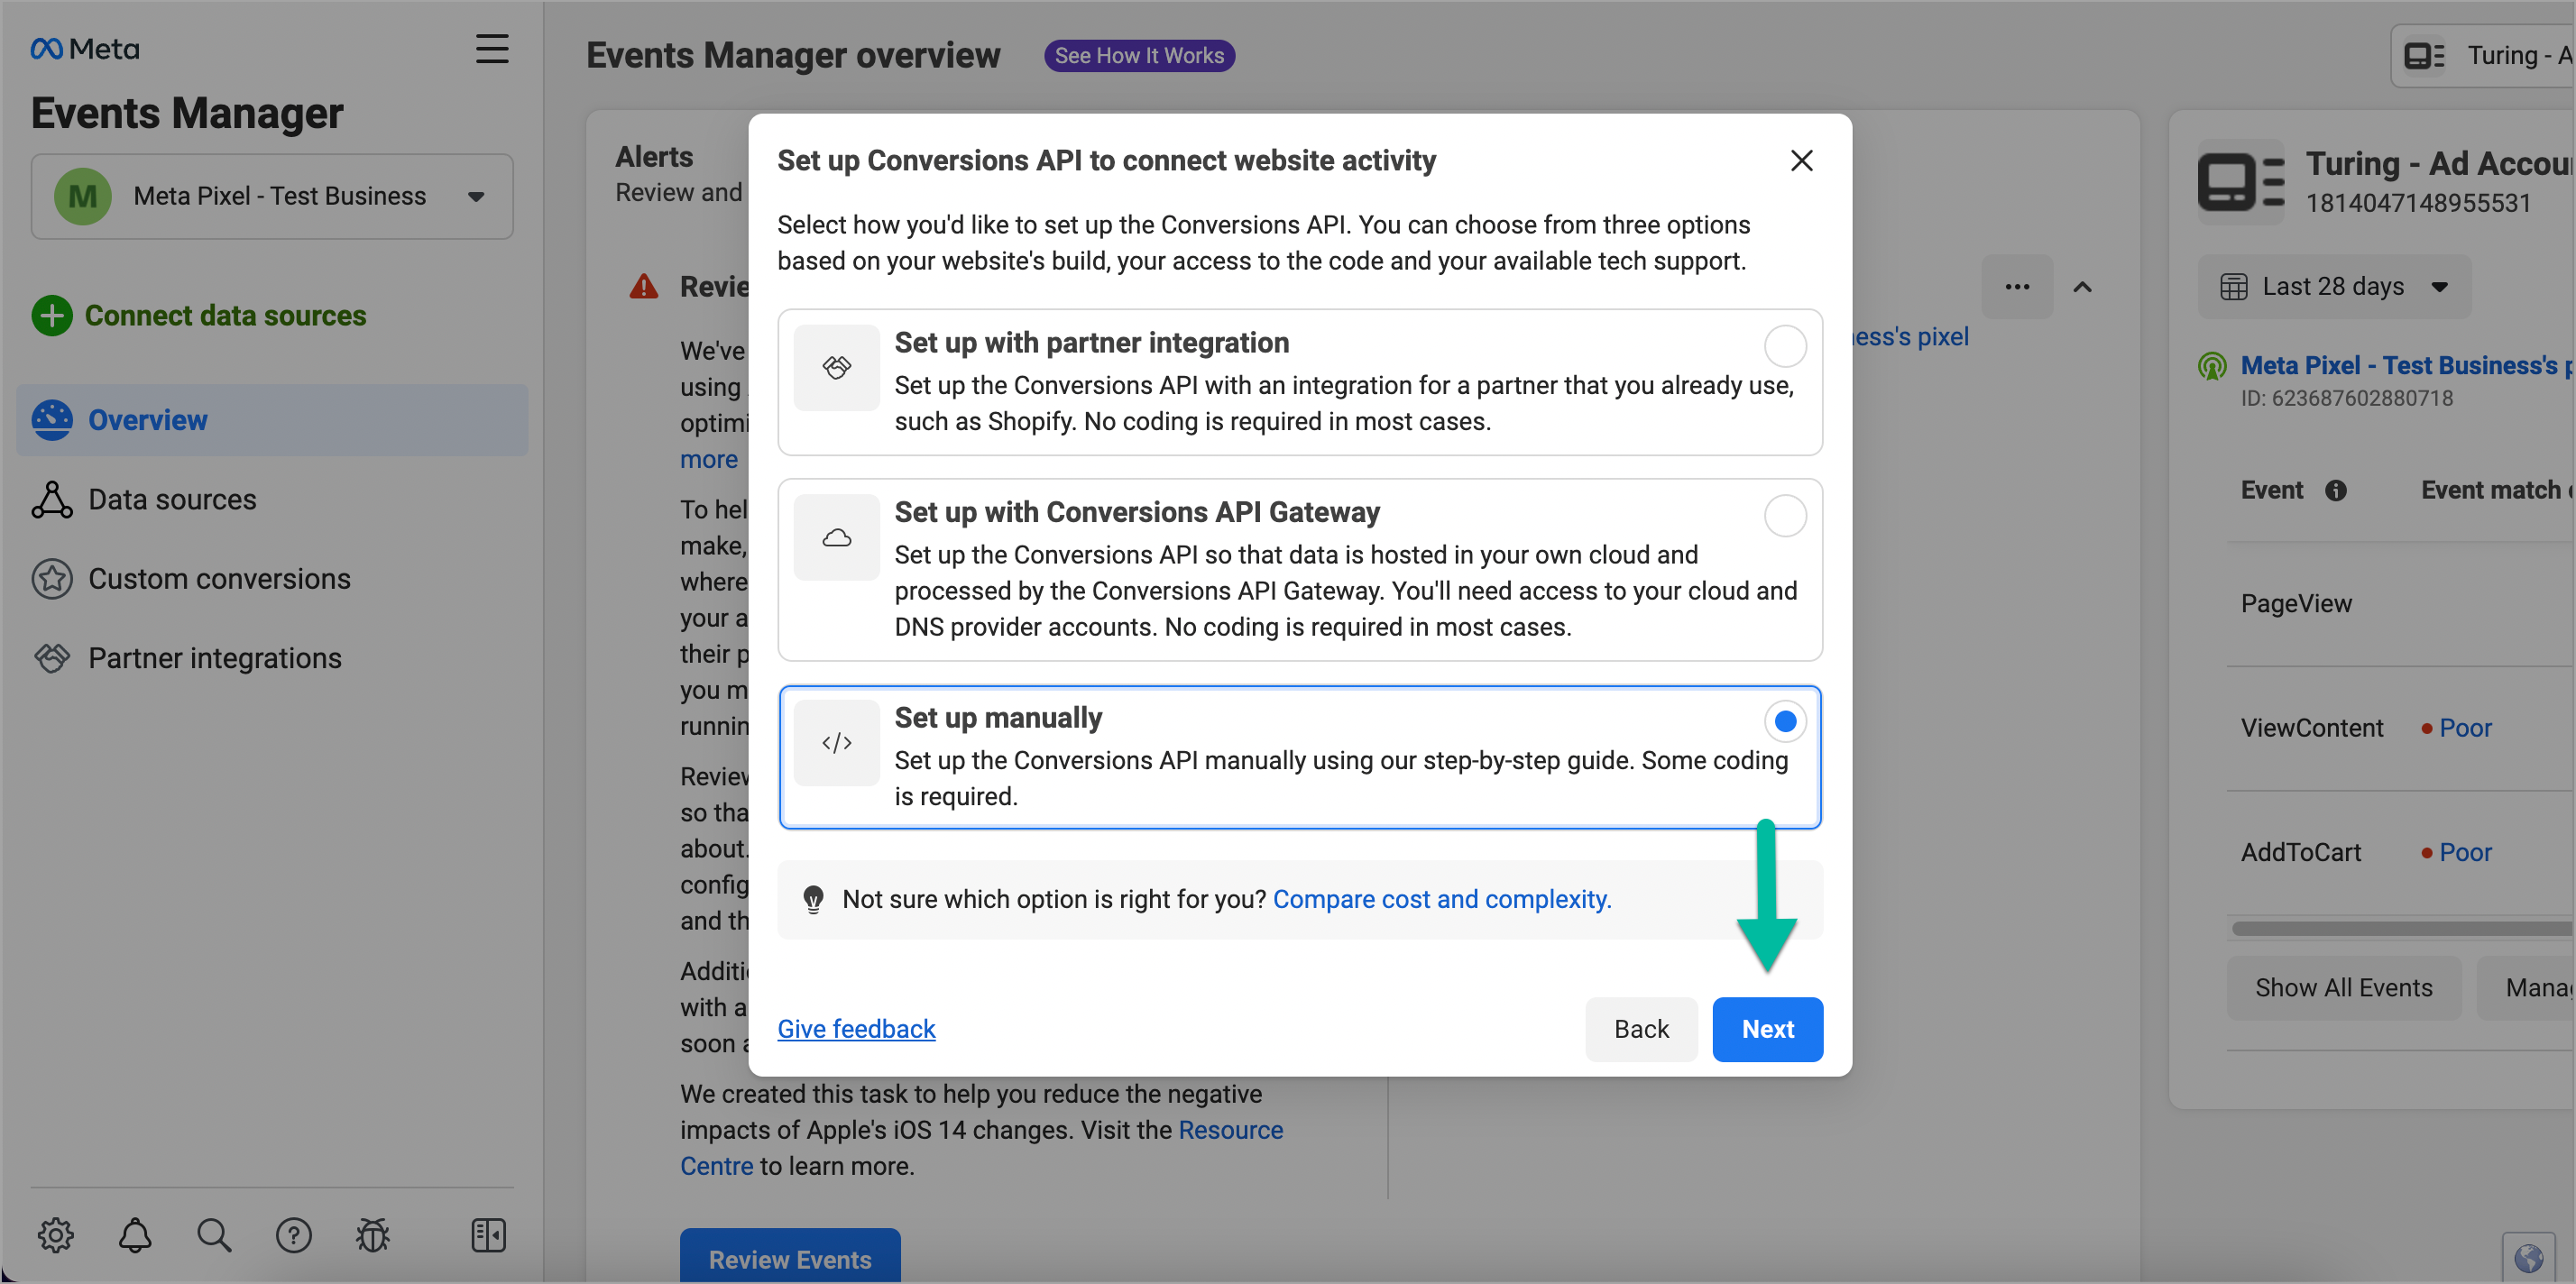
Figure 14: Clicking Next Button
-
Close the window titled Connect website activity using the Conversions API.
-
Go to Settings tab (Refer Figure 15).
-
Note down your Pixel ID as shown below.
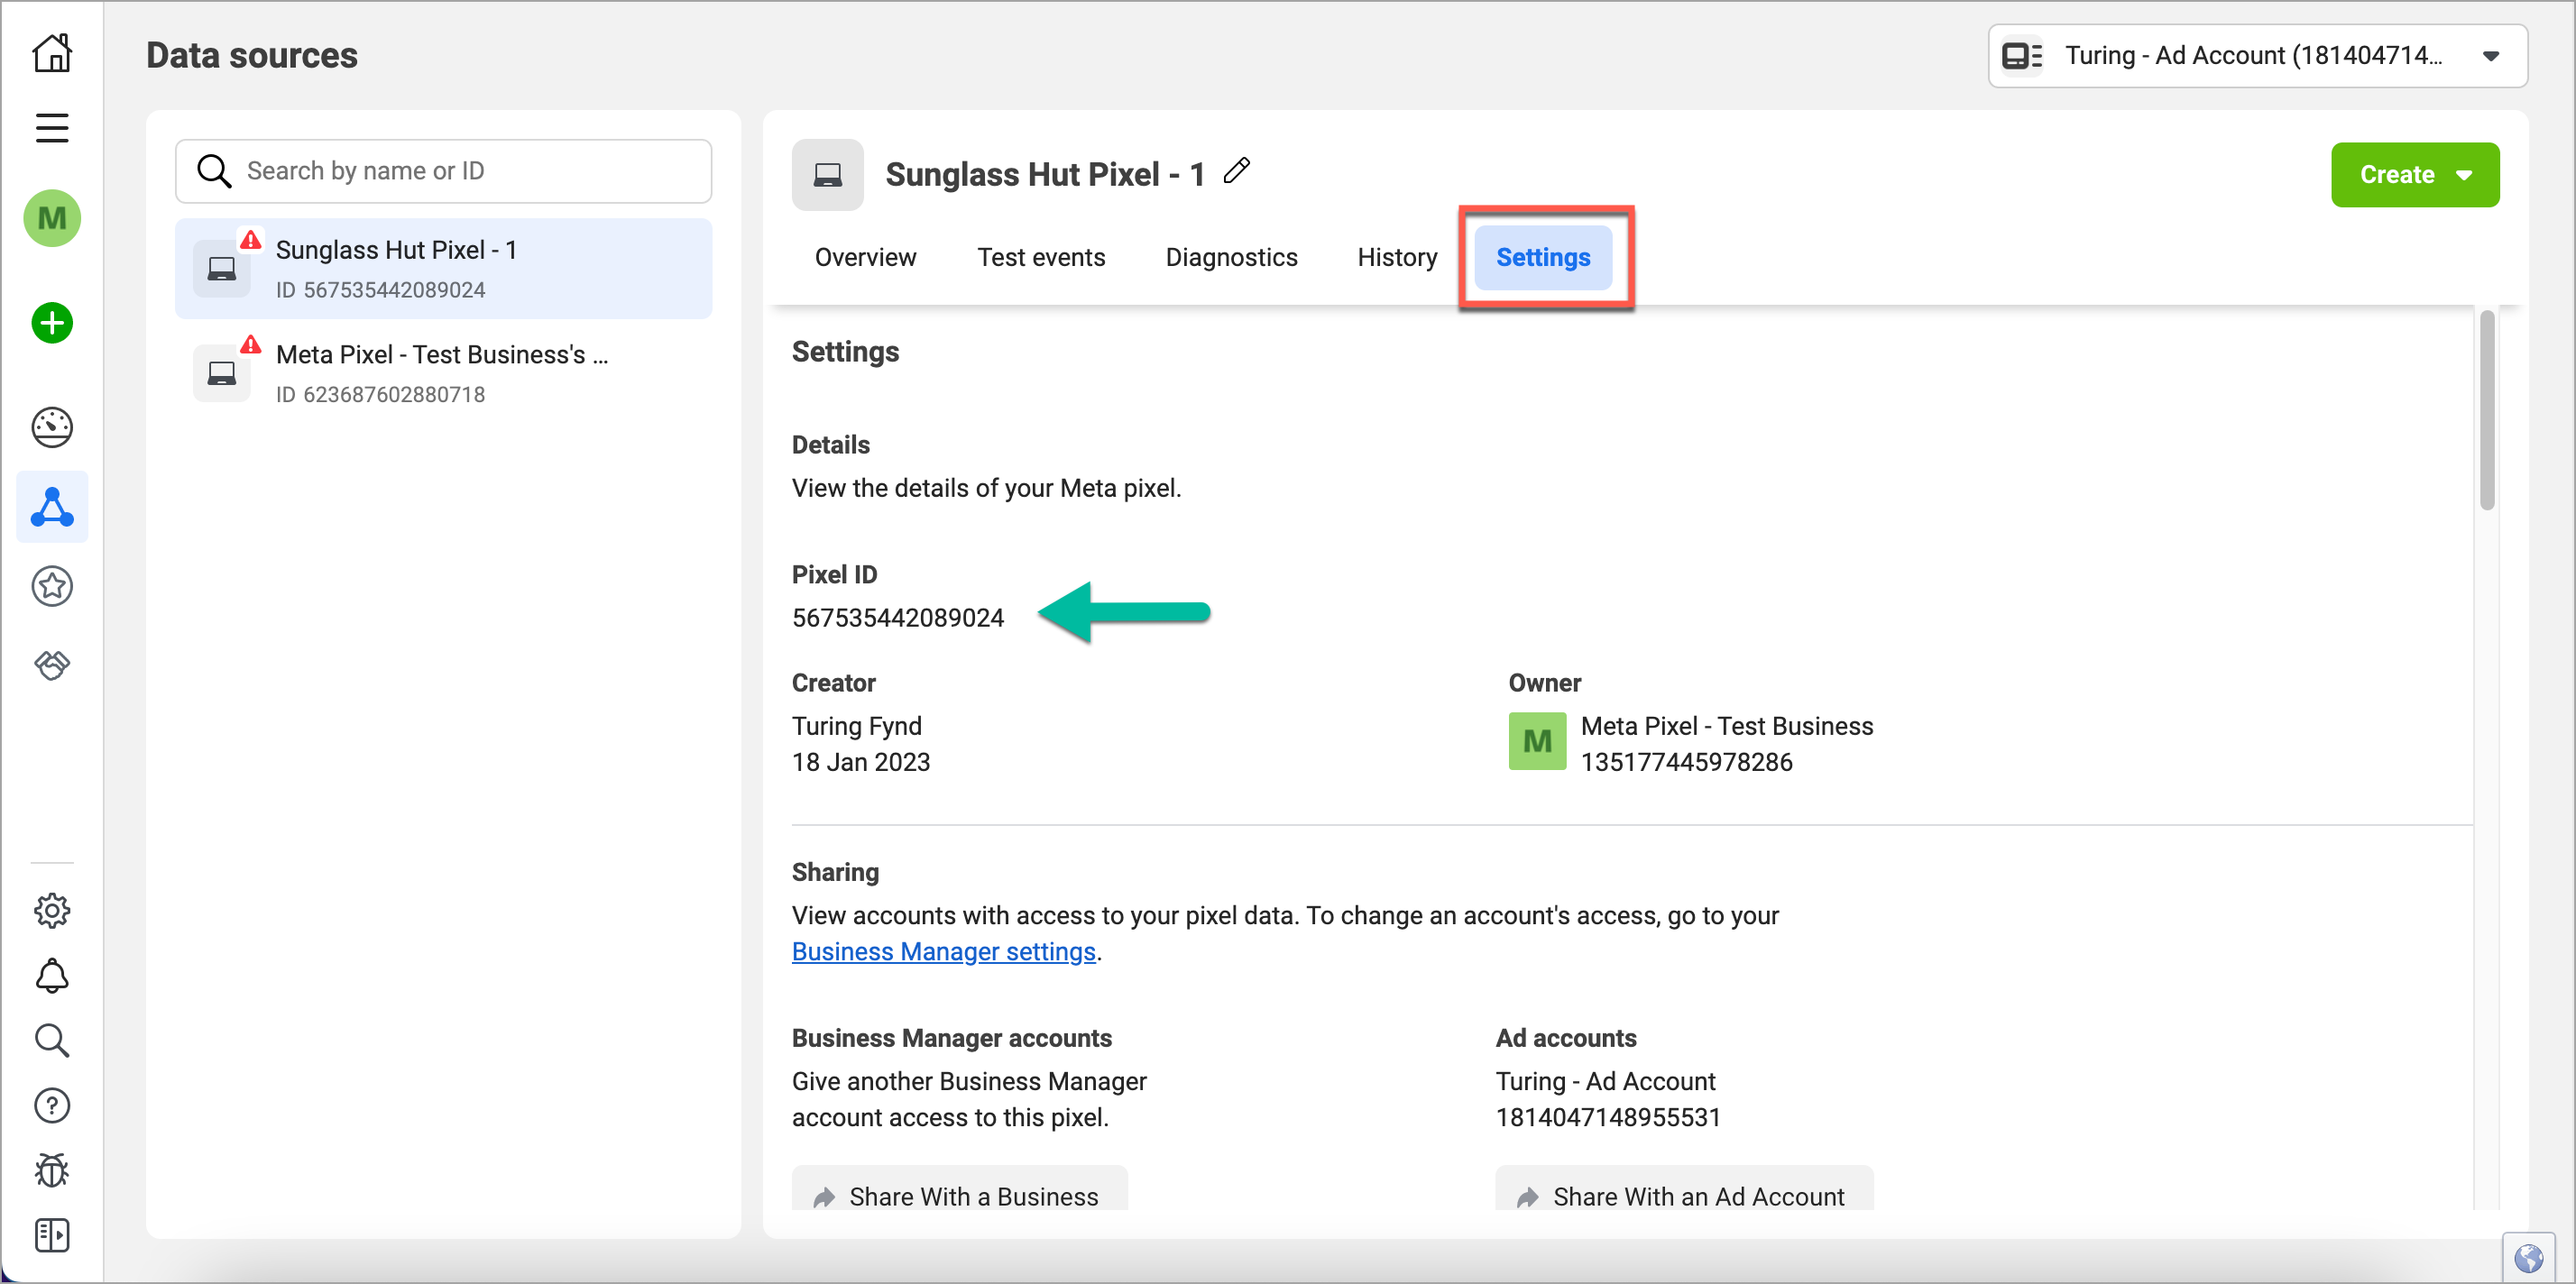
Figure 15: Noting Down the Pixel ID
-
Go to Extensions in Fynd Platform.
Figure 16: Extensions Section - Fynd Platform
-
Click Meta Pixel extension.
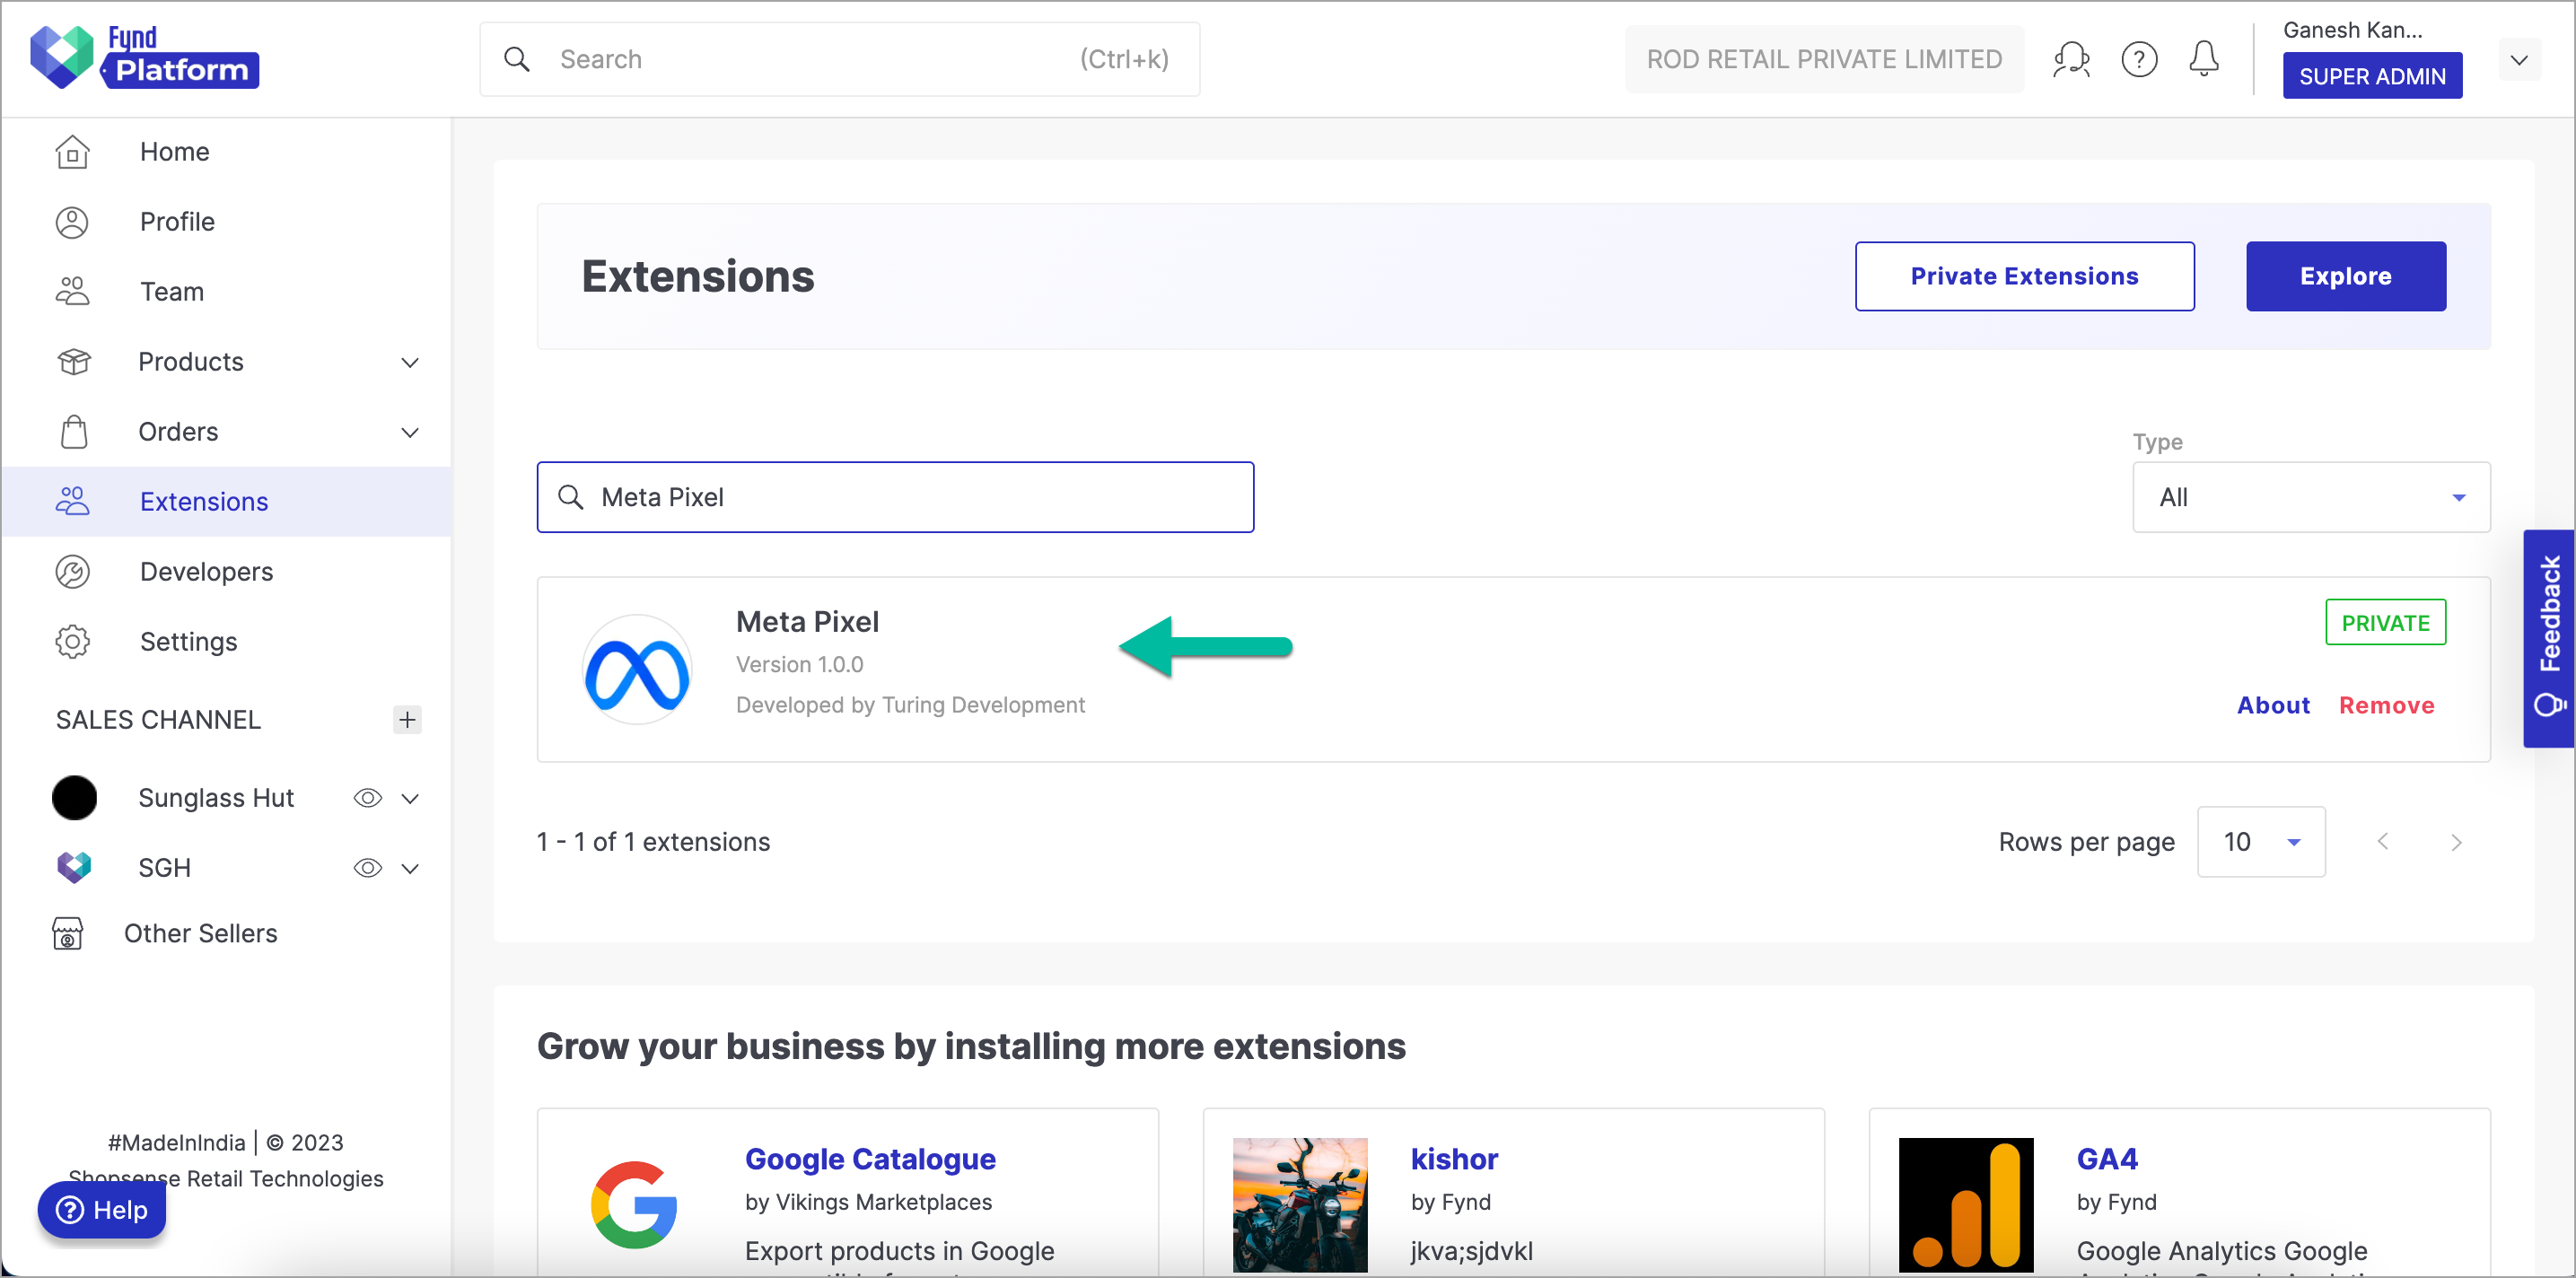
Figure 17: Meta Pixel Extension
noteOnce you have installed this extension, it will be available in the list here.
-
Select desired sales channel. Here, we have selected 'Sunglass Hut'.
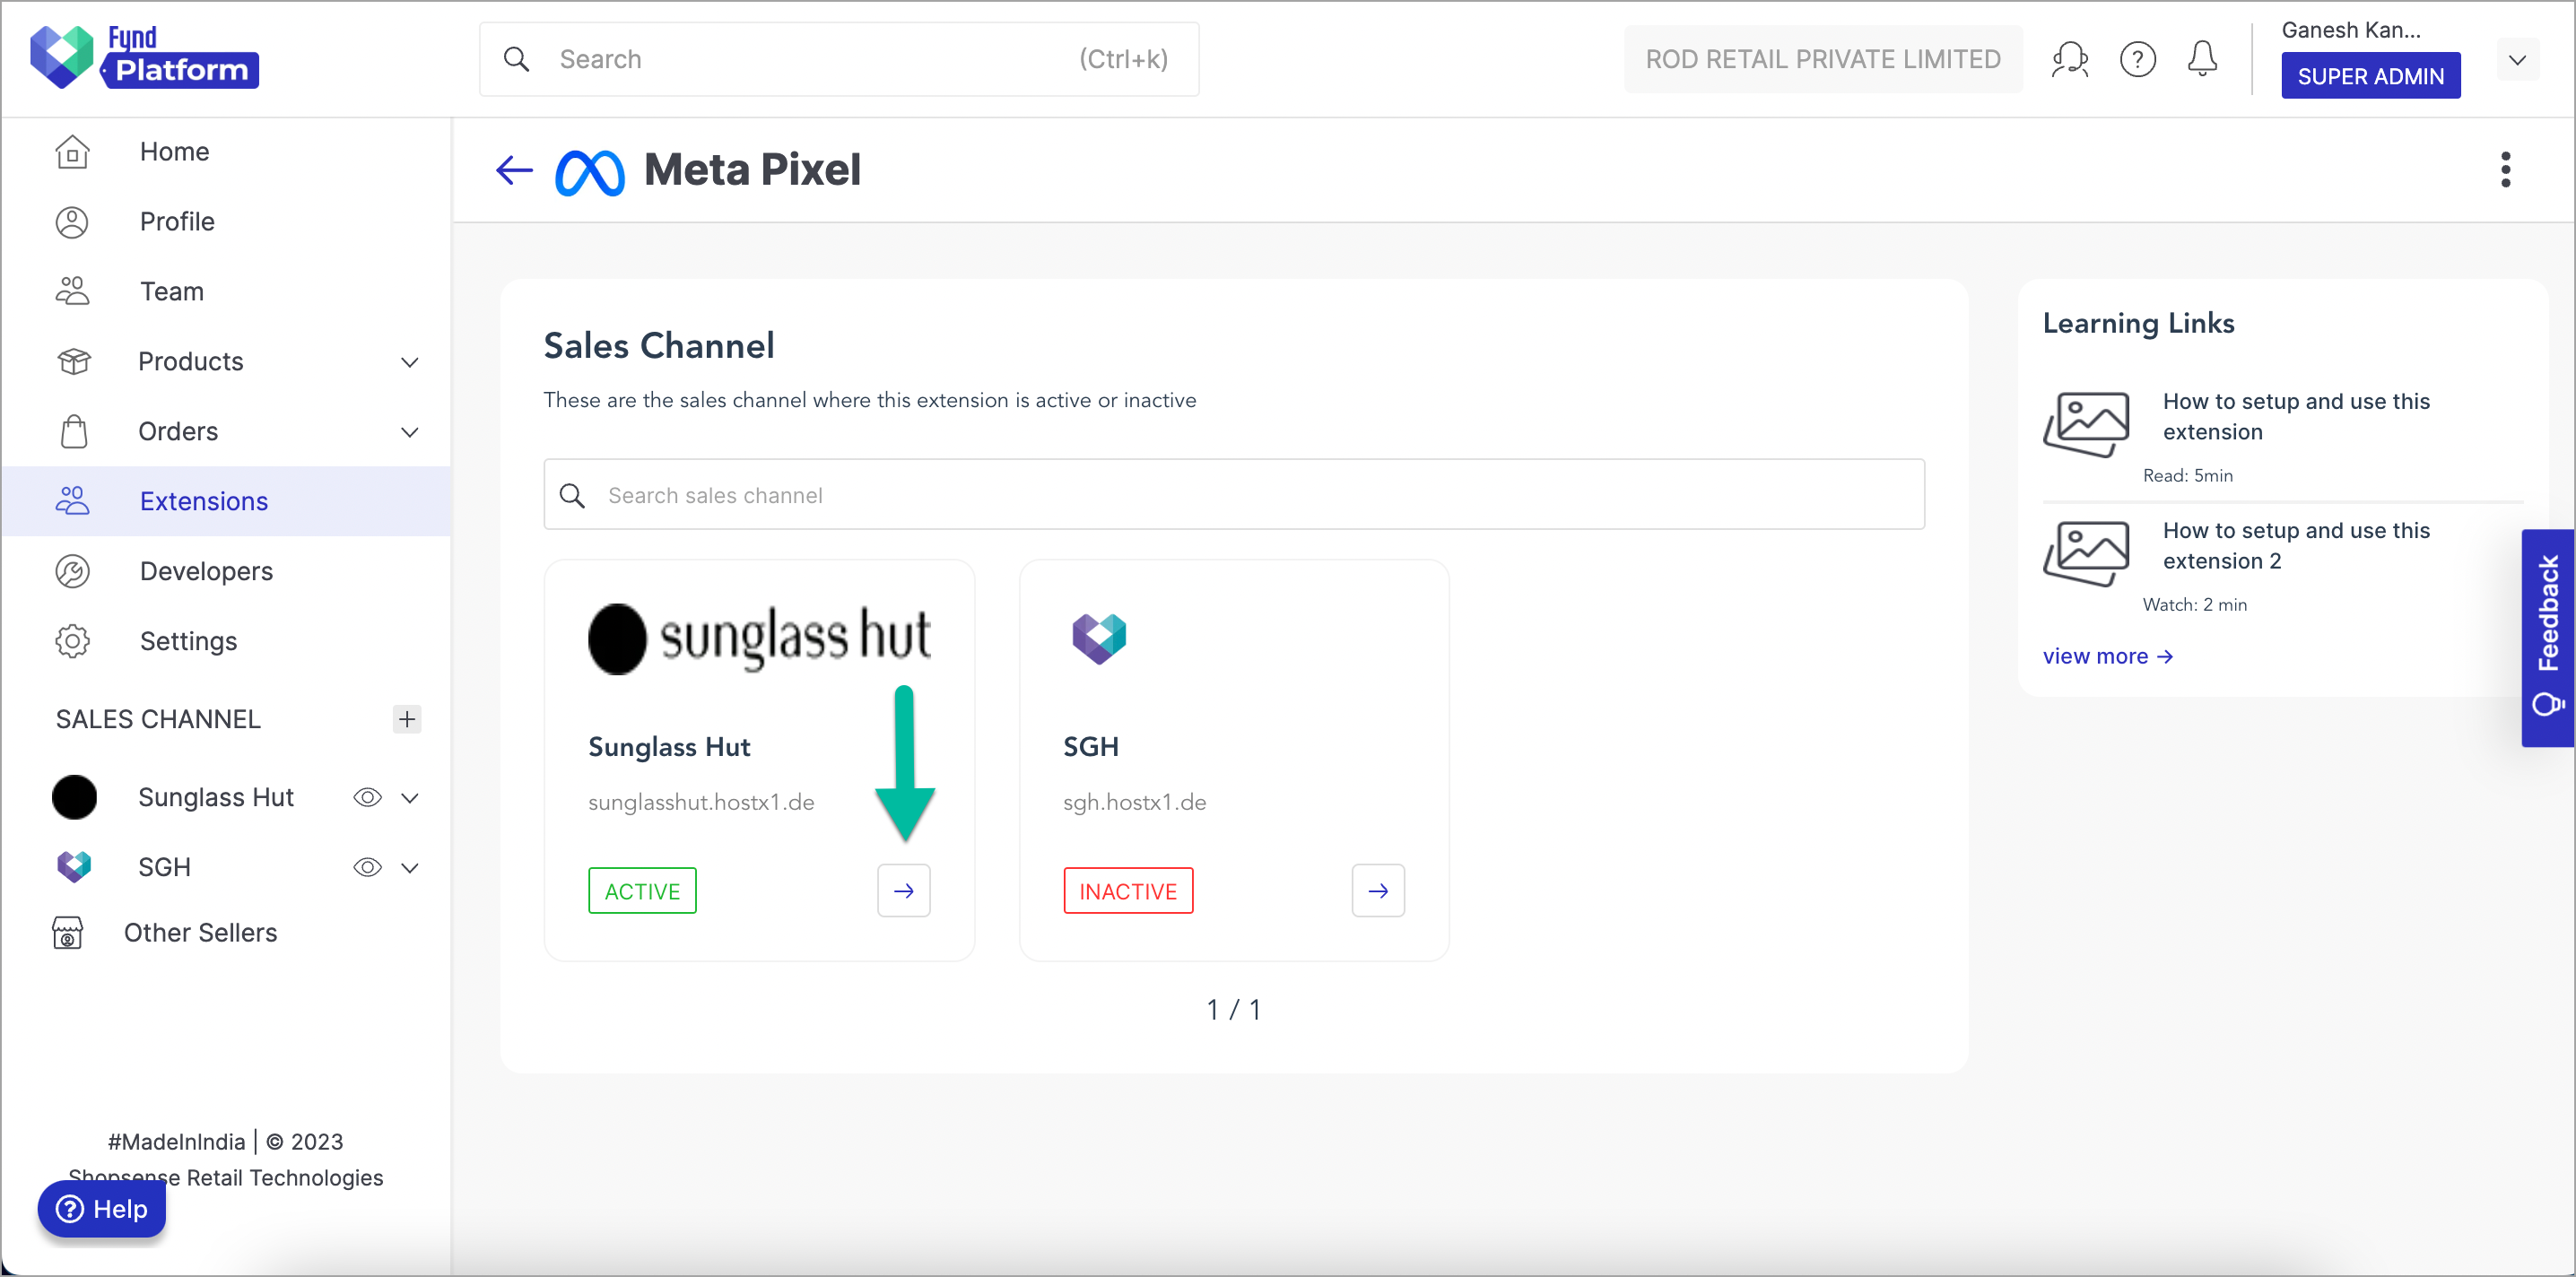
Figure 18: Selecting Desired Sales Channel
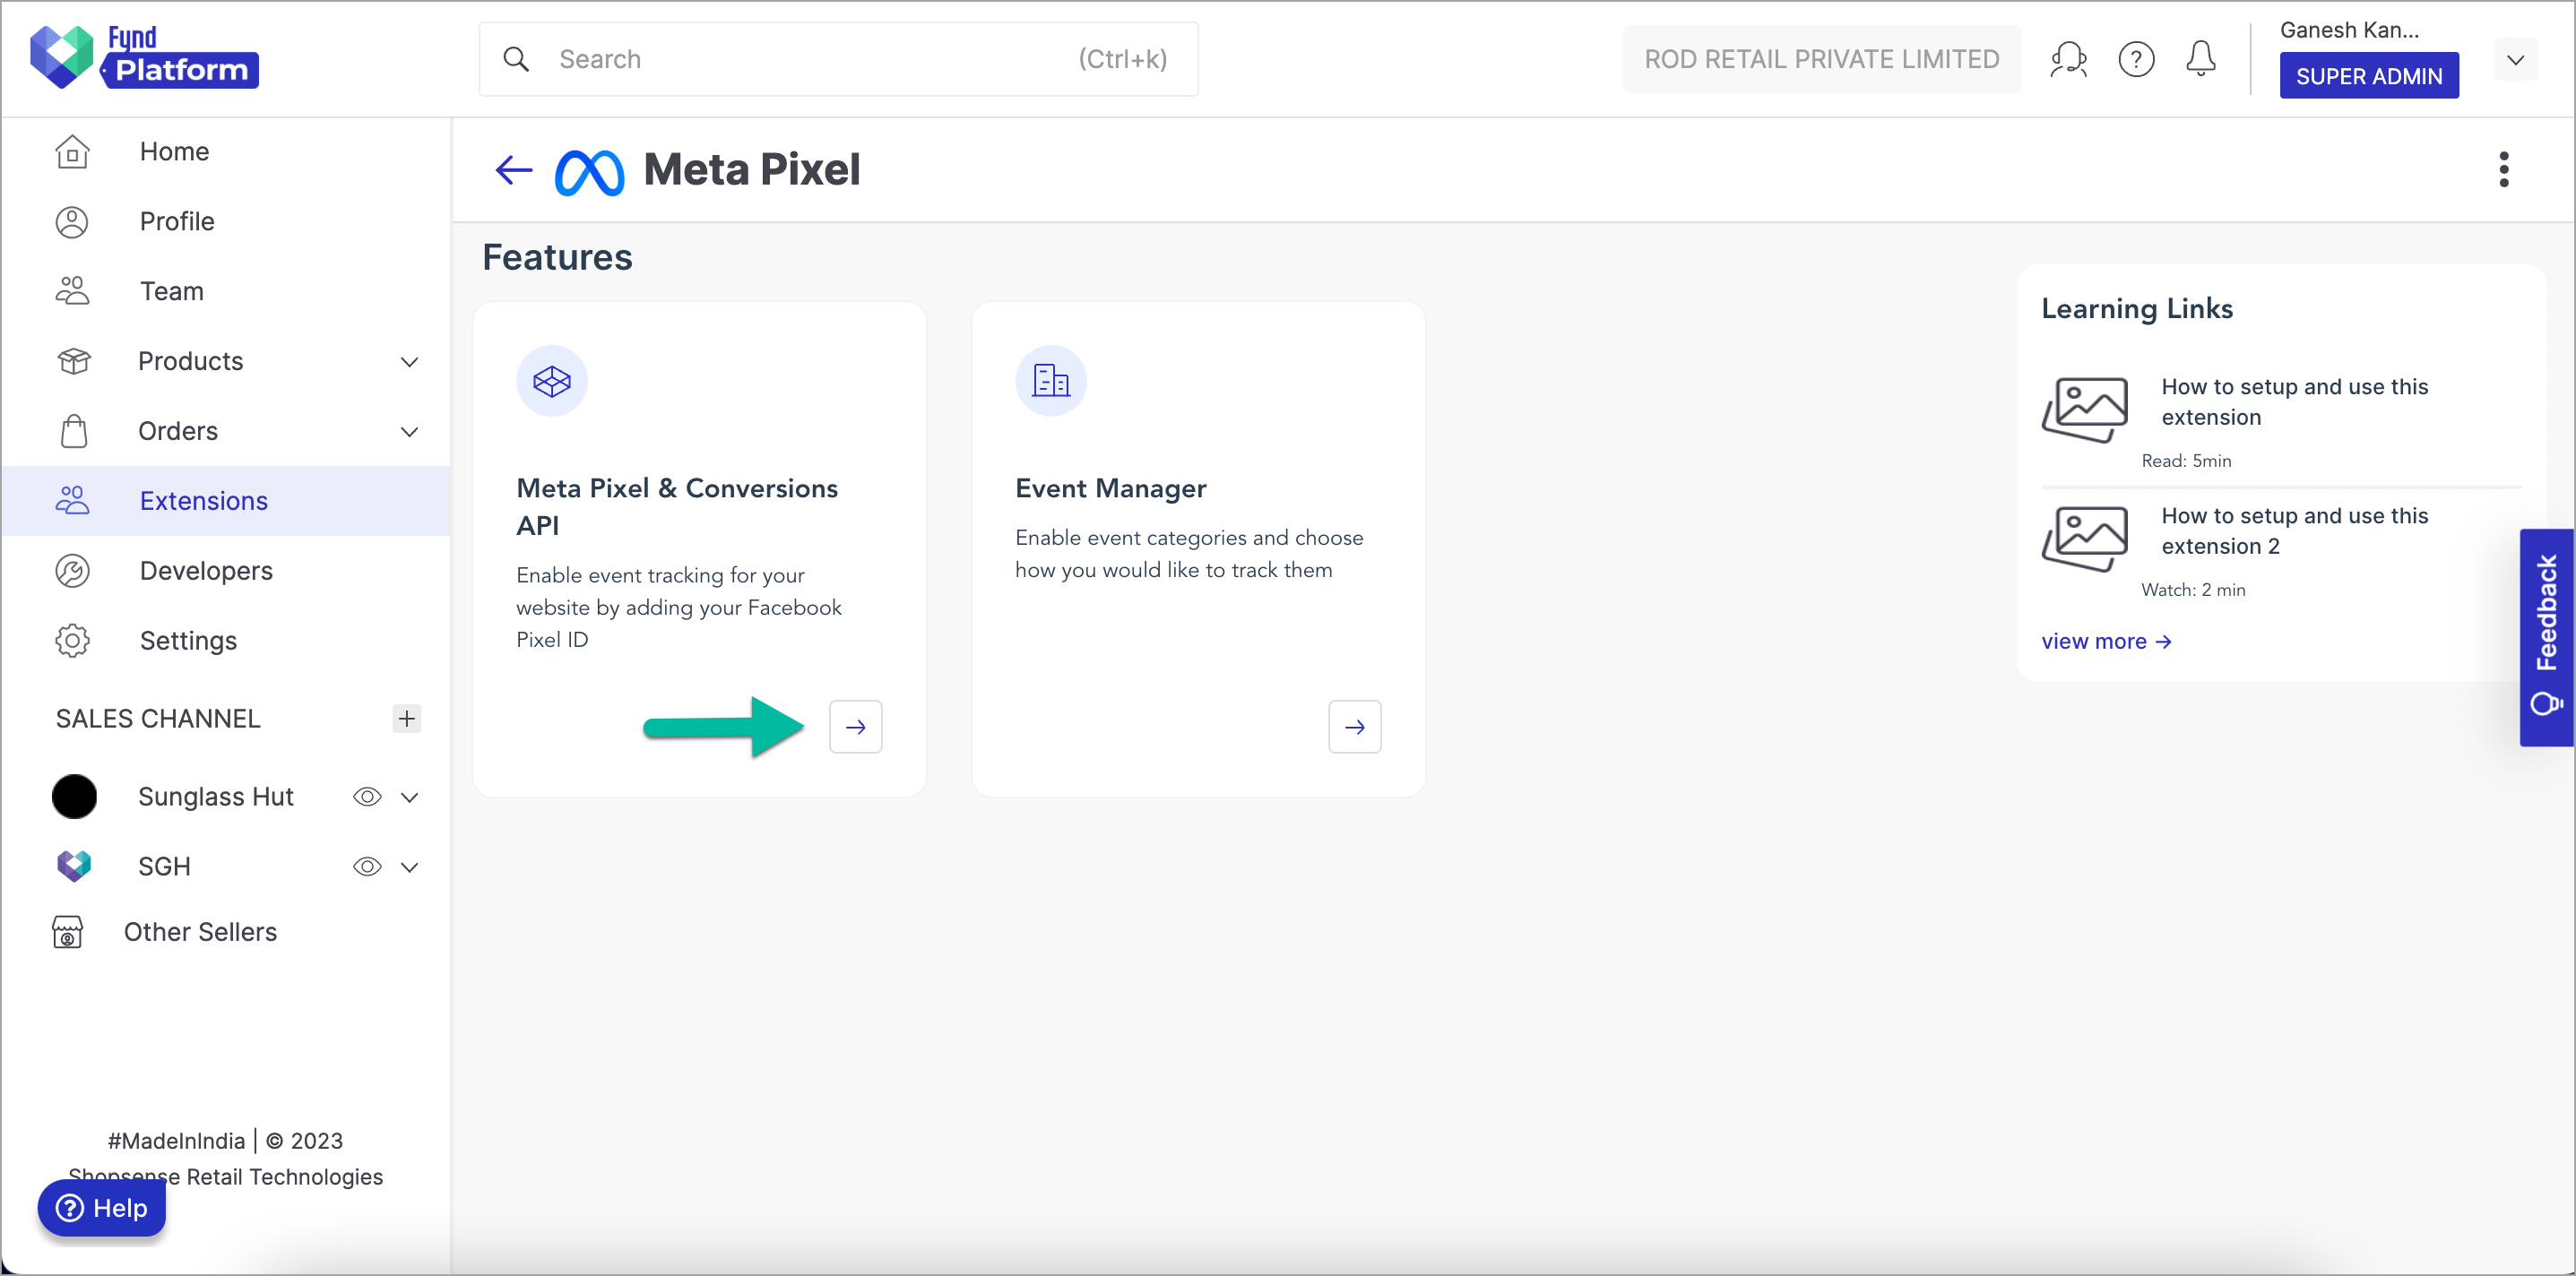
In the upcoming sections, you'll learn more about various features available in Meta Pixel extension.
Meta Pixel & Conversions API
Click Meta Pixel & Conversions API widget.
-
Turn ON the toggle button to activate meta pixel for a sales channel.
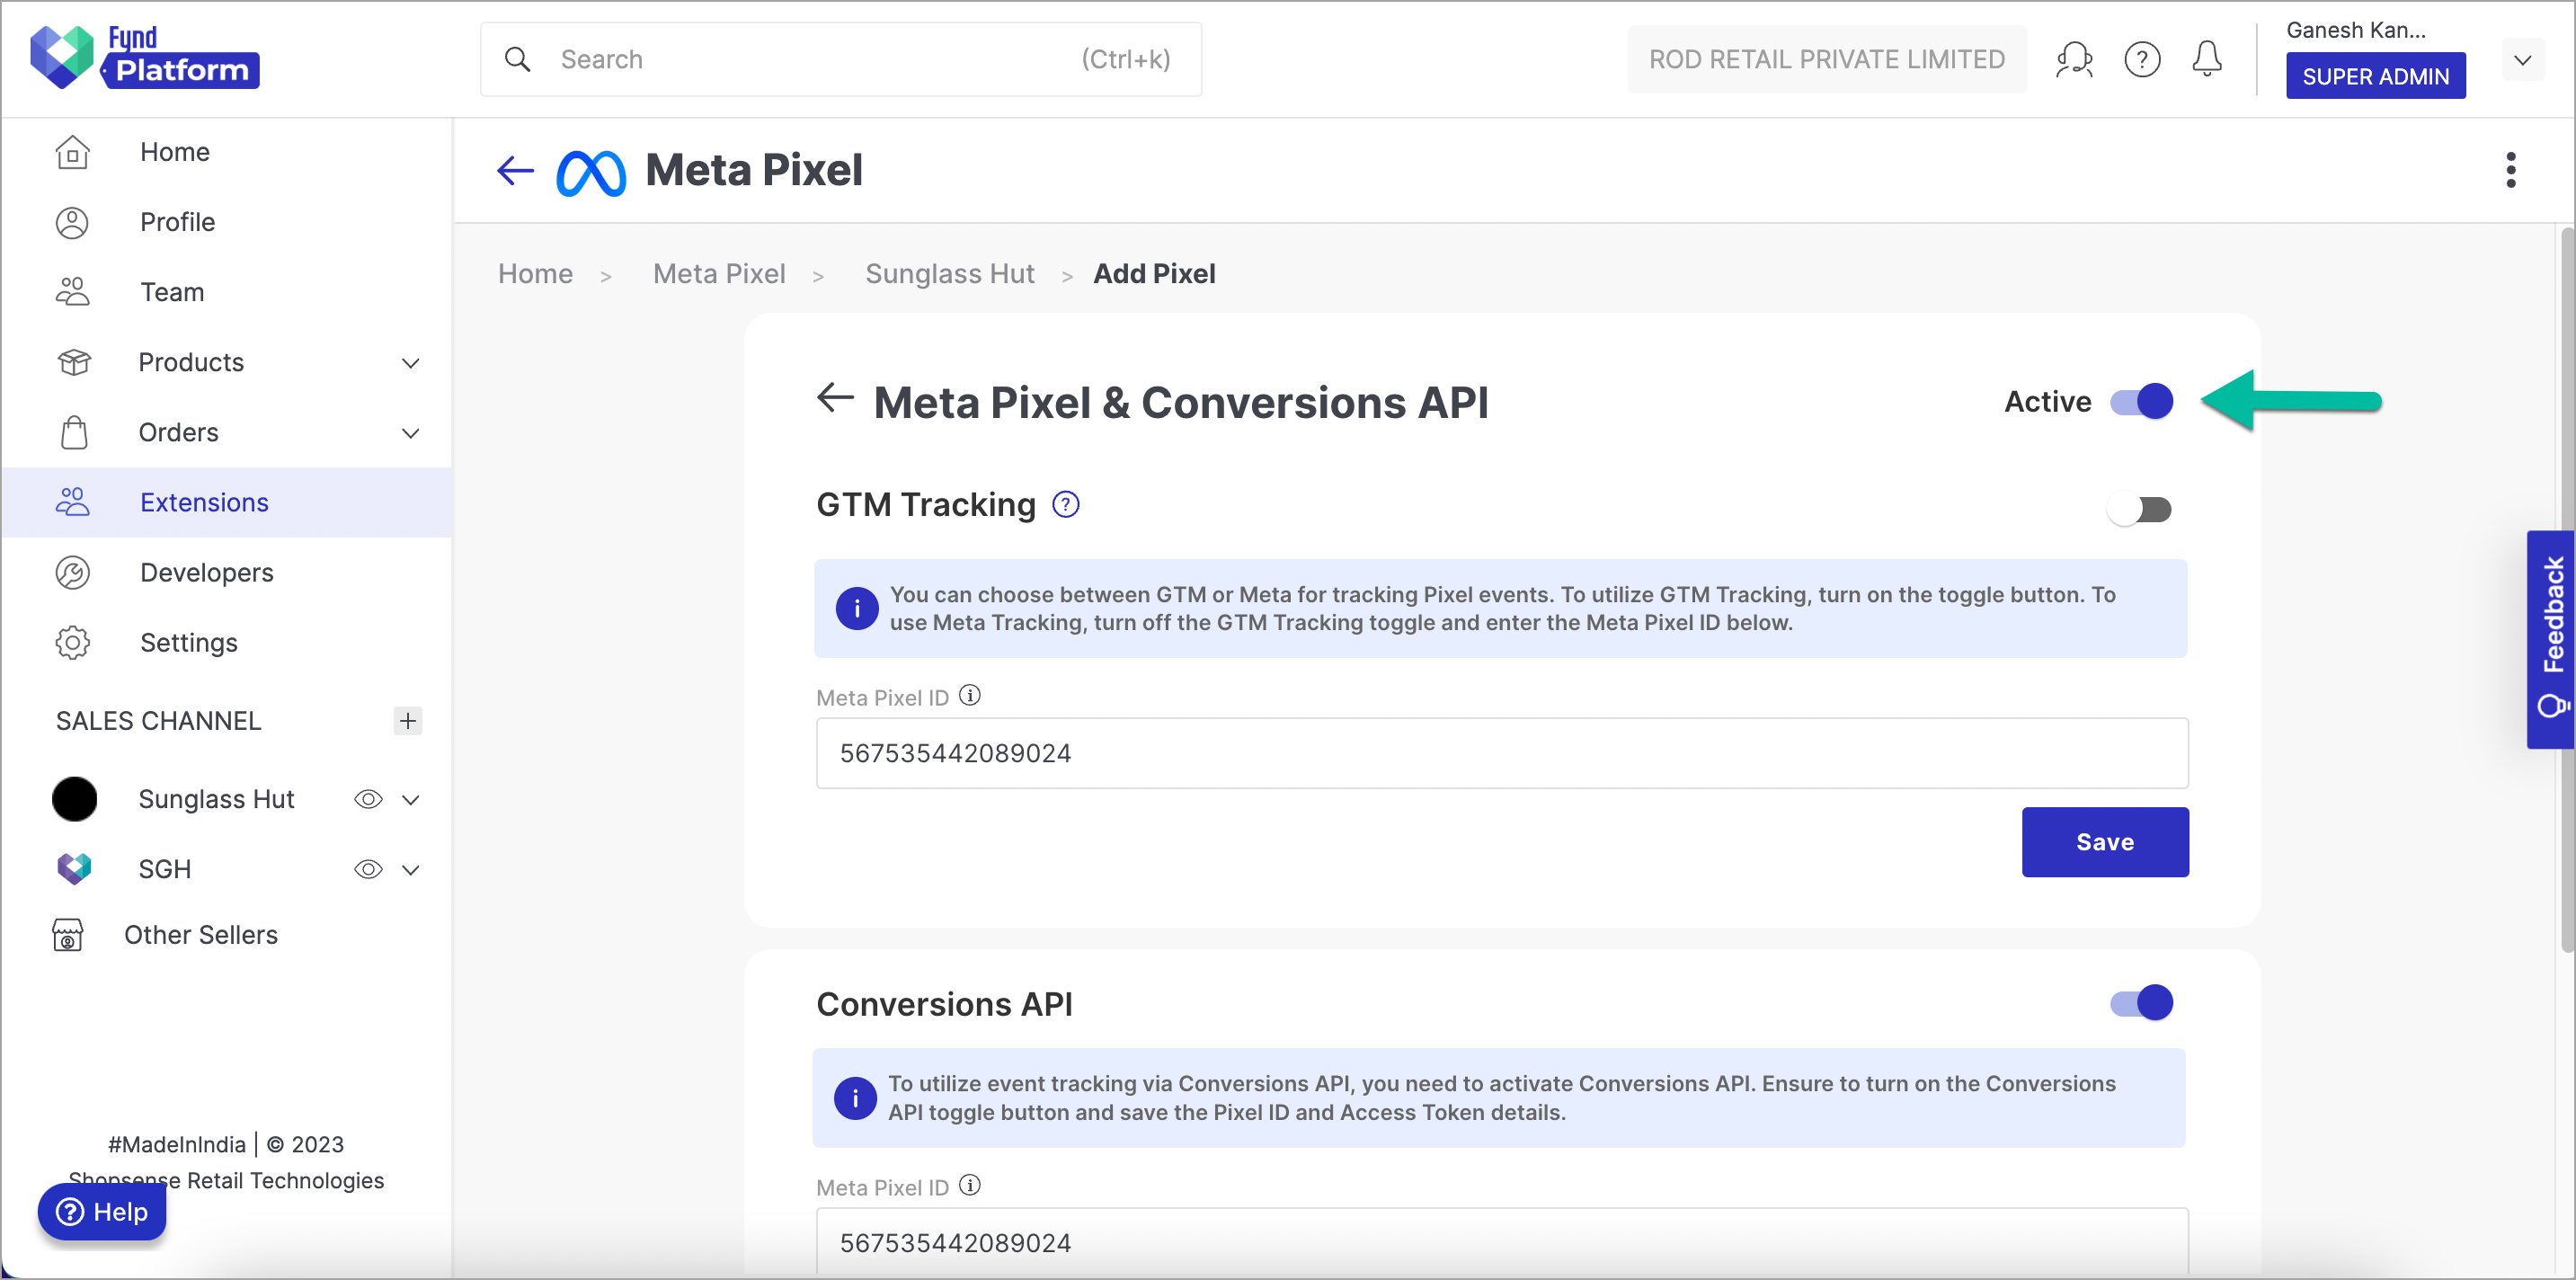
Figure 20: Activating Meta Pixel Extension
-
Meta Pixel
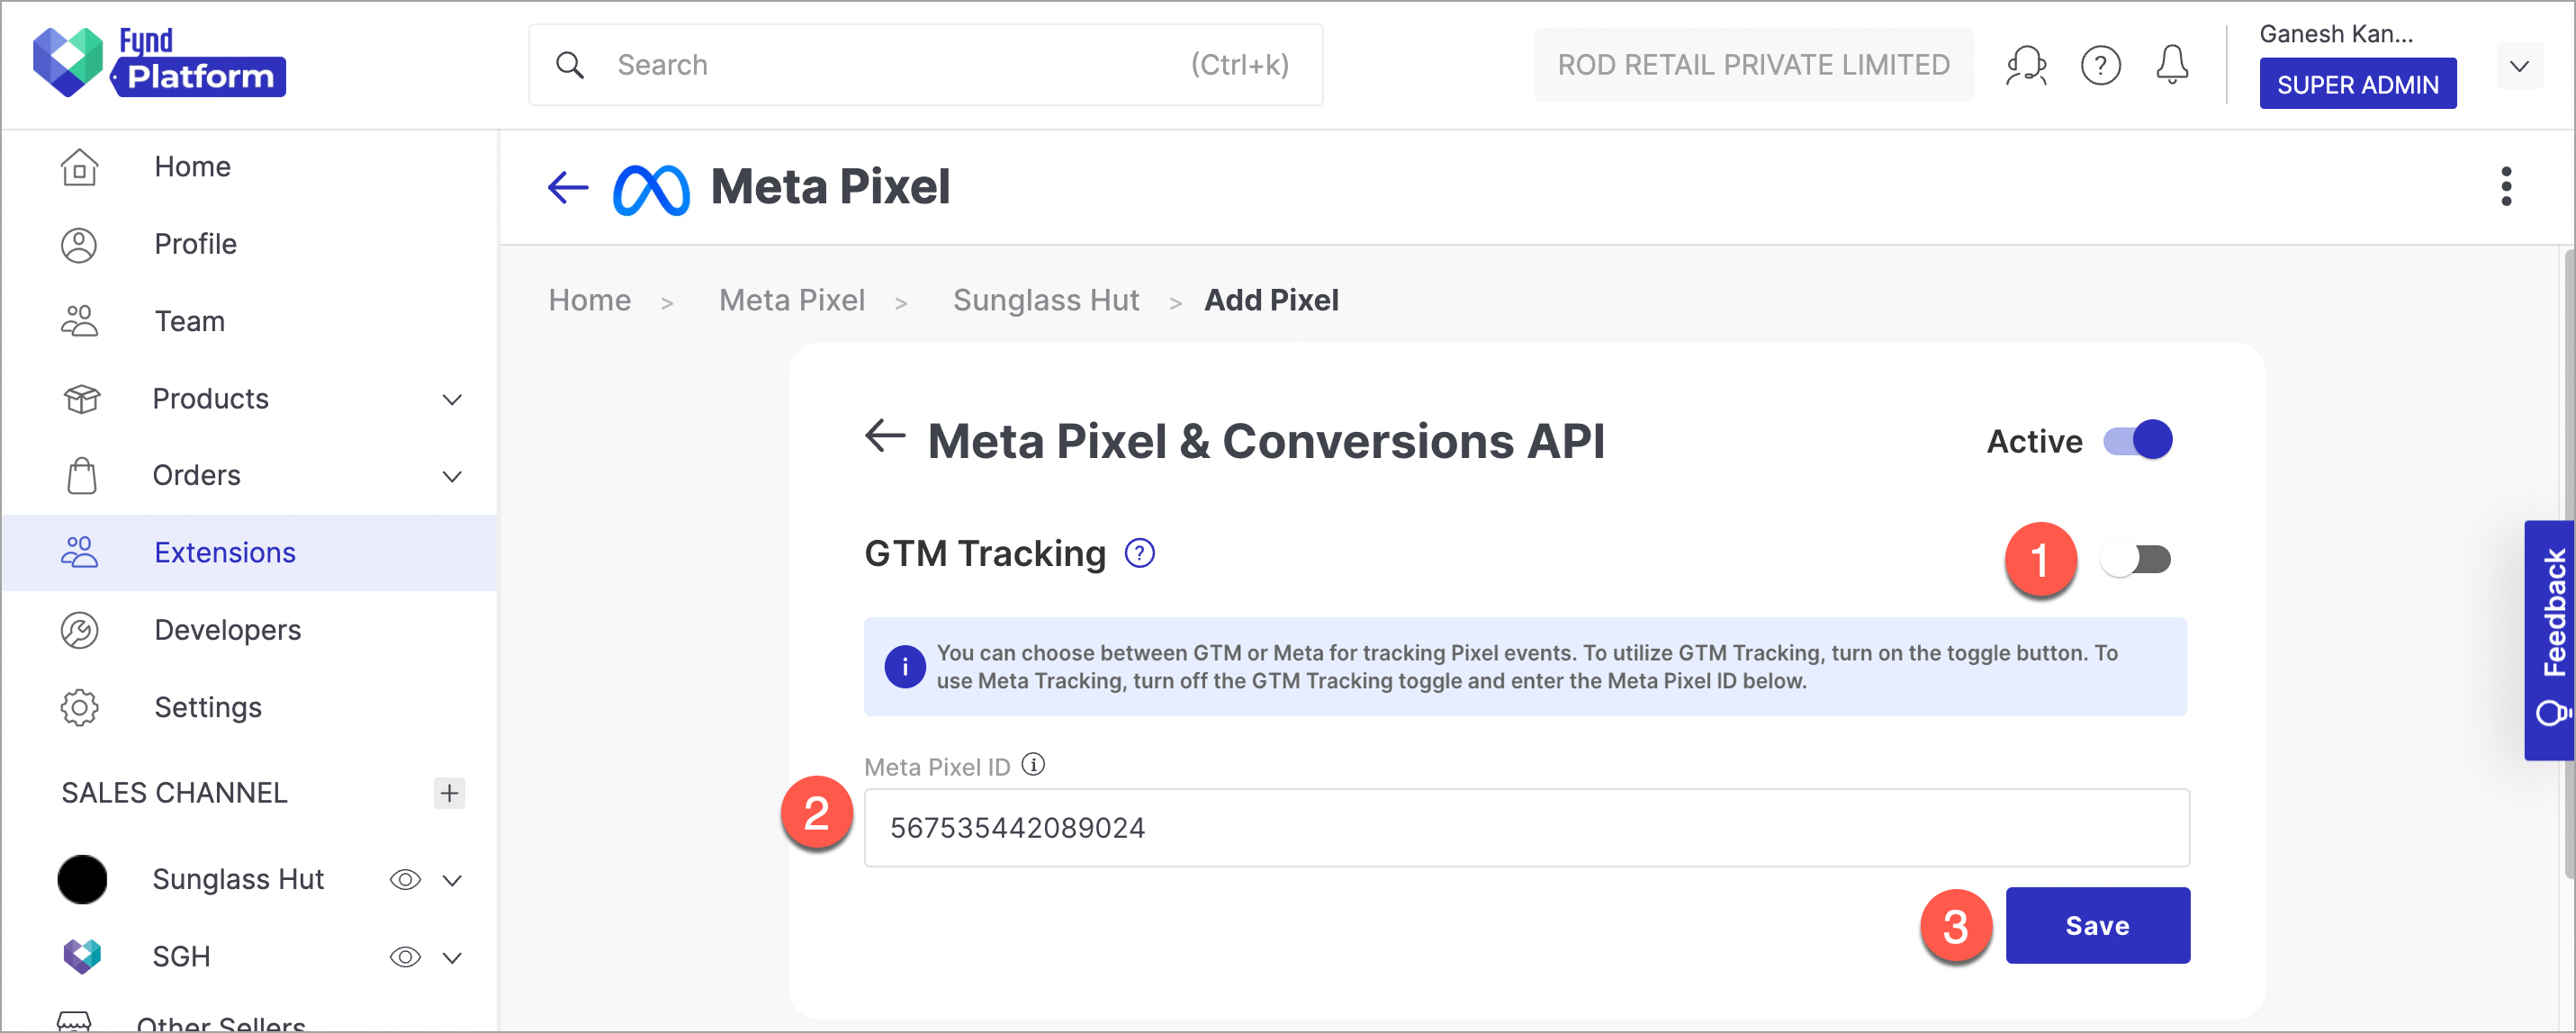
Figure 21: Configuring Meta Pixel Settings
-
GTM Tracking - Turn ON the toggle button if you have added Meta Pixel to GTM (Google Tag Manager).
-
Meta Pixel ID - Enter the meta pixel ID (which you have noted down in step 18) here. This field cannot be edited if you have turned ON the GTM tracking.
-
Save - Upon clicking this button, your configuration will be saved.
-
-
Conversions API
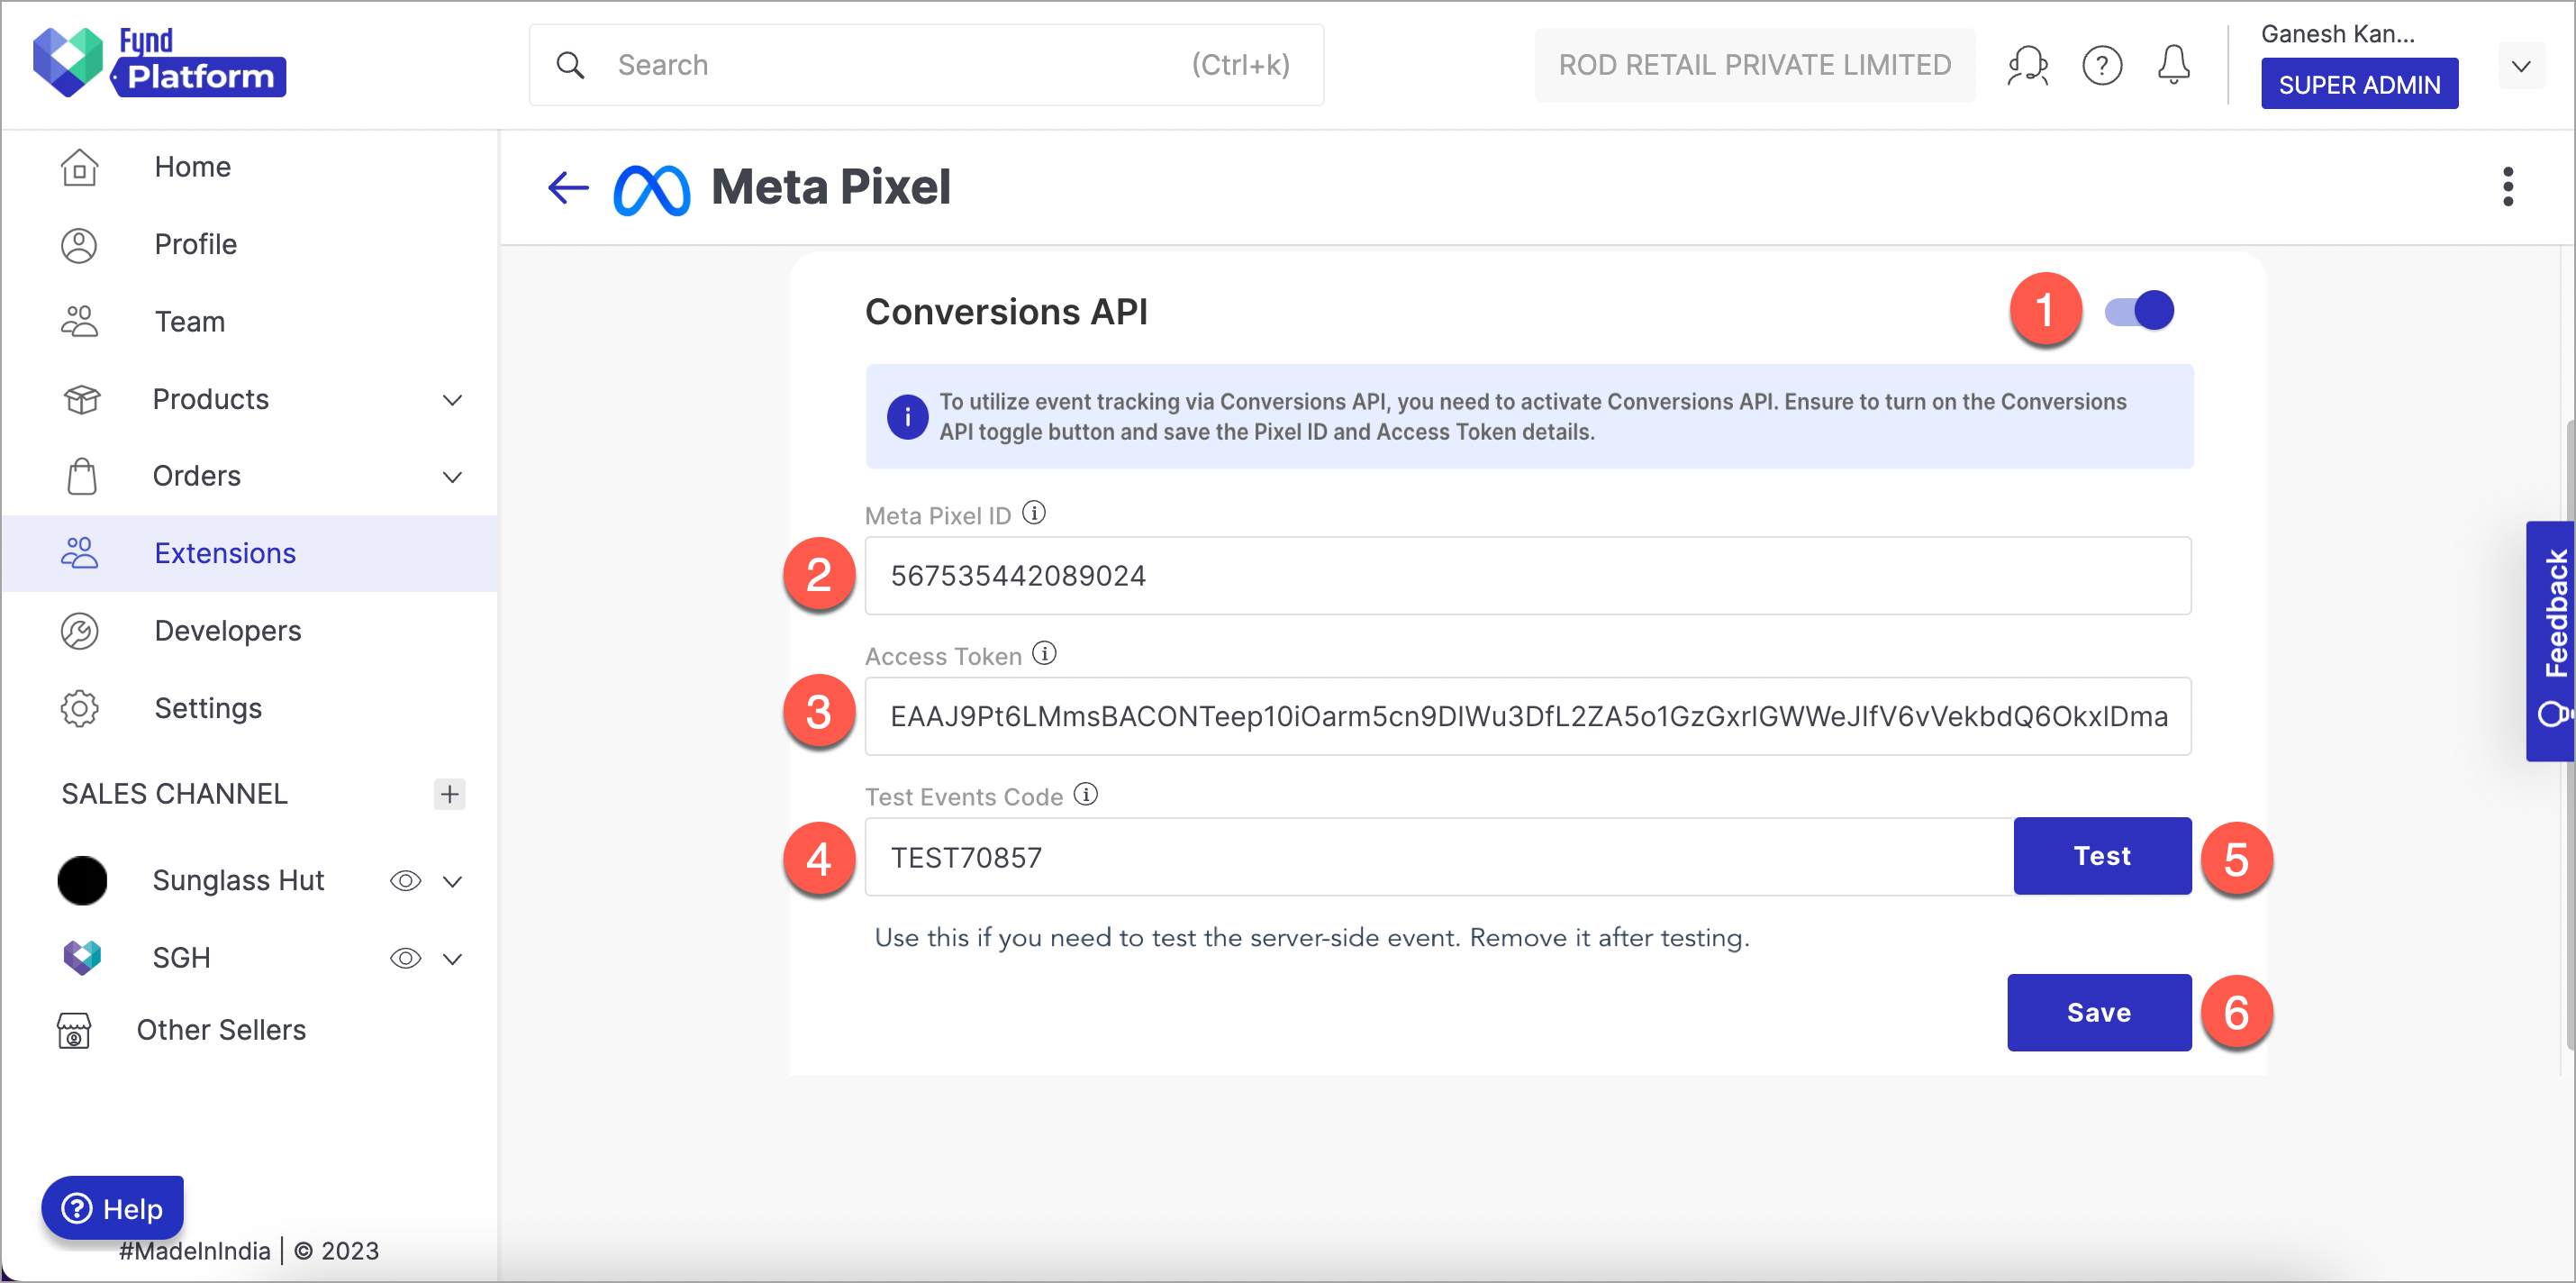
Figure 22: Configuring Conversions API Settings
-
Turn ON the toggle button to activate server-side conversion tracking using Conversions API.
-
Meta Pixel ID - Enter the meta pixel ID (which you have noted down in step 18) here. This field cannot be edited if you have turned ON the GTM tracking.
-
Access Token - Enter the access token present in your Meta Business Manager console (Refer Figure).
Figure 23: Adding the Access Token
noteYou can click 'Generate access token' to create access token for your Conversions API in Meta Business Manager console.
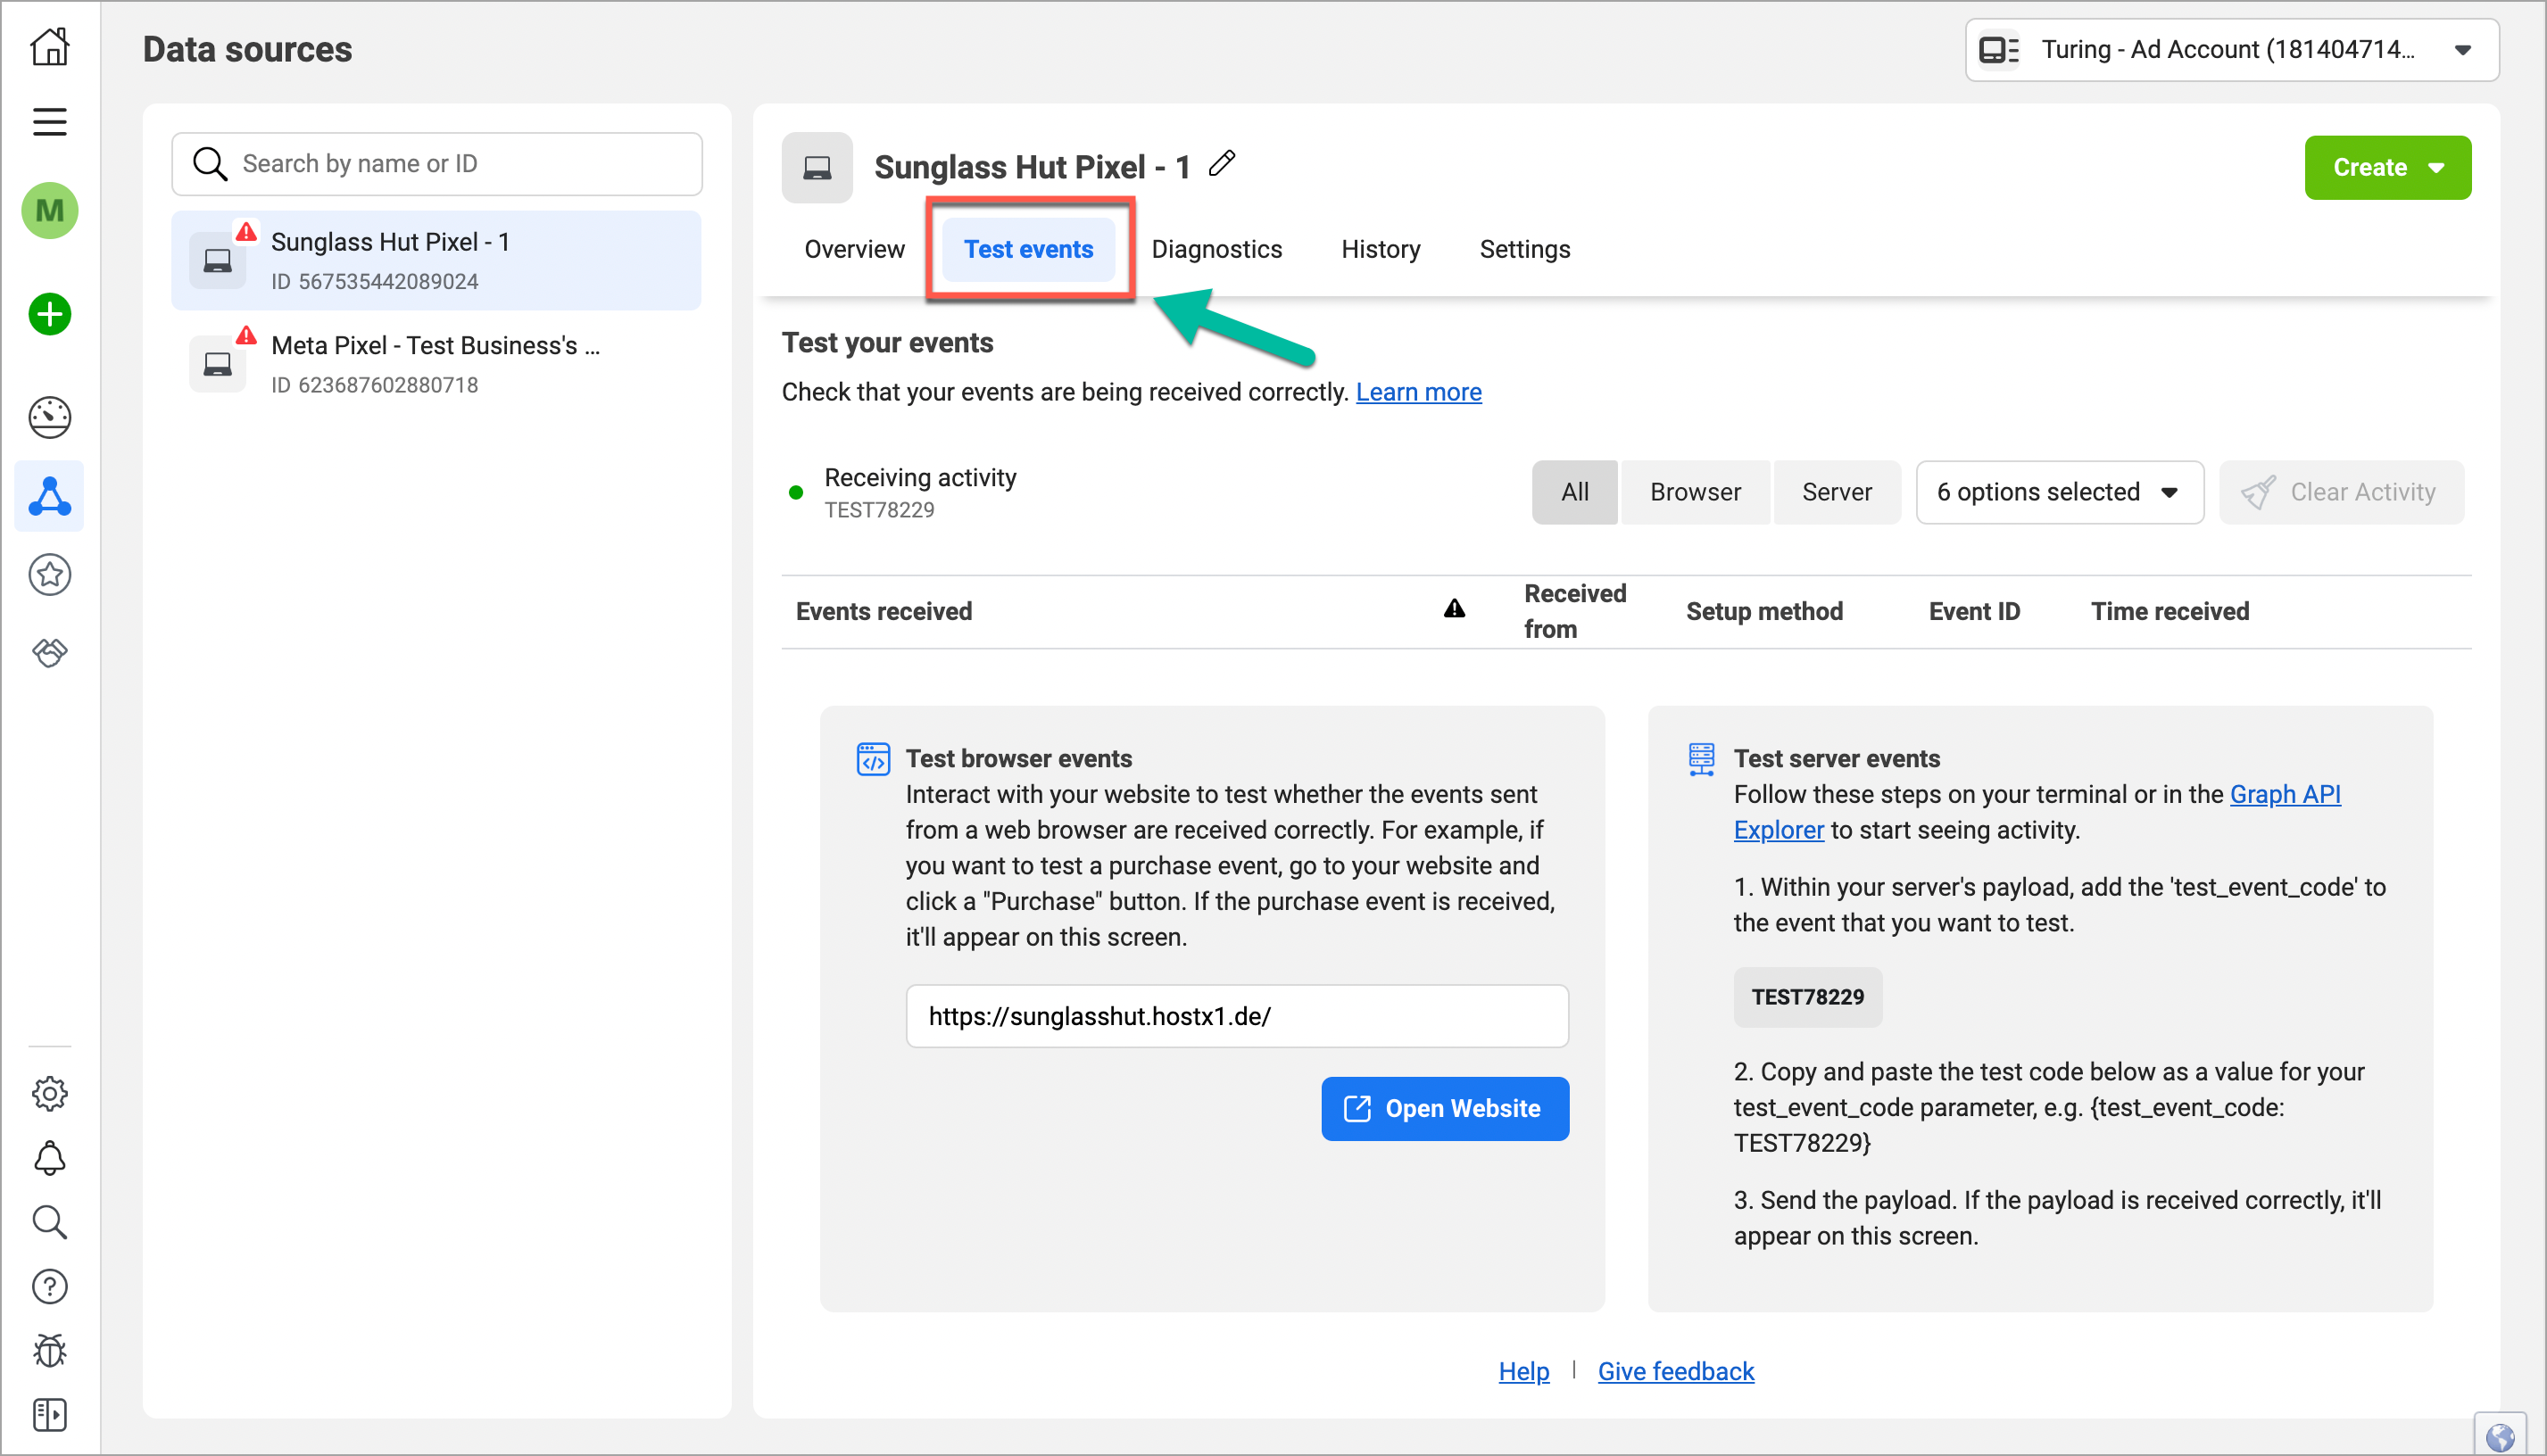
- Test Events Code - Enter the test event code present in your Meta Business Manager console (Refer Figure).
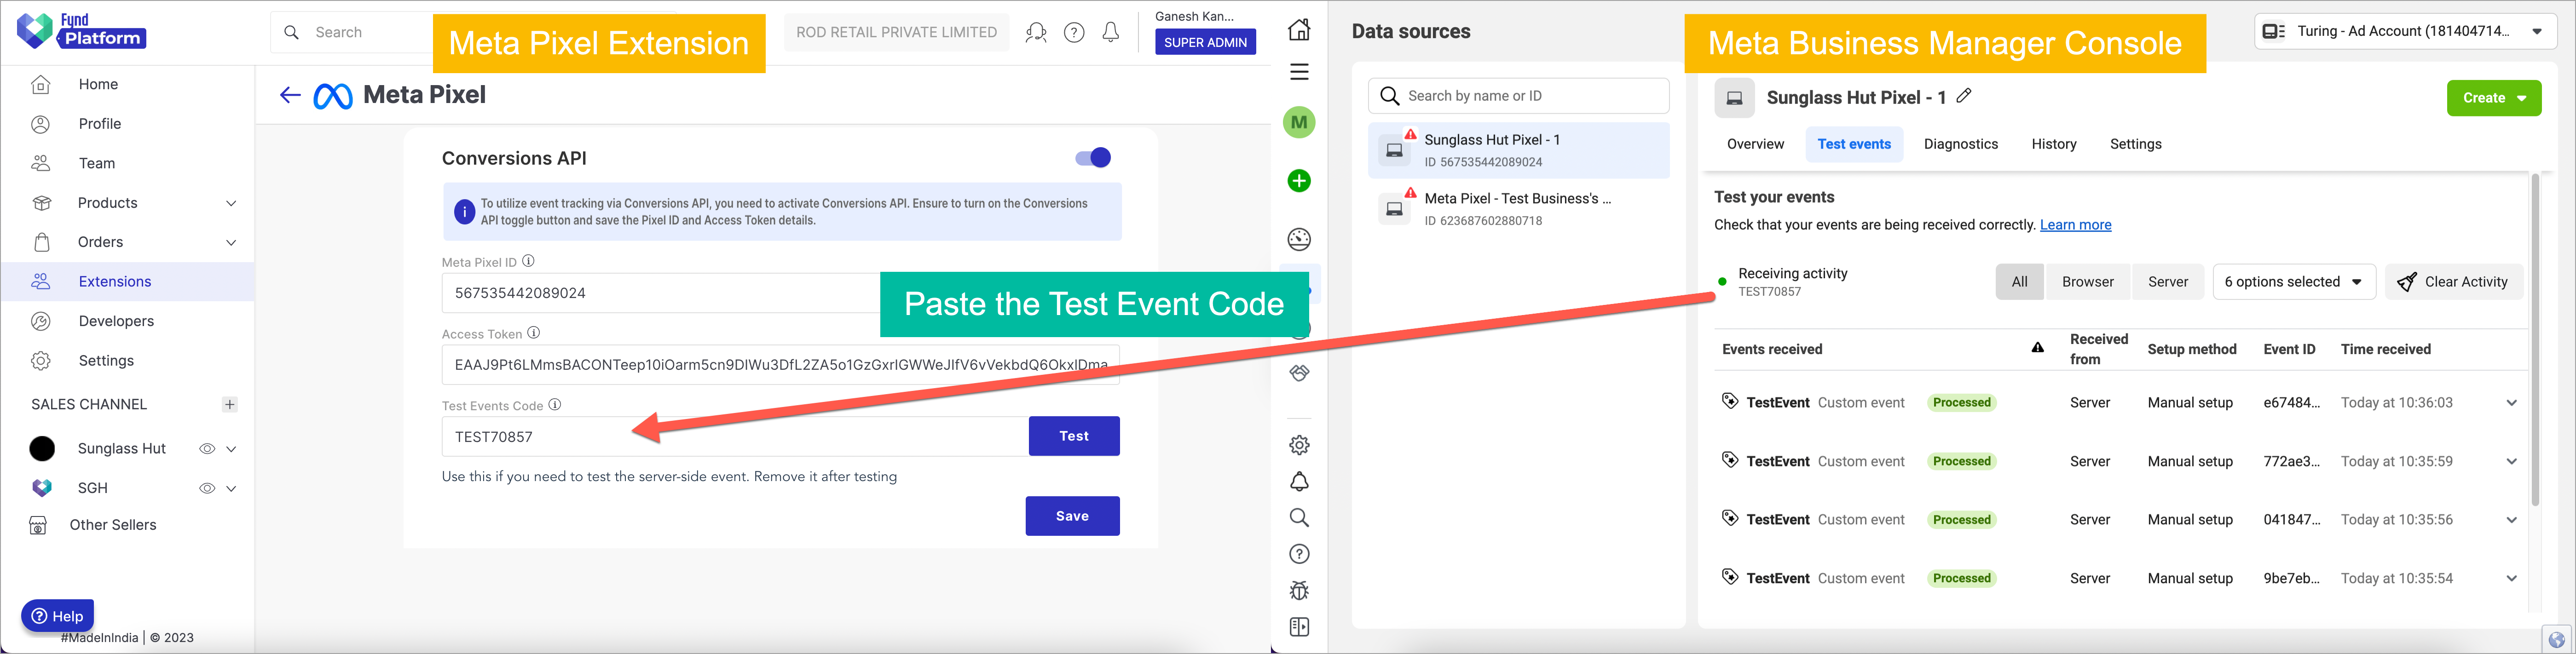
Figure 24: Adding the Test Events Code
-
Test - Upon clicking this button, you can send the test event to your Meta Business Manager console. You can visit the Meta Business Manager and verify that your events are being received correctly.
-
Save - Upon clicking this button, your configuration will be saved.
noteLearn more about Conversions API.
-
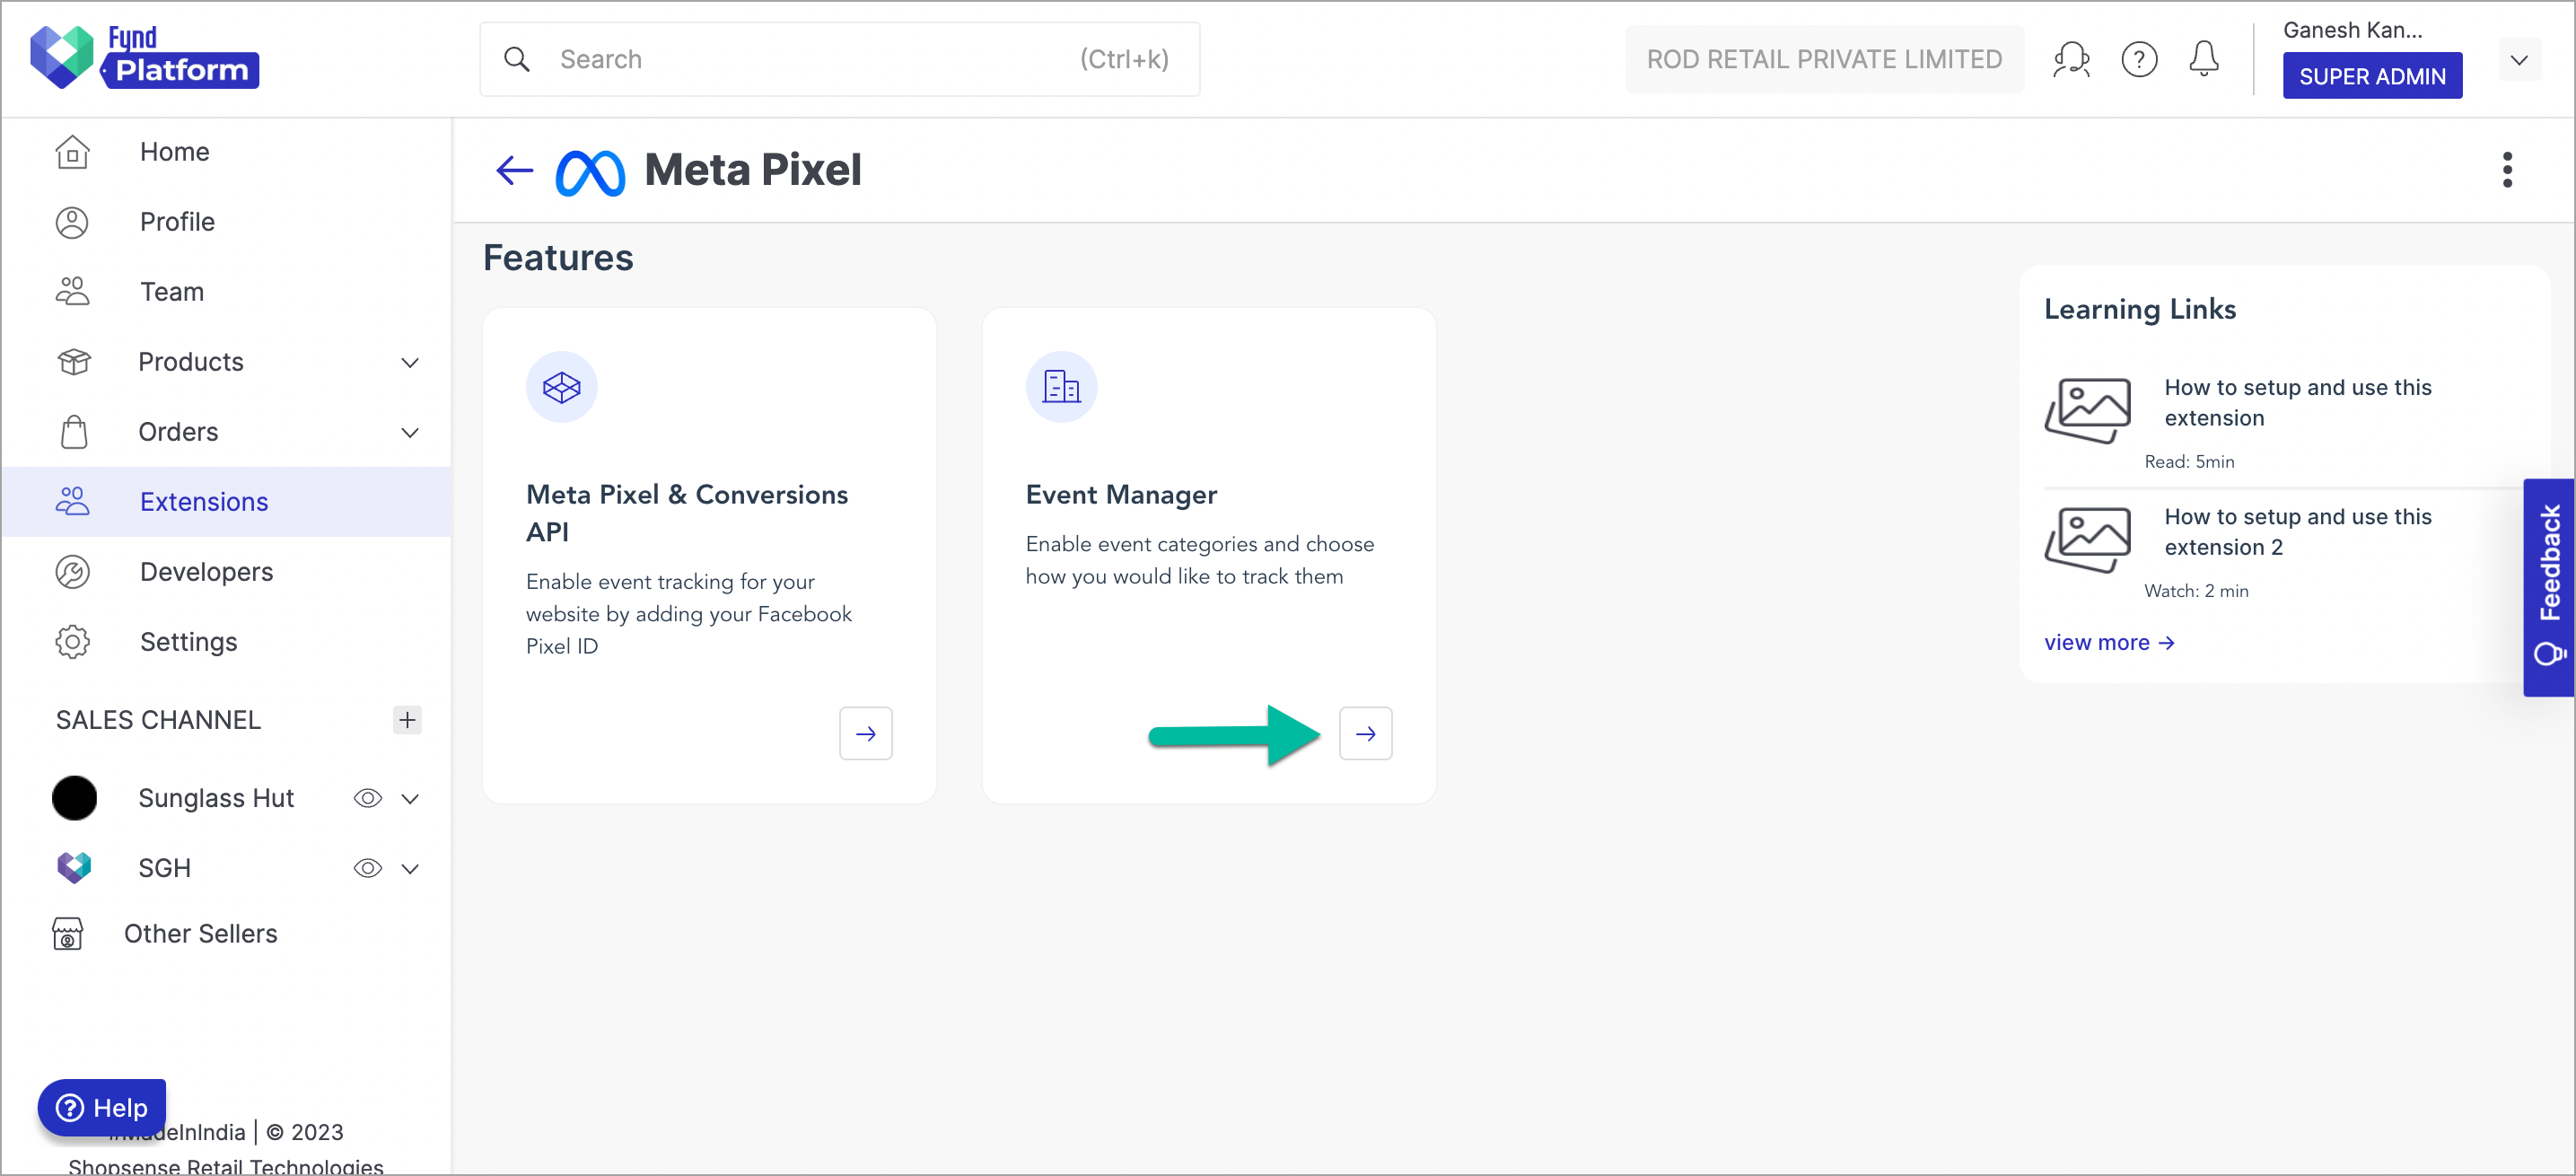
Event Manager
Click Event Manager widget. Using this feature, you can enable/disable a response for any event by using the toggle button and save your configurations.
Meta Pixel Events
It supports the following events.
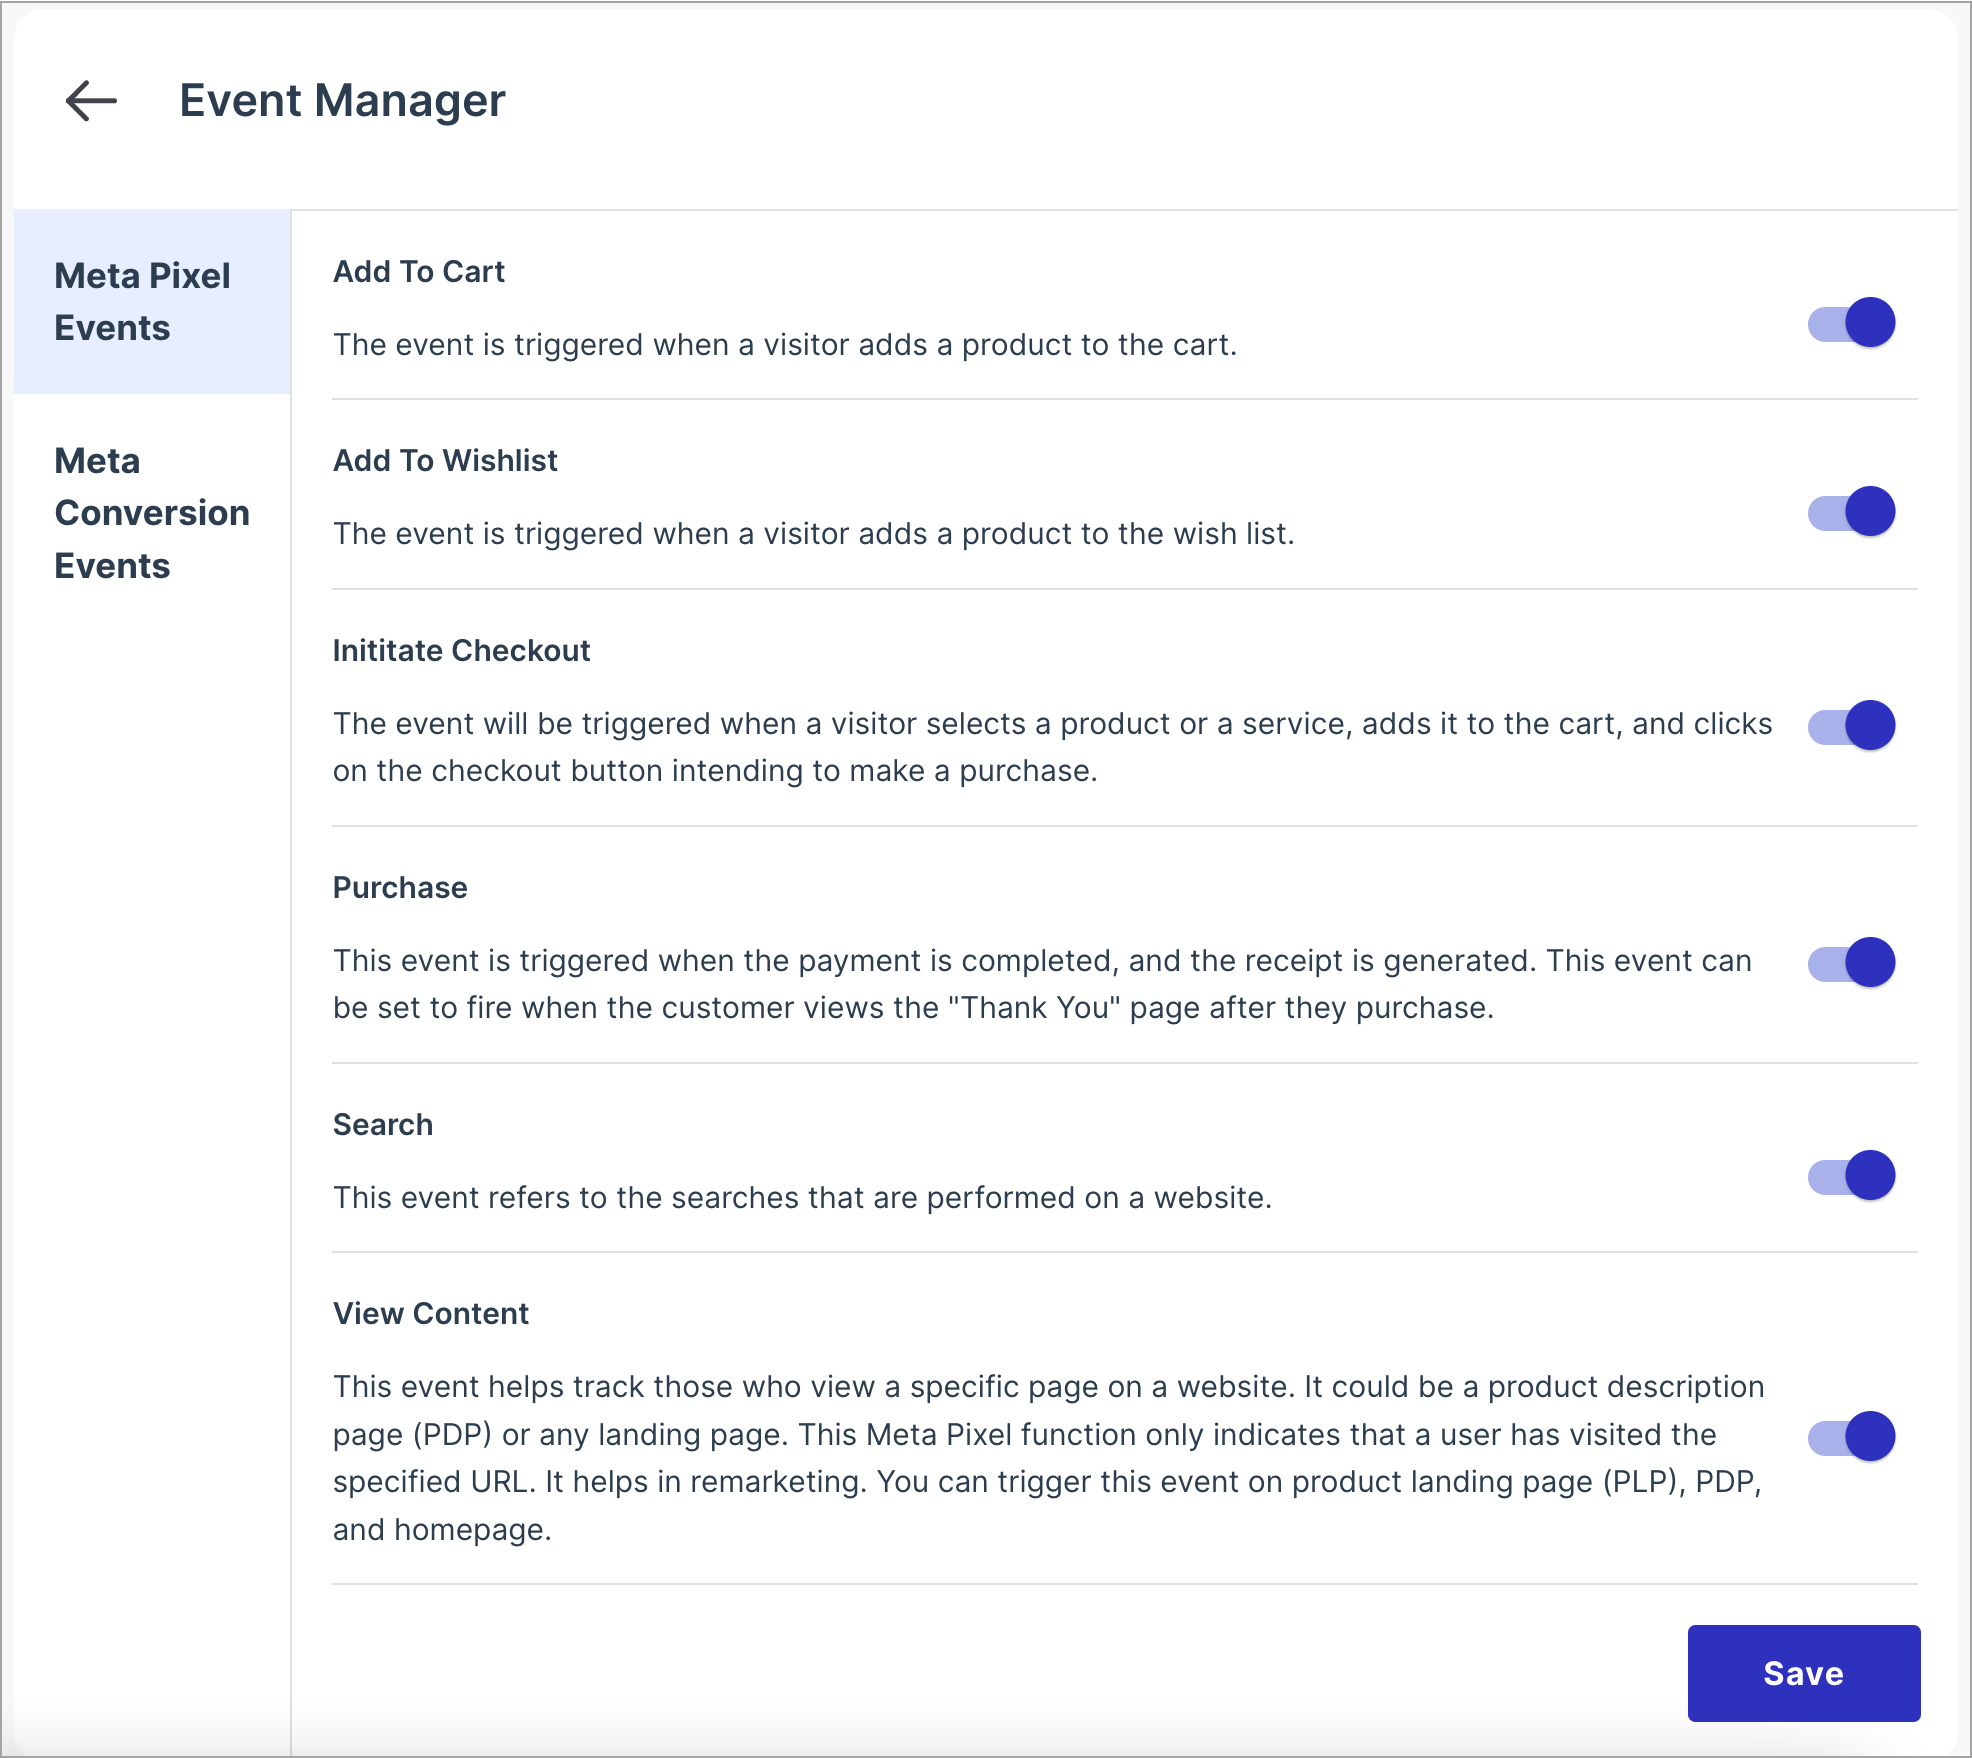
- Add To Cart
- Add To Wishlist
- Inititate Checkout
- Purchase
- Search
- View Content
Meta Conversion Events
It supports the following events.
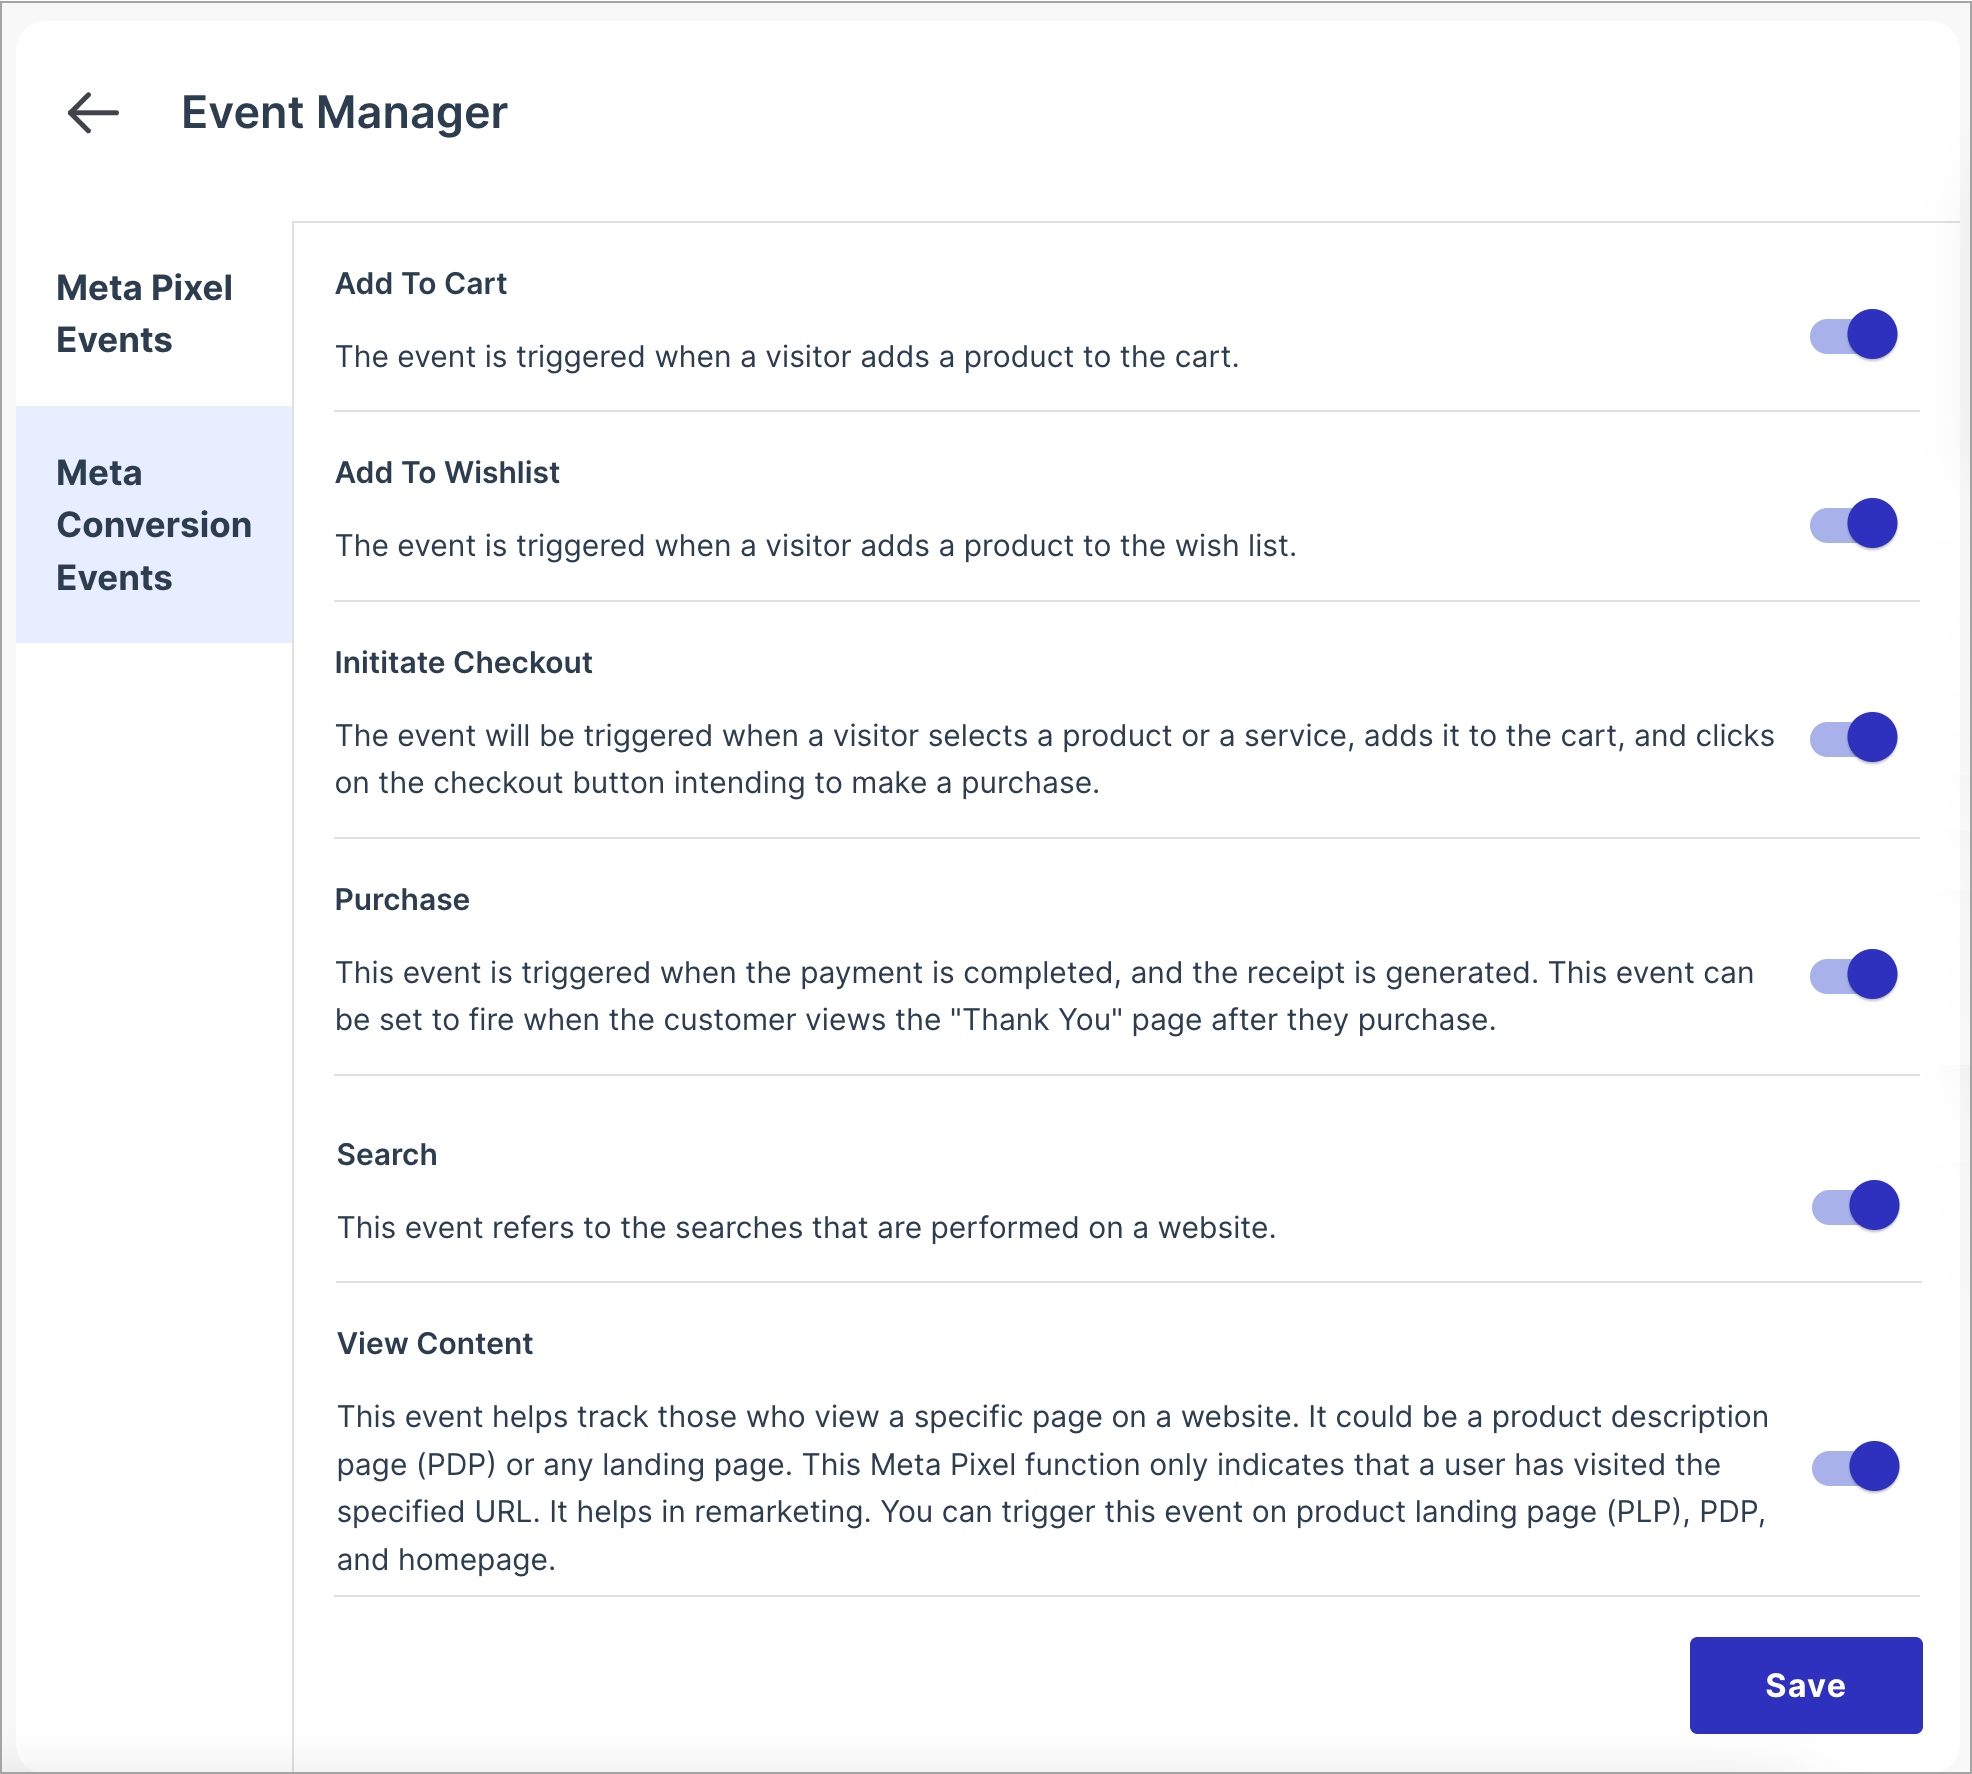
- Add To Cart
- Add To Wishlist
- Inititate Checkout
- Purchase
- Search
- View Content
It might take up to 24 hours to reflect events on your Meta Business Manager console.
Output
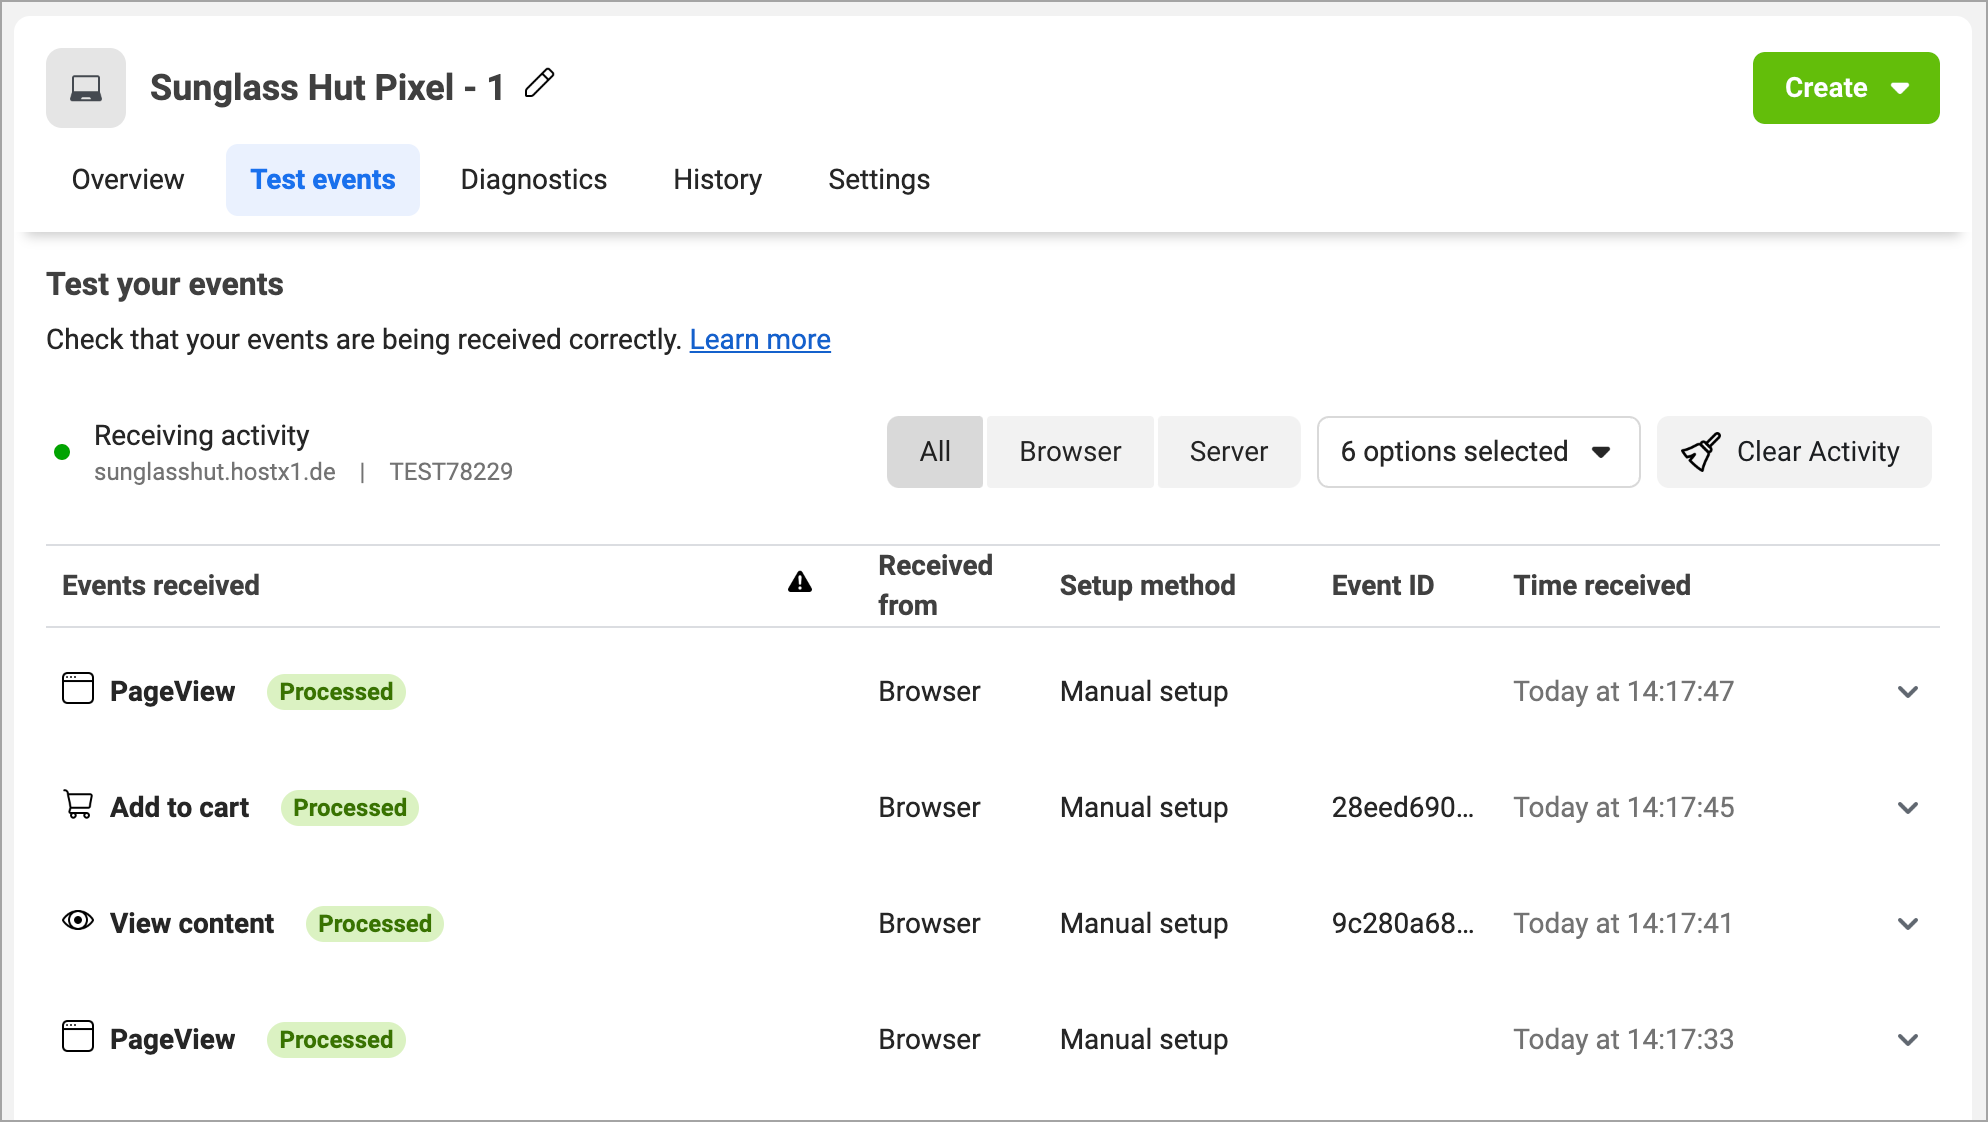
You can test Pixel in the Events Manager section of your Meta Business account.
Go to Test events tab, enter your website URL, and click Open Website. Perform actions such as viewing a product, adding to cart, checking a product, or purchasing a product, to view the results in the Test events tab.