Frolic Engage
Introduction
This extension helps in managing reward points for your customers in case of new user signup, referral and much more! Easily enable or disable the collection of reward points and their subsequent redemption.
Steps to use Rewards Extension
- Go to the Extensions section in the Fynd Platform.
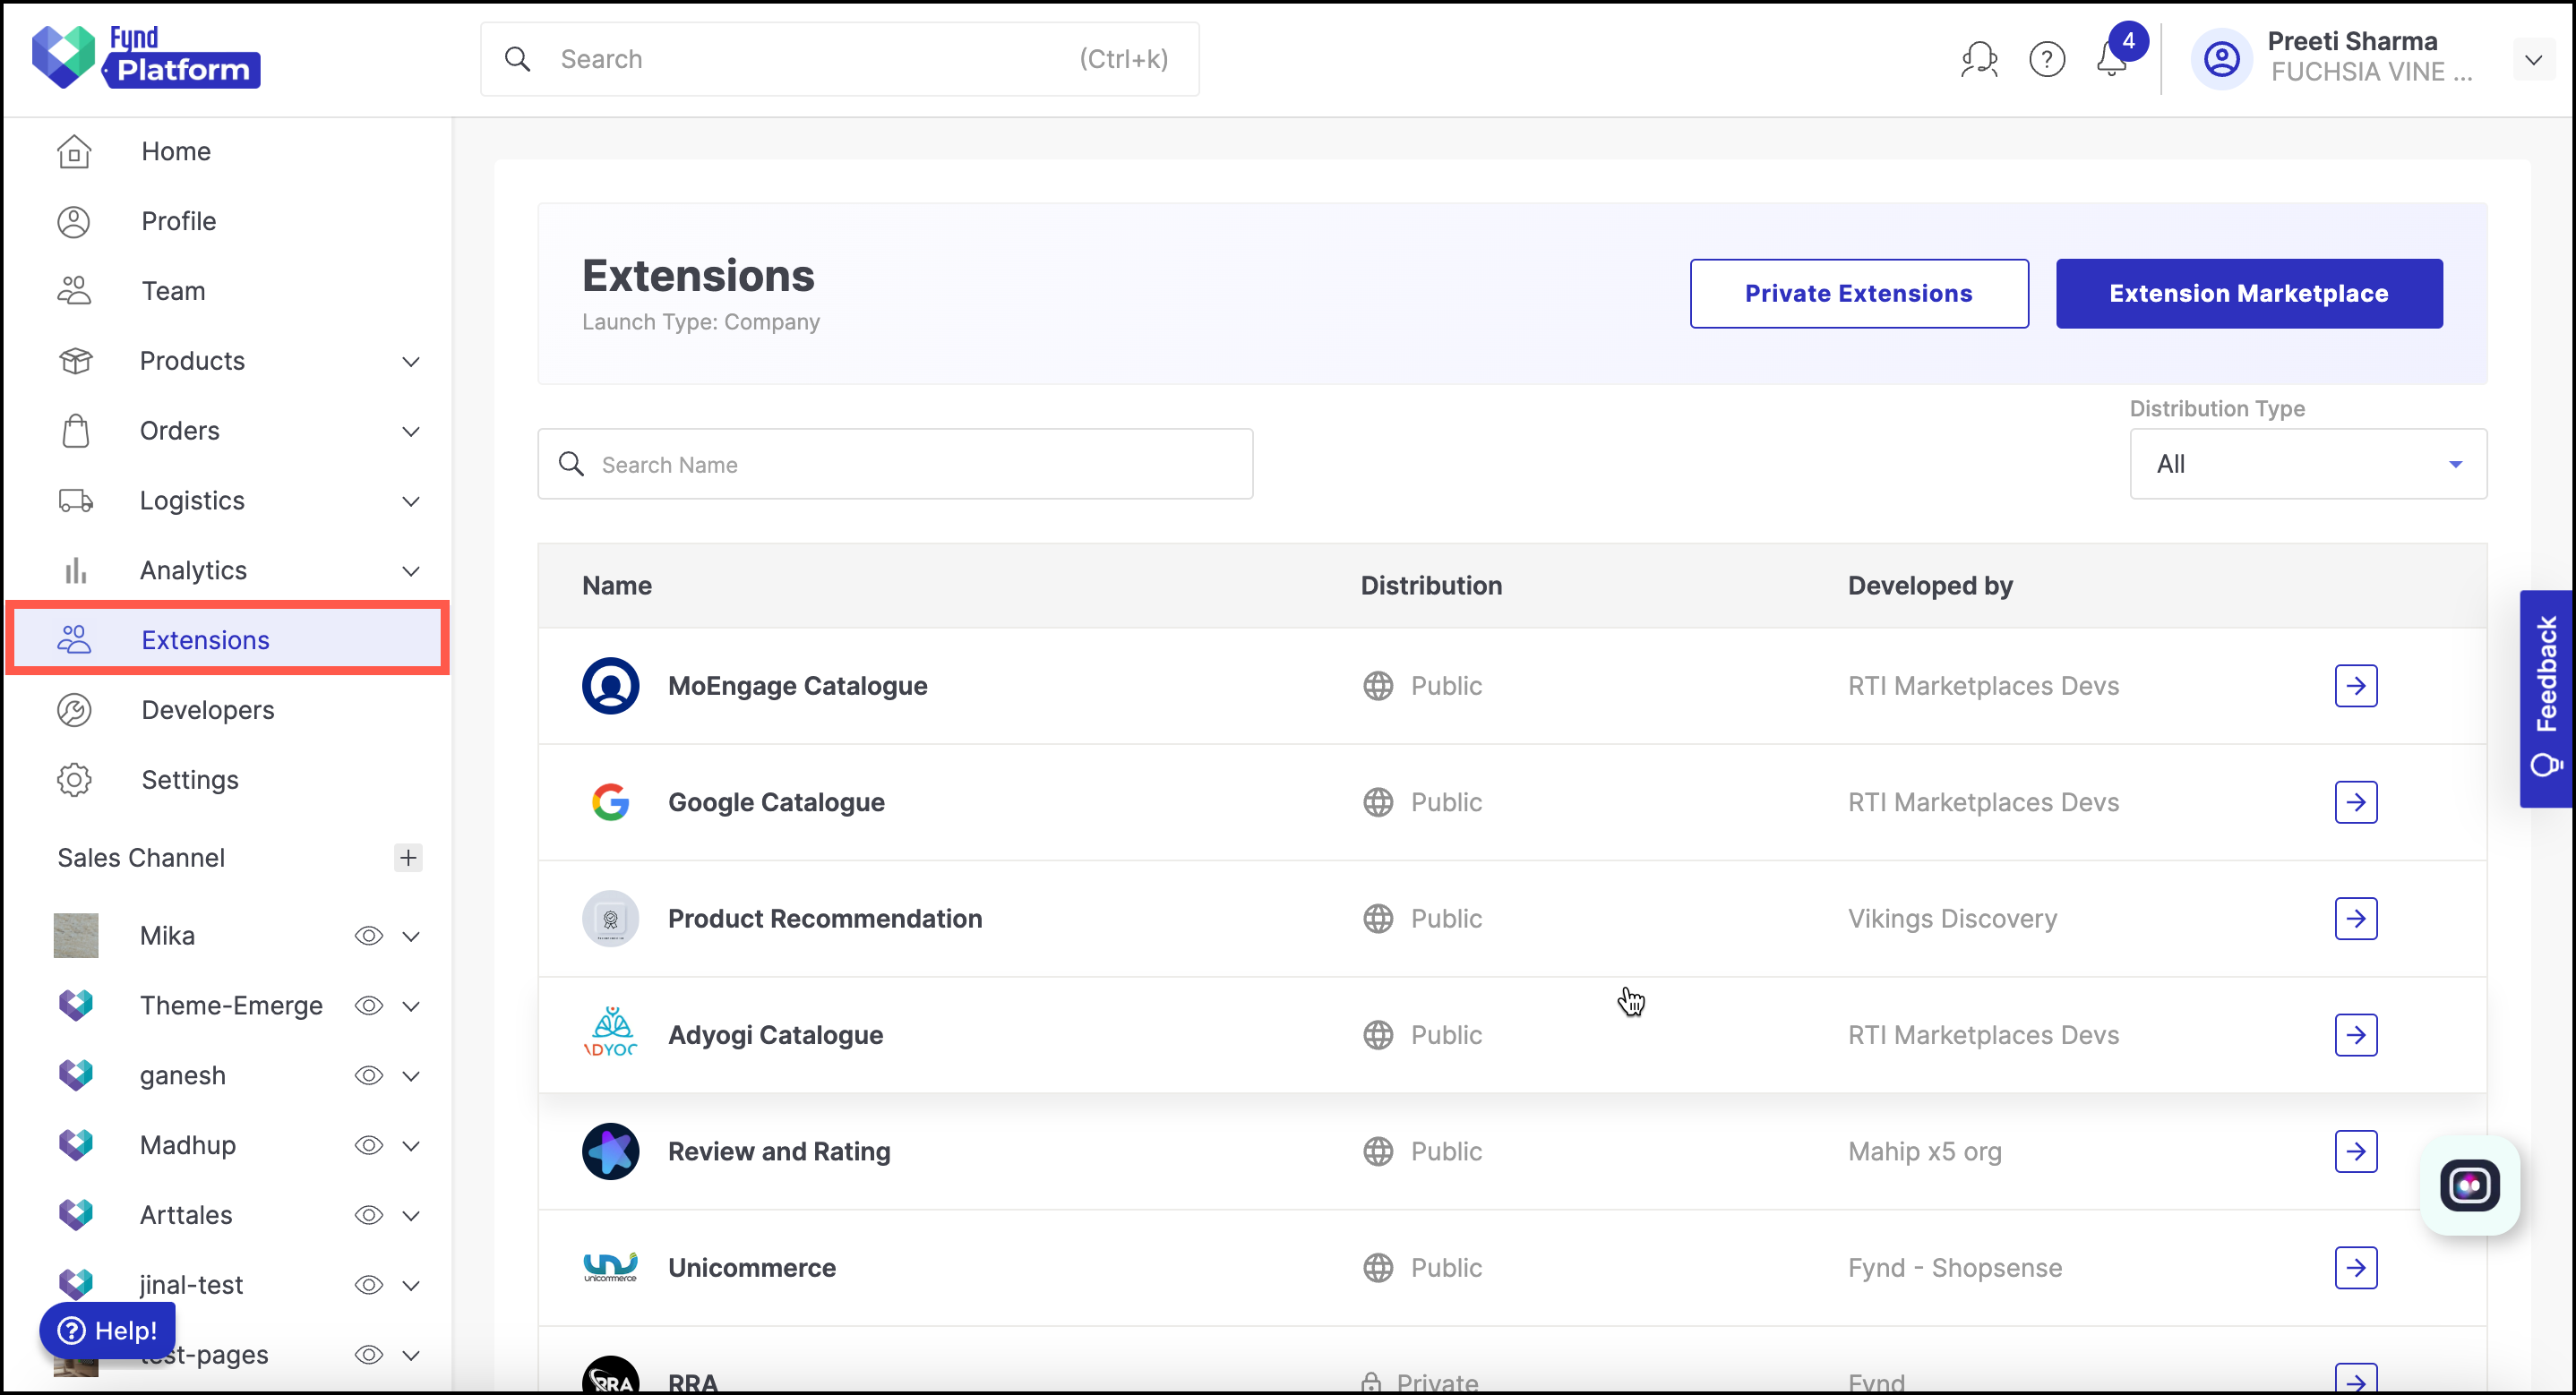
- Select Frolic Engage extension.
-VDMibopmU.png)
Once you have installed this extension, it will be available in the Extensions section on the Fynd Platform.
- Go to the desired sales channel for which you wish to enable the extension by clicking the arrow.
.png)
- Activate the extension by toggling the master button located at the top-right corner.
.png)
Enabling the extension on a sales channel will result in a corresponding status update of "active" or "inactive".
The Frolic Engage extension has been successfully enabled. In the following sections, you will be guided through the configuration process for the complete Rewards extension setup. The extension offers four distinct features, each designed to address various functionalities.
- Earn: Enable to allow users to earn reward points based on their purchase activity, referrals and new sign-ups.
- Redeem: Enable to allow users to redeem their reward earnings during checkout.
- Giveaway: Create giveaway campaigns to reward additional points to target audiences for limited-time usage.
- Configuration: Settings to customize and define specific aspects of your referral and reward system.
- User: Displays new users that sign up and their relevant details.
.png)
1. Earn
There are three earning methods that you can configure for your customers:
Order & Earn
A reward is given to the customer who place an order on your website or app. You can easily enable or disable the order reward from the toggle button on the top-right corner and click Save.
Settings
- Reward Points: Enter the reward points your customers will receive for placing an order. You can set the value of reward points in percentage (%), say 5% of the order value or, you can set a fixed number of reward points, say 20 points (PTS) for each order.
- Points Validity: Enter the validity of the accumulated reward points after which it would expire and become unavailable for redemption. From the drop-down you can set the validity in: Minutes, Hours, Days, Weeks Months or Years.
- Message Template Content: Write your referral message using template variables (see point no. 6), to check the available template variables. Template variables are enclosed in the following format:
{{ variable }}. When the actual message is sent, the template variable will be replaced by its actual value. - Message Preview: It shows how the actual message would look after decoding the Message Template Content.
- Available Template Variables: It is a list of all the valid variables that can be used in the Message Template Content.
Details
-
Name: Enter the name for the reward. This is non-editable field currently.
-
Display Title: Enter the title of the message you want to show on the rewards page of the app. Note, the title entered here can be also be used as a template variable named
offer_title.For example: Place an order now to get attractive reward points.
-
Display Description: Enter the description of the message you want to show on the rewards page of the app. Note, the description entered here can be also be used as a template variable named
offer_description.For example: Order karo aur jeeto credits. Superb offer sirf Uniket par.
The attributes name, display title and display description are mostly used by mobile apps.
.png)
Refer & Earn
A reward is given to the customer who refer others to register on your website or app. You can easily enable or disable the referral reward from the toggle button on the top-right corner and click Save.
Settings
-
Points for the Referrer: Enter the reward points a user (referrer) will receive for successfully referring someone and making them register in the application.
-
Points for the Referred Friend: Enter the reward points a referred user will receive for successfully registering in the application, using the sender's referral code.
-
Max. Points Earned Per Customer: Enter the maximum reward points a user (referrer) can accumulate by referring others.
-
Points Validity: Enter the validity of the accumulated reward points after which it would expire and become unavailable for redemption. From the drop-down you can set the validity in: Minutes, Hours, Days, Weeks Months or Years.
-
Message Template Content: Write your referral message using template variables (see point no. 7) to check the available template variables. Template variables are enclosed in the following format:
{{ variable }}. When the actual message is sent, the template variable will be replaced by its actual value. -
Message Preview: It shows how the actual message would look after decoding the Message Template Content.
-
Available Template Variables: It is a list of all the valid variables that can be used in the Message Template Content.
-
Name: Enter a name for the reward.
-
Display Title: Enter the title of the message you want to show on the rewards page of the app. Note, the title entered here can be also be used as a template variable named
offer_title.For example: Refer Friends & Earn UNLIMITED.
-
Display Description: Enter the description of the message you want to show on the rewards page of the app. Note, the description entered here can be also be used as a template variable named
offer_description.
For example: Share your referral code, invite your friends and you'll both get exciting reward points!
The attributes name, display title and display description are mostly used by mobile apps.
.png)
Sign Up and Win
A reward is given to the customer who signs up on your website or app. You can easily enable or disable the sign up reward from the toggle button on the top-right corner and click Save.
Settings
-
Reward Points: Enter the reward points a user will receive after successfully signing up. For example: 500 PTS.
-
Points Validity: Enter the validity of the accumulated reward points after which it would expire and become unavailable for redemption. From the drop-down you can set the validity in: Minutes, Hours, Days, Weeks Months or Years.
-
Message Template Content: Write your sign up message using template variables (see point no. 5) to check the available template variables. Template variables are enclosed in the following format:
{{ variable }}. When the actual message is sent, the template variable will be replaced by its actual value. -
Message Preview: It shows how the actual message would look after decoding the Message Template Content.
-
Available Template Variables: It is a list of all the valid variables that can be used in the Message Template Content. Details
-
Name: Enter a name for the reward.
-
Display Title: Enter the title of the message you want to show on the rewards page of the app. Note, the title entered here can be also be used as a template variable named
offer_title.For example: Diwali Sign Up Reward.
-
Display Description: Enter the description of the message you want to show on the rewards page of the app. the description entered here can be also be used as a template variable named offer_description.
For example: Win exciting reward points during Diwali!
The attributes name, display title and display description are mostly used by mobile apps.
.png)
2. Redeem
You can configure order discount earning method for your customer to redeem available points when placing orders.
Order Discount
A method of redeeming accumulated reward points to get a discount on an order. You can easily enable or disable the order discount from the toggle button on the top-right corner and click Save.
Settings
- Min Amount: The minimum value of an order that will be eligible for a discount. For example, any product between 500-1000 INR will be eligible for a 10% discount implies that the Min Amount is 500 INR to redeem reward points.
- Max Amount: The maximum amount of an order that will be eligible for a discount. Above this amount, a different discount will be applicable for a higher amount range. For example any product between 500-1000 INR will be eligible for a 10% discount implies that the Max Amount is 1000 INR. Above 1000 INR, a different discount will be applicable.
- Discount: Discount value in either percentage (%) or points (PTS).
- Example 1: Any product between 500-1000 INR is eligible for a 10% discount. Therefore, if a product cost is 600 INR, the discount will be 60 INR. Thus, the order value becomes 540 INR.
- Example 2: Redeem 100 points (PTS) and get 100 INR off on any product between 500-1000 INR. Therefore, if a product cost is 800 INR, the discount will be 100 INR. Thus, the order value becomes 700 INR.
- Max Discount: Set the maximum discount a user can get for a particular amount range. Example 1: Any product between 500-1000 INR is eligible for a 10% discount; therefore, if a product cost is 750 INR, the discount will be 75 INR. However, you can limit the maximum discount to may be a lesser value, let's say 50 INR.
- Add Range: Add an amount range to specify a different discount value. For e.g. an amount range of 500-1000 INR entitles a user to a 10% discount, then by clicking Add Range a new amount range starting from 1001-1500 will be added below it.
- Message Template Content: Write your order discount using template variables (see point no. 8) to check the available template variables. Template variables are enclosed in the following format:
{{ variable }}. When the actual message is sent, the template variable will be replaced by its actual value. - Message Preview: This shows how the actual message would look after decoding the Message Template Content.
- Available Template Variables: This is a list of all the valid variables that can be used in the Message Template Content.
Details
-
Name: Enter a name for the reward.
-
Display Title: Enter the title of the message you want to show on the redeem page of the app. Note, the title entered here can be also be used as a template variable named
offer_title.For example: Get flat discounts on total order amount
-
Display Description: Enter the description of the message you want to show on the redeem page of the app. Note, the description entered here can be also be used as a template variable named
offer_description.For example: Get flat discounts on total order amount. Shop now!
.png)
3. Giveaway
You can create a giveaway campaign to distribute reward points among your customers. Click on Create to initiate the setup of a new giveaway campaign.
Audience
- Choose an audience from the drop-down list. If you haven't created an audience yet, click Create Audience.
- Choose the header (column name of the Audience CSV file) that contains the user_id of your customers.
Settings
- Choose the validity period, i.e. start date-time and end date-time for the reward points. If your customers don't redeem the reward points before the expiry date, the points will get revoked from their accounts.
- Specify the value of reward points to credit your customers.
Details
-
Name: Enter a title and description that should appear on the rewards page of your customer's accounts.
-
Display Title - Title of the message will be displayed to the customer as giveaway notification text. Enter the title of the giveaway capaign. Note, the title entered here can be also be used as a template variable named
offer_title.For example: Special Holi Bonus Earn.
-
Display Description: Enter the description of the message you want to show to customer as detailed giveaway text. Note, the description entered here can be also be used as a template variable named
offer_description.For example: You have been awarded with points. Hurry!
.png)
4. Configuration
This configuration is important only if your sales channel is available as a mobile app. Otherwise, you may ignore the configuration.
Valid Package Name: Add the package name (e.g. com.newstore.shop) of the mobile application on which the reward points must work. Without a valid package name, users will not be able to earn points on mobile app.
Terms and conditions link: Add a terms and conditions rules page URL link. Thereby, your visitors will be able to view the TnC and read it before participating in your loyalty program.
.png)
5. User
You can view the information about the new users who signed up and the rewards available to them.
- Name: User name who signed up.
- Referrer Code: A referral code (or referral tracking code) is a unique combination of characters used to identify the participants in a customer referral program.
- Available Points: Total number of points available in customer’s wallet.
- Block - Administrators can block the customer from further participating in the loyalty program if any malicious activity is suspected.
- History: Administrators can view the transactional history of customers’ rewards from this section.
.png)
Adding Frolic-Engage extension in Theme
- Go to Sales Channel. Here, we have selected Astra.
- Click Appearance.
- Click Theme.
.png)
- Click Edit. Theme editor will appear.
- Select the Cart Landing option from the drop-down.
- Click the Settings tab.
- Click the General section.
.png)
- Select Extension as Rewards in the Header Top.
- Click Save.
.png)
Final Output
.png)