Create a Blog
Do the following steps to create a blog:
-
Login to the Fynd Platform.
-
In the left pane, go to the Sales Channel section and select a sales channel.
-
Navigate to Marketing > Blogs.
-
Click Create.
-
In the Details section, enter the following:
- Name your blog in the Title box.
- Enter the author’s name.
- Tags: Enter tags and press enter.
- Tags are like labels or keywords that you attach to your blog posts. They help to organize and categorize your content so that readers can easily find related posts on similar topics.
- Upload featured image. This is the first image that visually represents the post as a thumbnail.
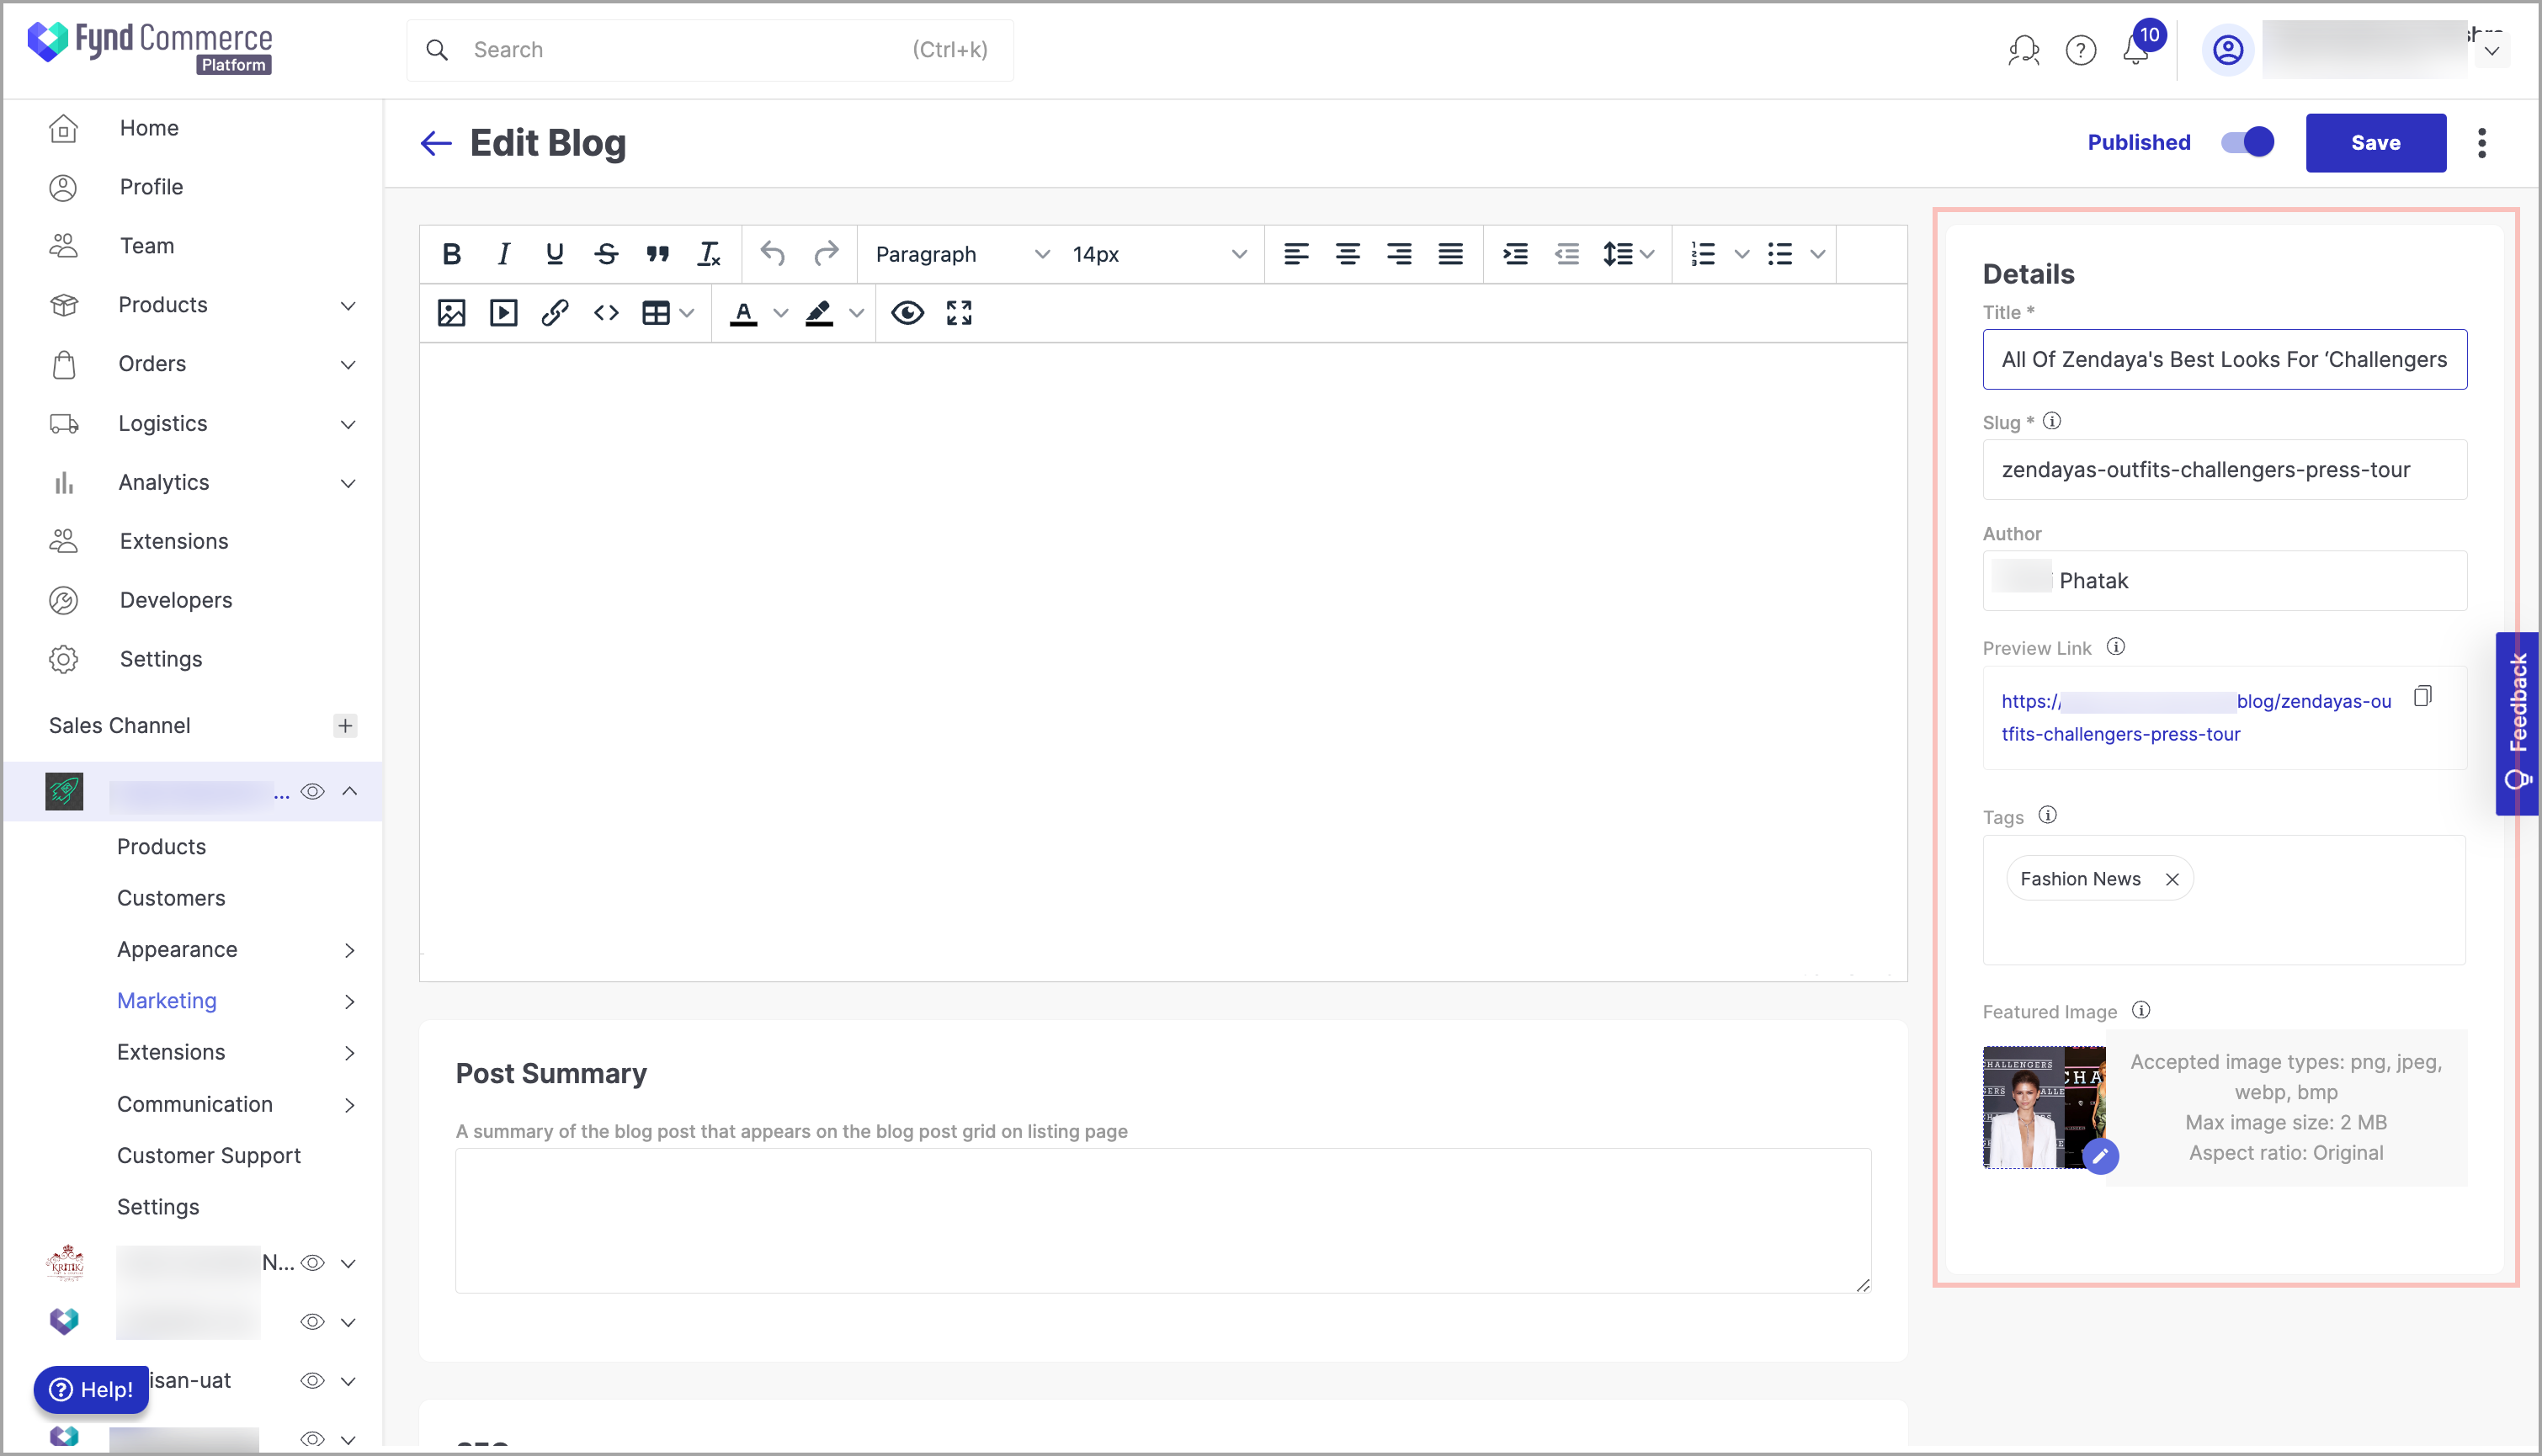
Figure 1: Details Section
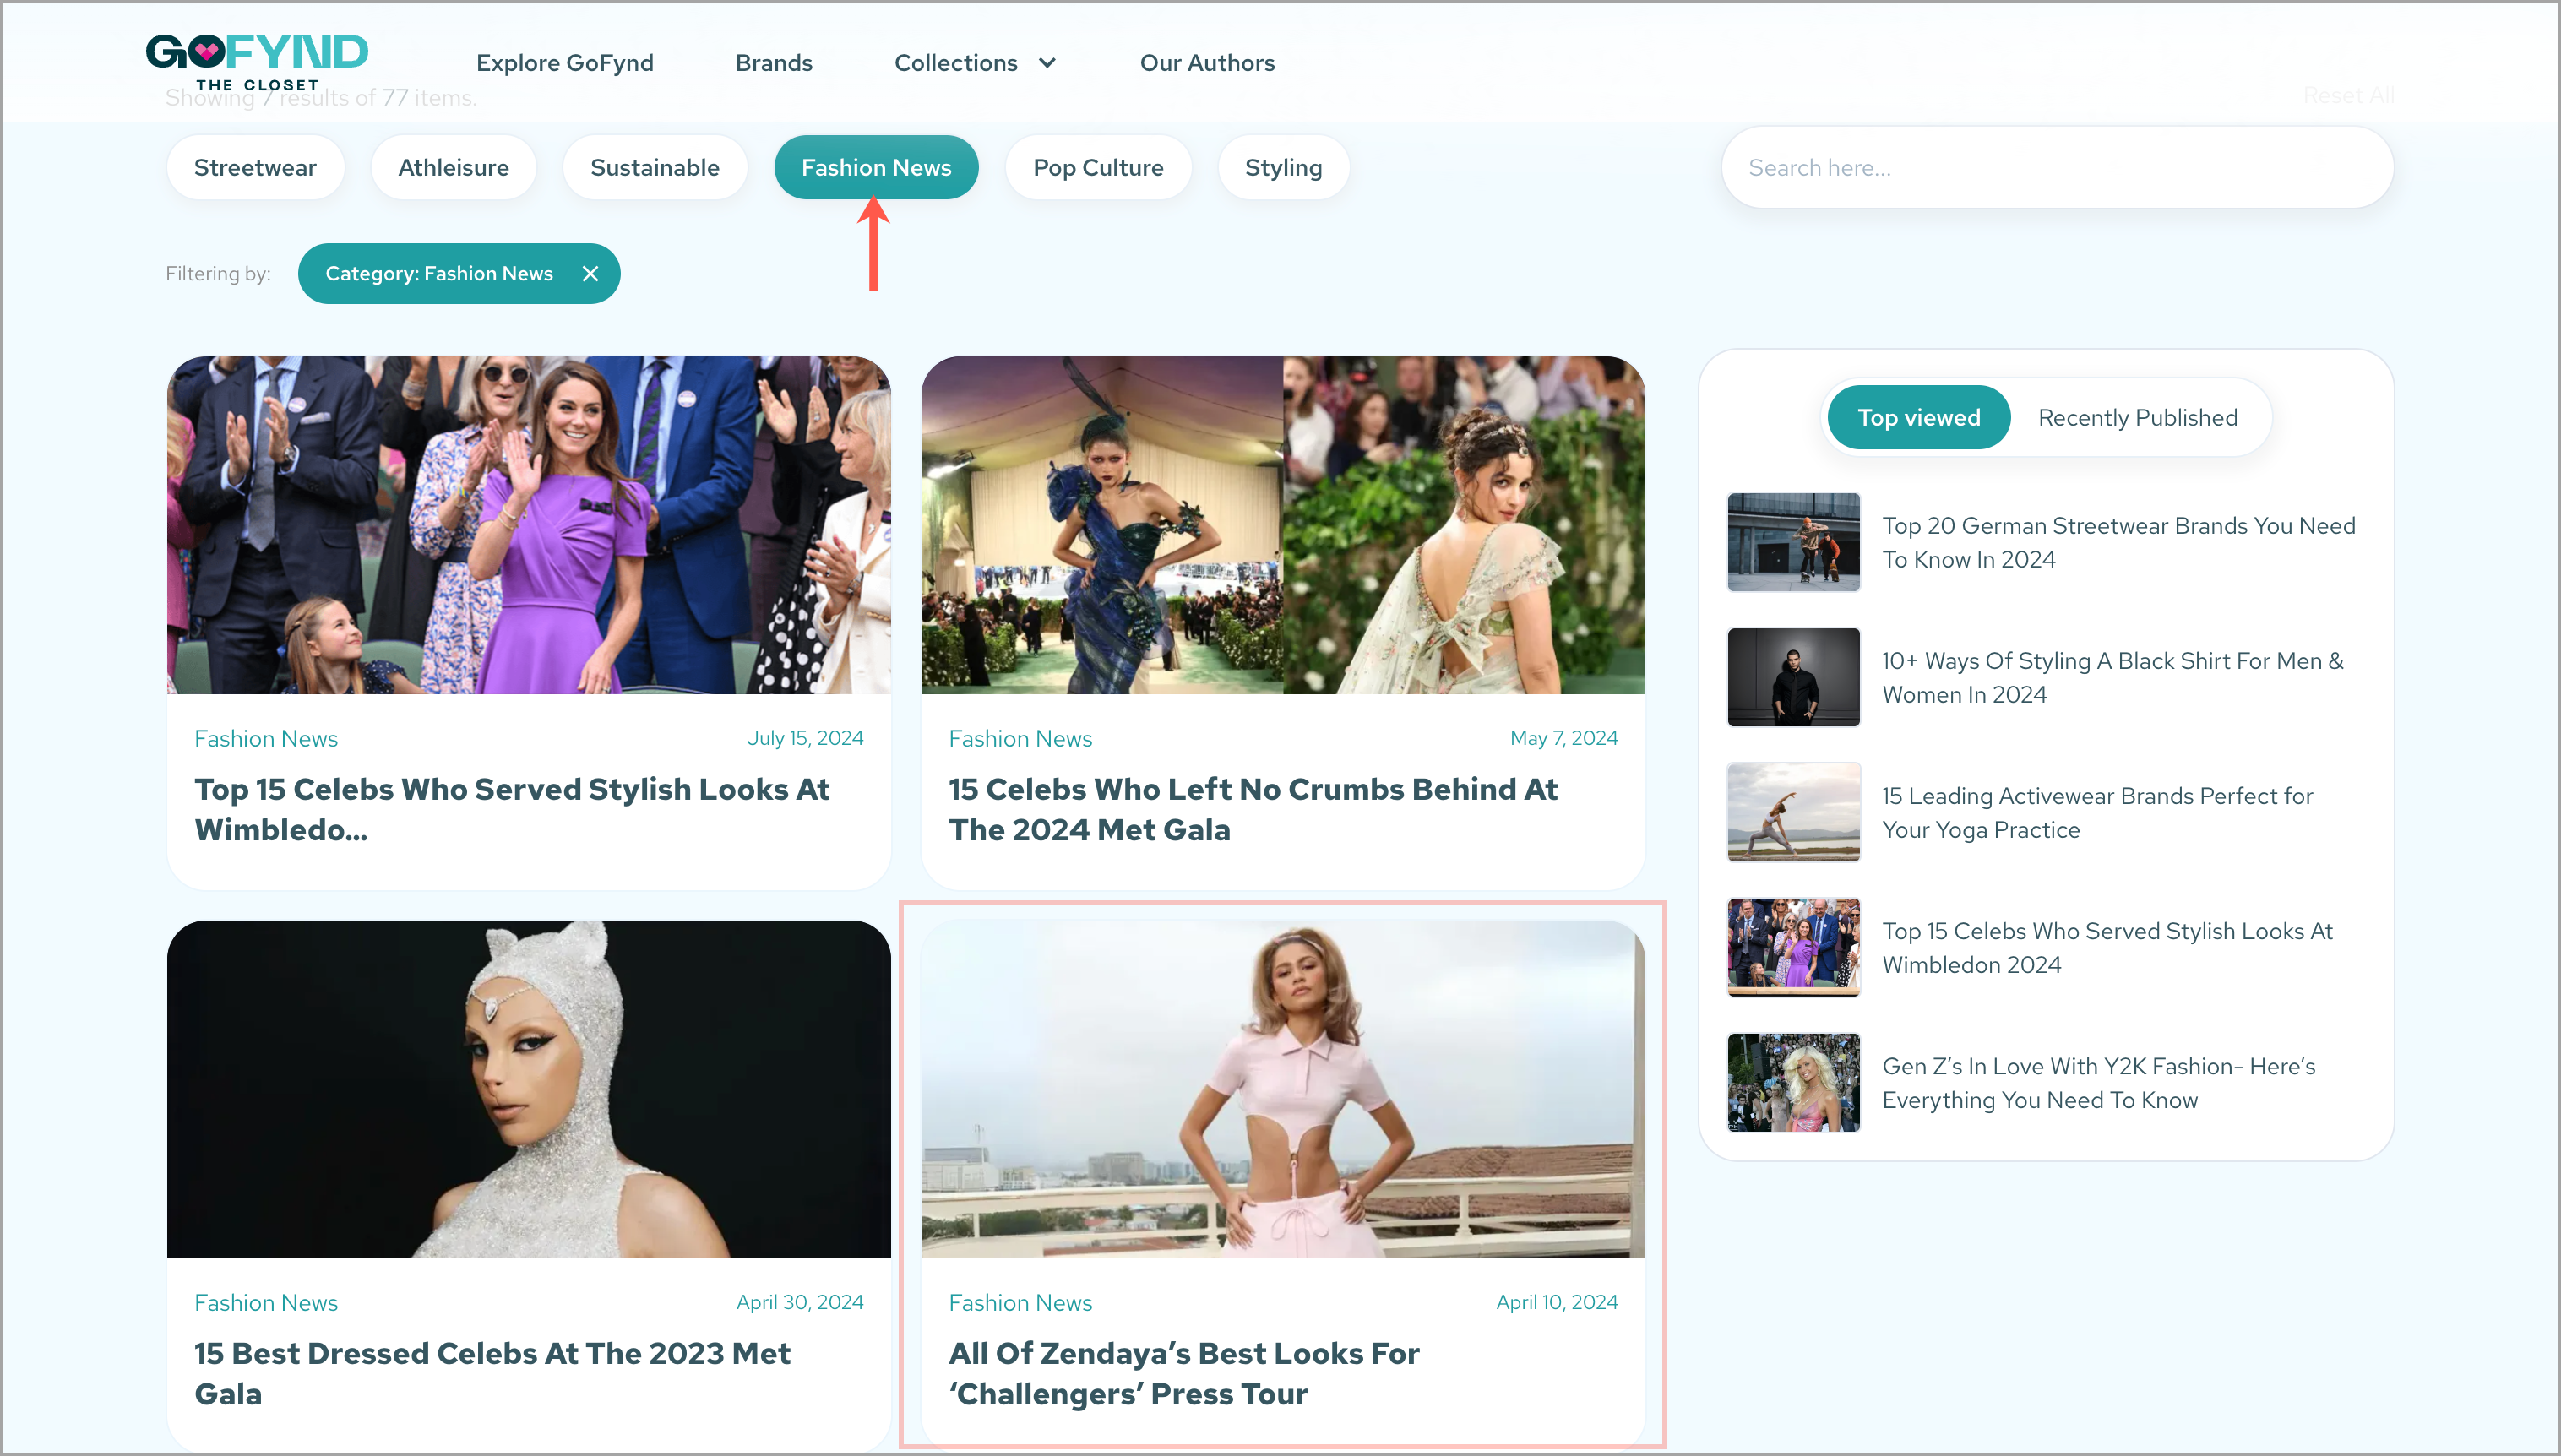
Figure 2: Output
-
In the upper-right side of the window, switch the Published toggle to the left to save the blog as a draft. By default, it will be in the Published state, which means the blog will be published as soon as you create.
-
Click Create. The Schedule pop-up window appears.
-
On the Schedule pop-up window:
- Click Live Now, if you need to publish the blog immediately.
- Click Schedule Later, if you need to publish the blog at specific time:
- Select date and time to publish the blog automatically.
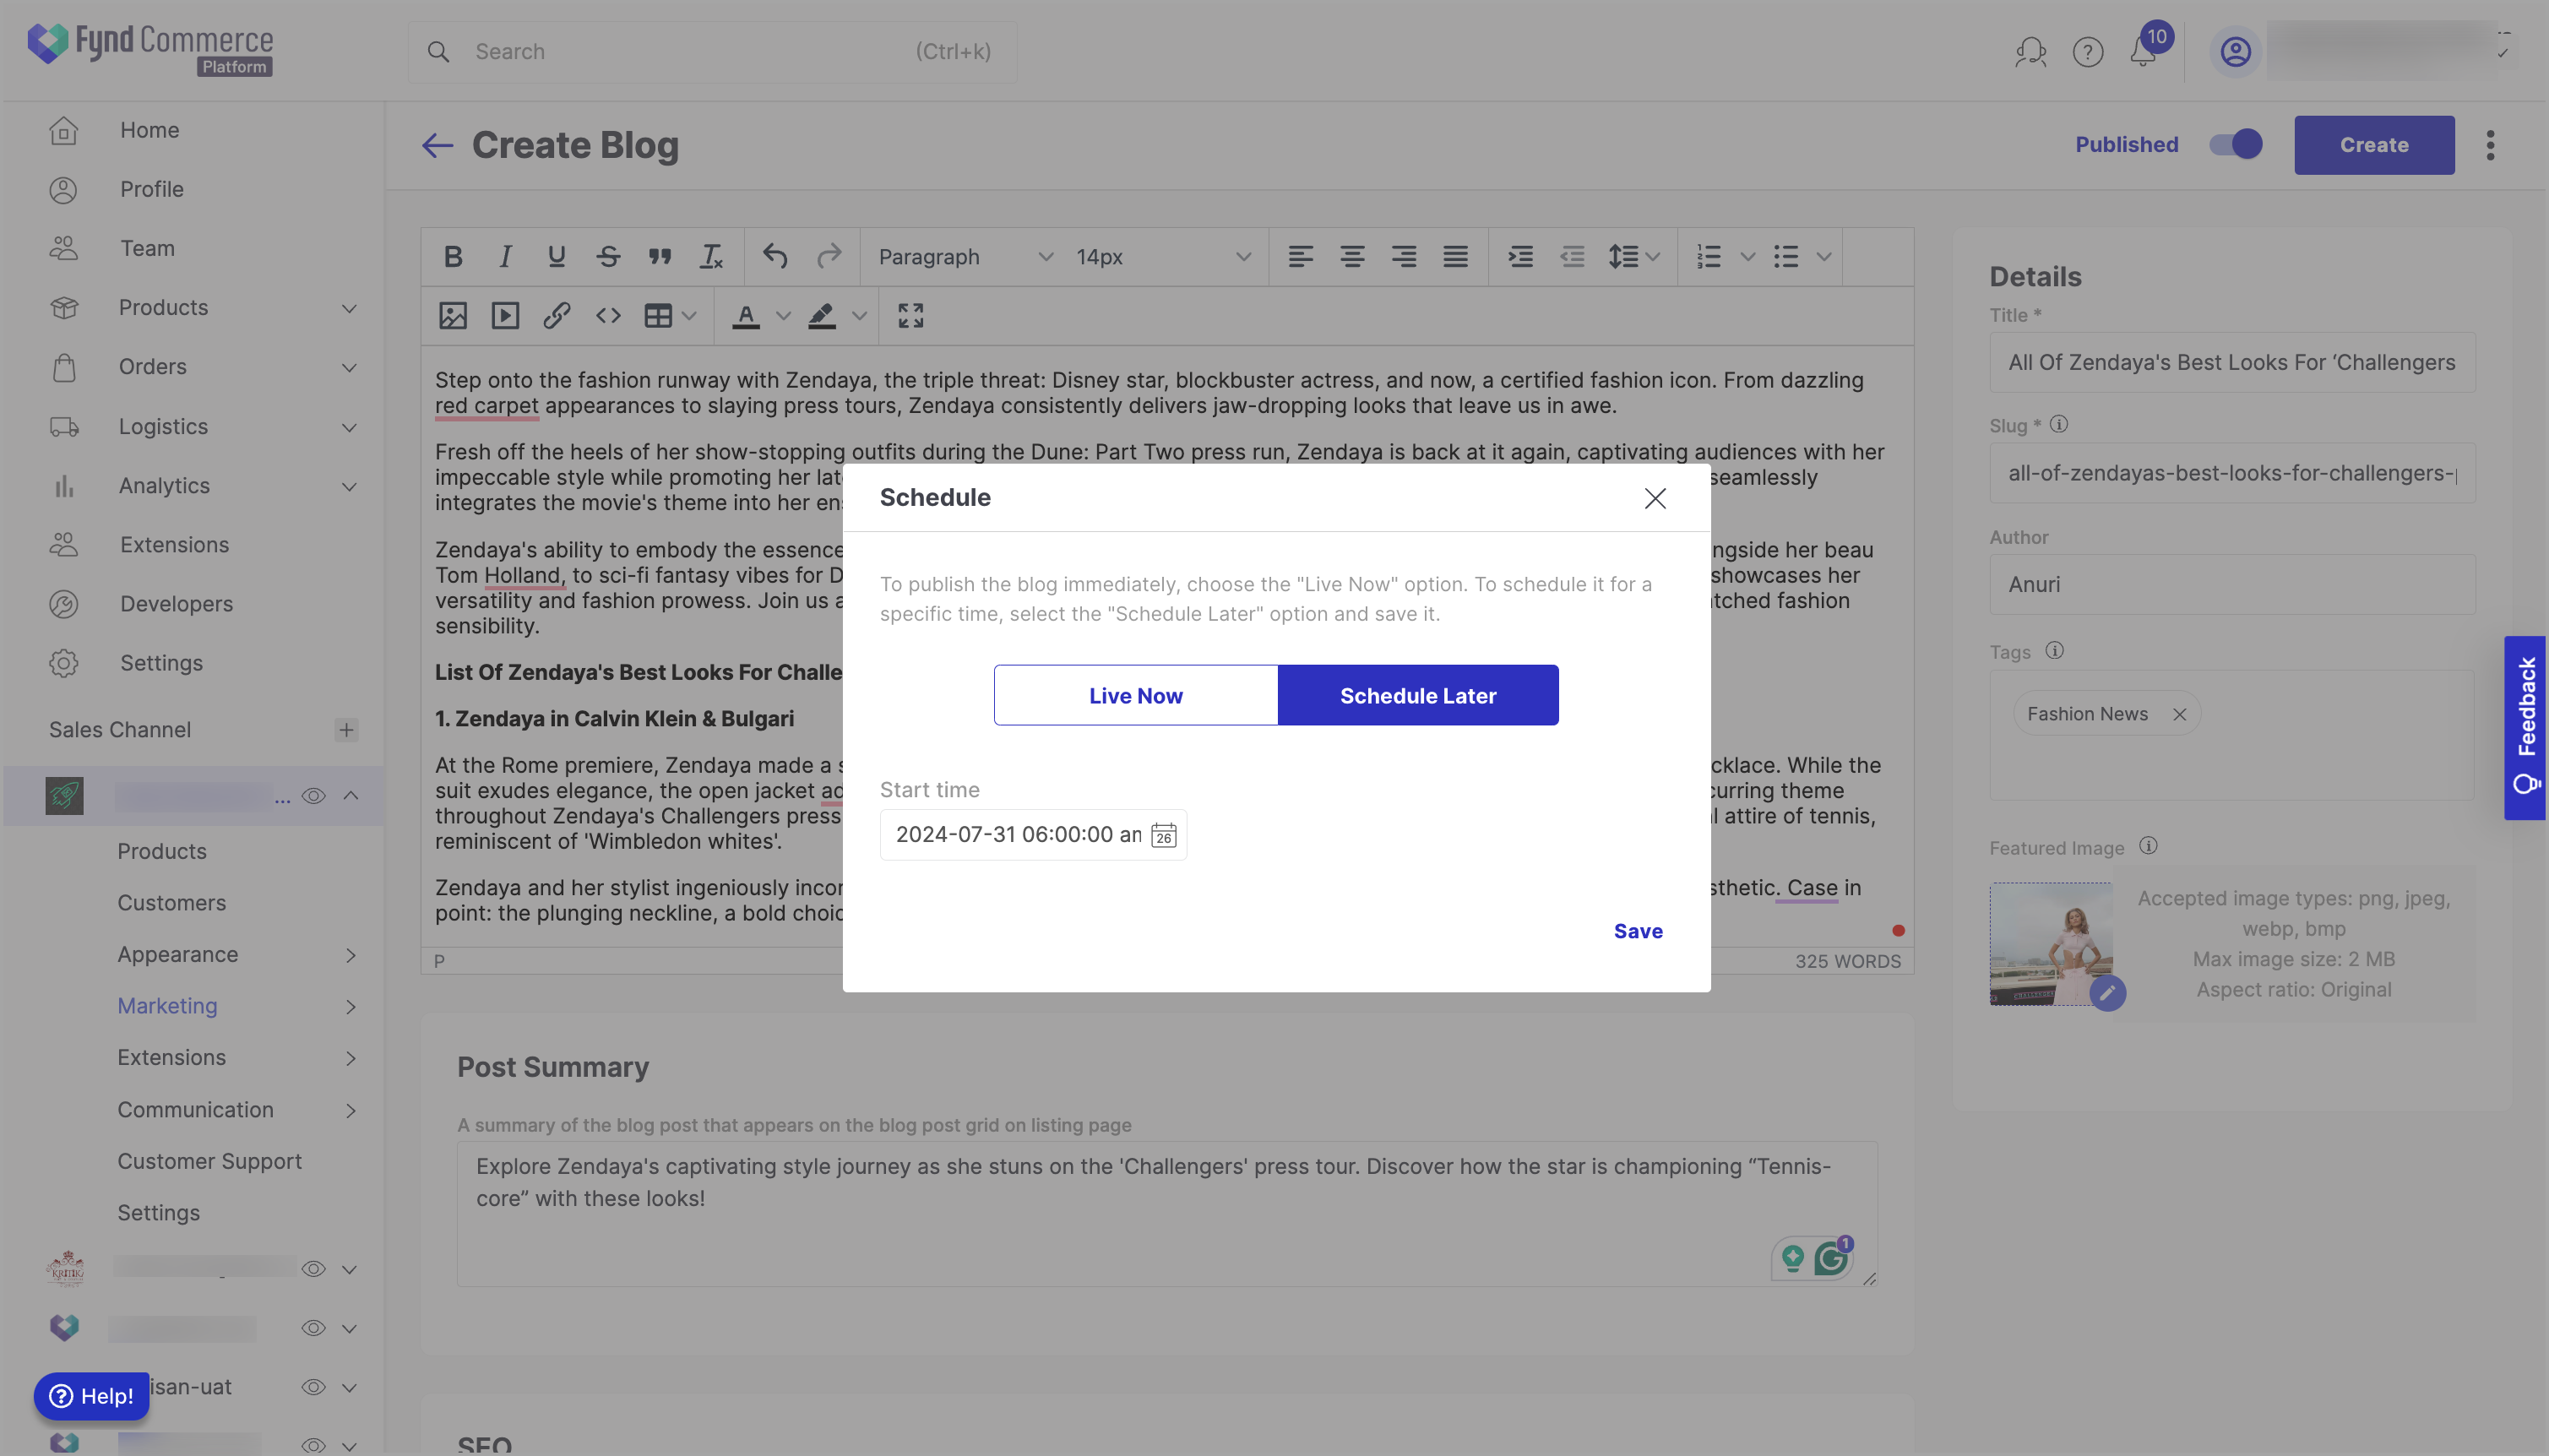
- Click Save. The Status column will show the status of the blogs.
Following are the status of the blogs:
| Sr. No. | Status | Description |
|---|---|---|
| 1 | Published | The blogs is visible to public |
| 2 | Draft | Incomplete post saved for editing later |
| 3 | Scheduled | Automatically publish the post at a specific time in future |