Tags
Introduction
In this section you can add custom CSS or Javascript into the source code of your website with the help of tags. It is specially useful when you want to include a separate CSS for styling, or JavaScript for integrating utilities such as chat widgets, e.g. Intercom, Tawk, and many more.
![]()
Creating a Tag
Let's create a tag to enable a chat widget (say Tawk.to) on your website.
-
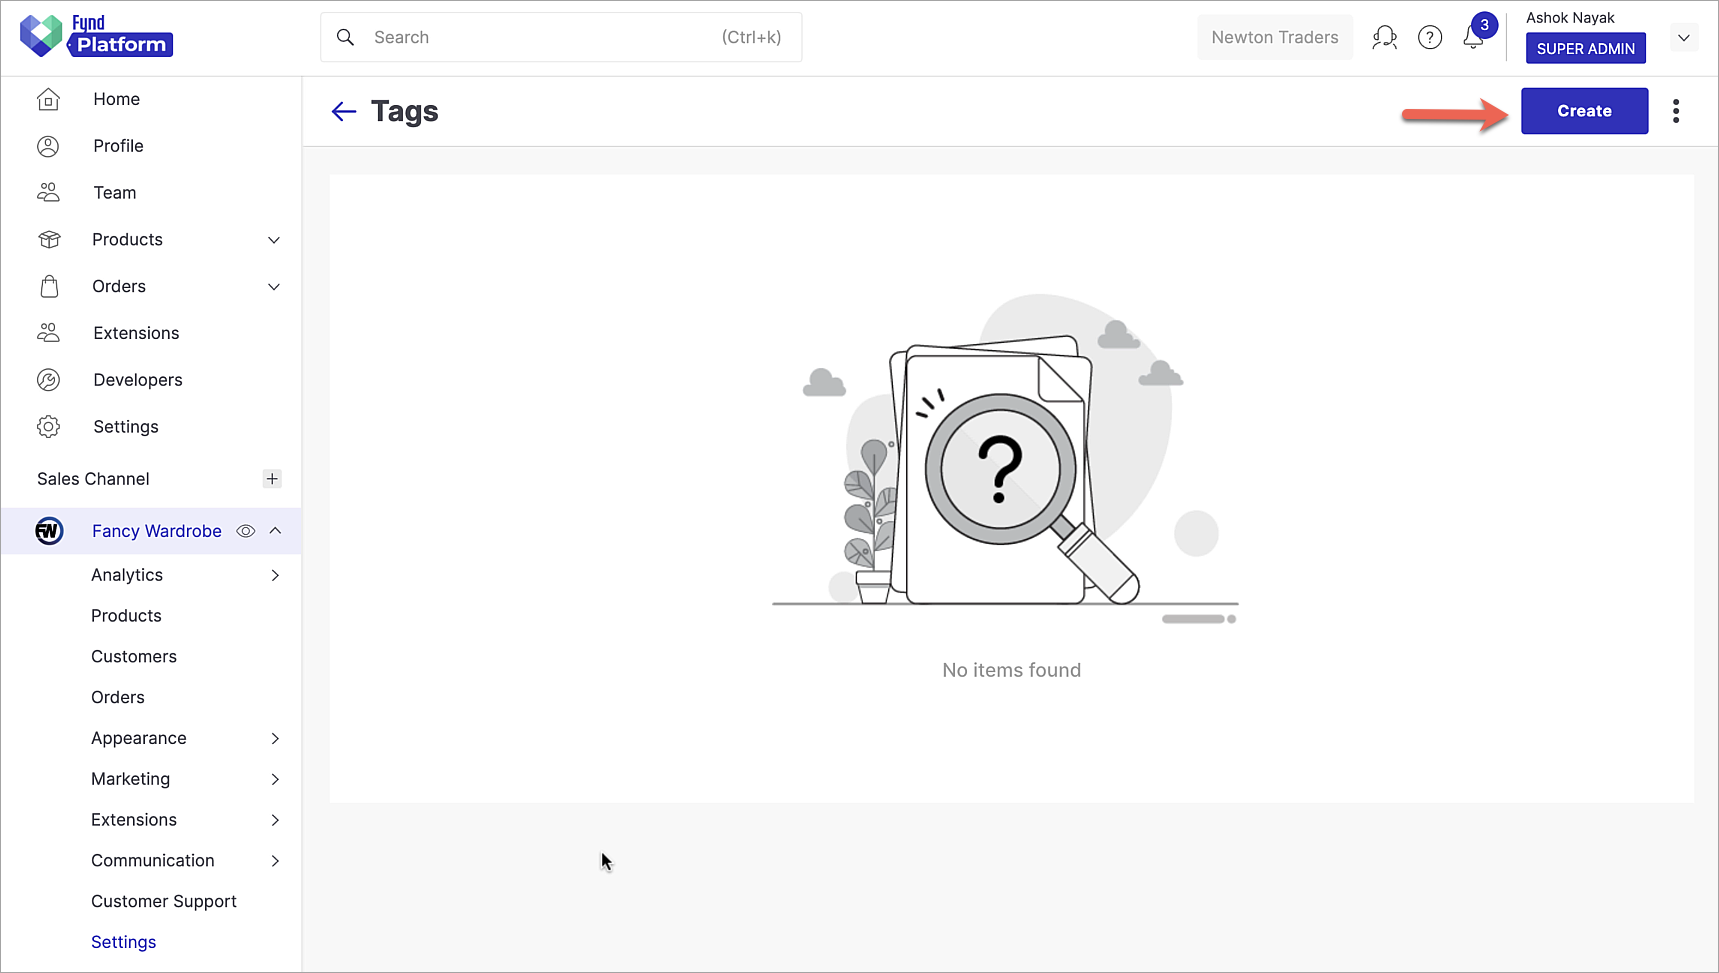
Click Create

Figure 2: Creating Tags
-
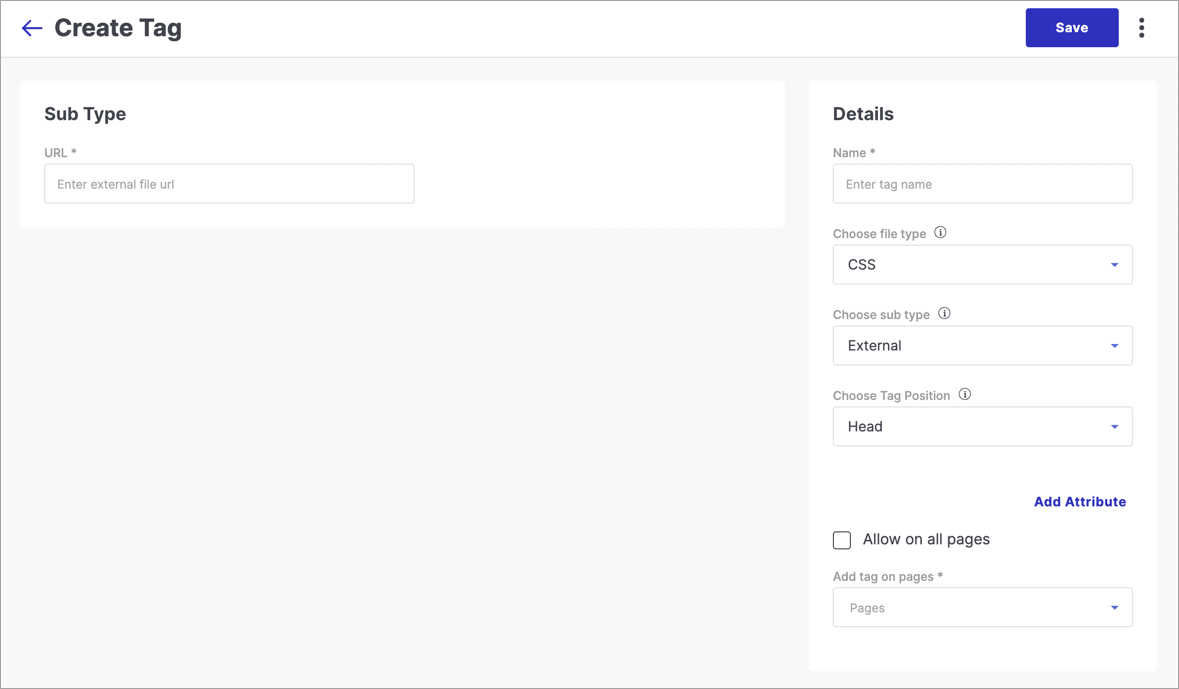
Enter the details.

Figure 3: Tag Details
- Name - Enter the name for the tag, e.g. Chat Widget JS
- Choose file type - Select CSS or JavaScript.
- Choose sub type - Select whether the tag will be an external URL or an inline code. If you select External then you will have to add an external URL of your CSS/JS in the field, if you select Inline then you will have to insert a CSS/JavaScript code.
- Choose tag position - Choose where the tag will be positioned, i.e. head tag, or top in the body tag or bottom in the body tag.
- URL - Place the URL or the CSS/JavaScript here.
-
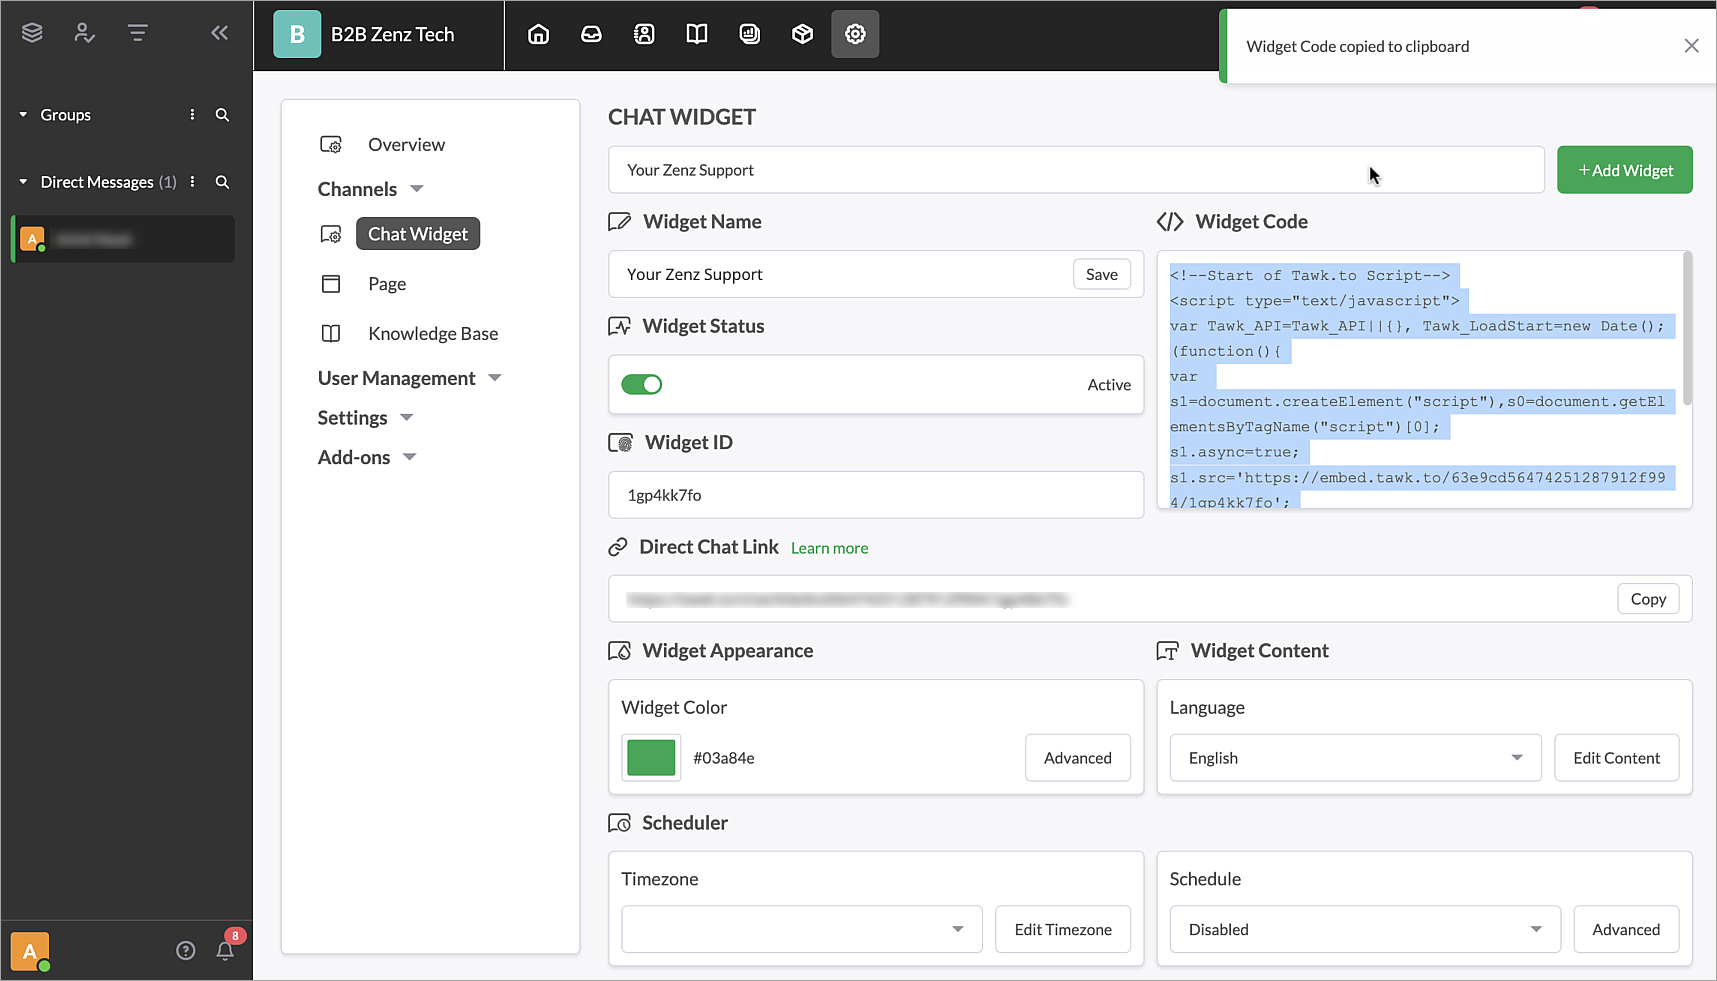
Your chat widget provider might have shared a JS code to add to the source code of your website.

Figure 4: JS Code Provided by Tawk (example)
-
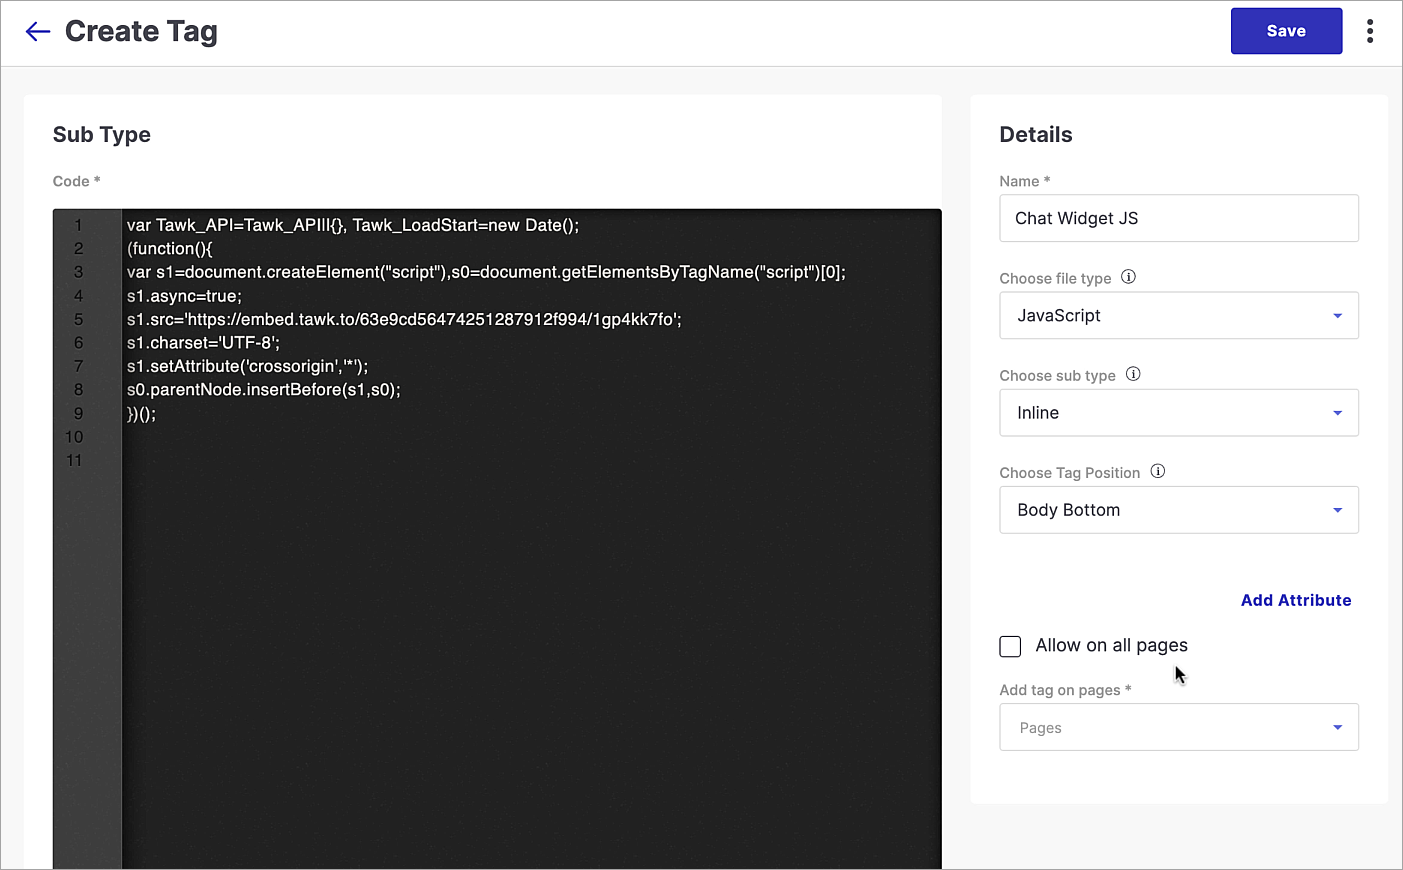
Navigate back to the Tags page on sales channel settings, Select JavaScript in the file type, Inline in the sub type, and paste the code in the editor. For the tag position, choose Body Bottom.

Figure 5: Pasting JS Code
-
Tick Allow on all pages to display the widget on all the pages of your website. Or you may selectively choose the pages (where you want the widget to appear) using the Add tag on pages dropdown .
-
Once the details are filled, click Save.
Go to your website, you can see the chat widget is visible at the bottom right corner of the screen.
![]()
When the customers click the chat icon, a window pops up that will allow them to initiate the chat.
![]()
Extras
(For advanced users) You can inspect the page to check whether the code is successfully applied.
![]()