Single Page Checkout
Single Page Checkout
Single page checkout is a type of online checkout process where all the necessary information and steps required to complete a purchase are presented on a single web page.
How to access Single Page Checkout page in your website?
Below are the steps to access Single Page Checkout page:
- Select Single Page Checkout from dropdown menu.
- Pop-up window appears with single page checkout section.
- Customise subsections in Single Page Checkout page.
Below are the configurable options of the Single Page Checkout page:
1. Extension Positions
The extension positions in the extension section of a website refer to the specific locations or areas on a web page where browser extensions or add-ons can be displayed or integrated.
Below the extension positions section, click on the ‘+’ button to add an extension:
- Add extension (e.g. Above Coupon Component, Above Price Breakup, Below Price Breakup and Below Payment Options).
- Save the added extension.
- Users can repeat the process to add other extensions.
- The Single Page Checkout follows three steps:
- Add your delivery address.
- Check your order summary.
- Make payment on the payment method page.
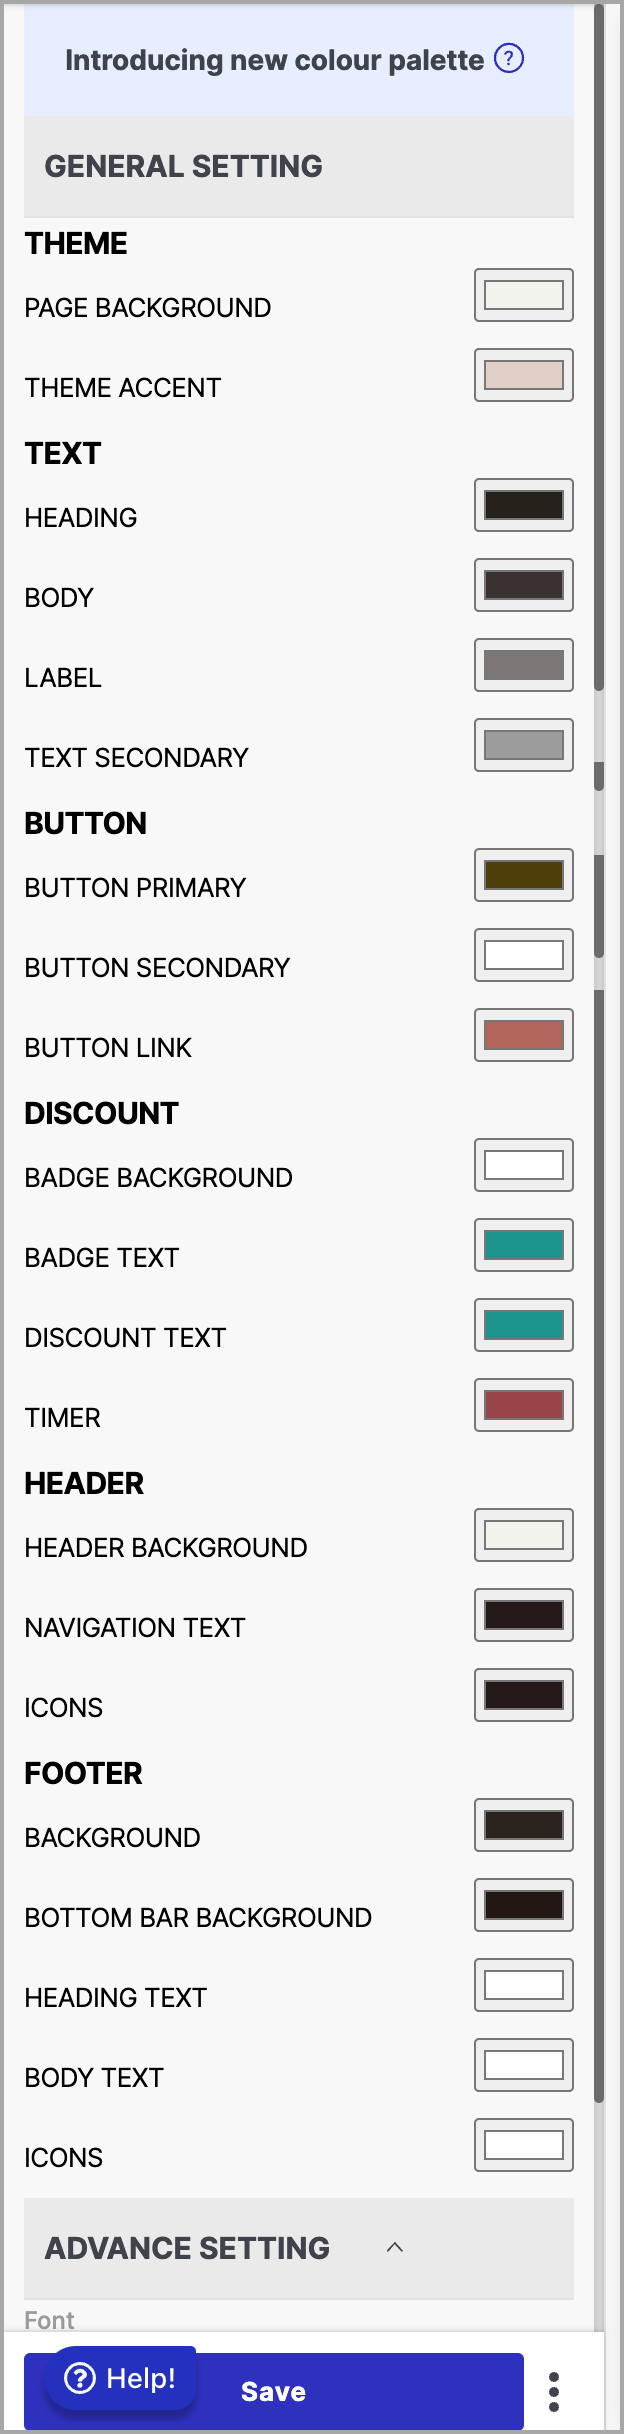
2. Colour Palatte
The seller can customize the colour palette of the Single Page Checkout page via the general settings of the sales channel, and this chosen colour scheme will be applied to the themes of the single-page checkout.
- Go to Sales Channel > Appearance > Theme > Edit Theme.
- From the system page dropdown list, choose Single Page Checkout Page.
- Navigate to Sections > Settings > General.
- Adjust the colours for various elements in the Theme/Text/Button/Discount/Header/Advance Setting sections.
- Save your changes. The selected colours will be applied to both the customer store and the theme editor as per your selection.