Campaign
Introduction
This section is for creating communication campaigns for your target audience. Communication campaign is the core idea or the core message that you want to put across. These campaigns help in reaching out to your customers and potential leads. Moreover, it serves multiple purposes which include marketing and advertising through Email and SMS.
Creating a Campaign
-
Click Create.
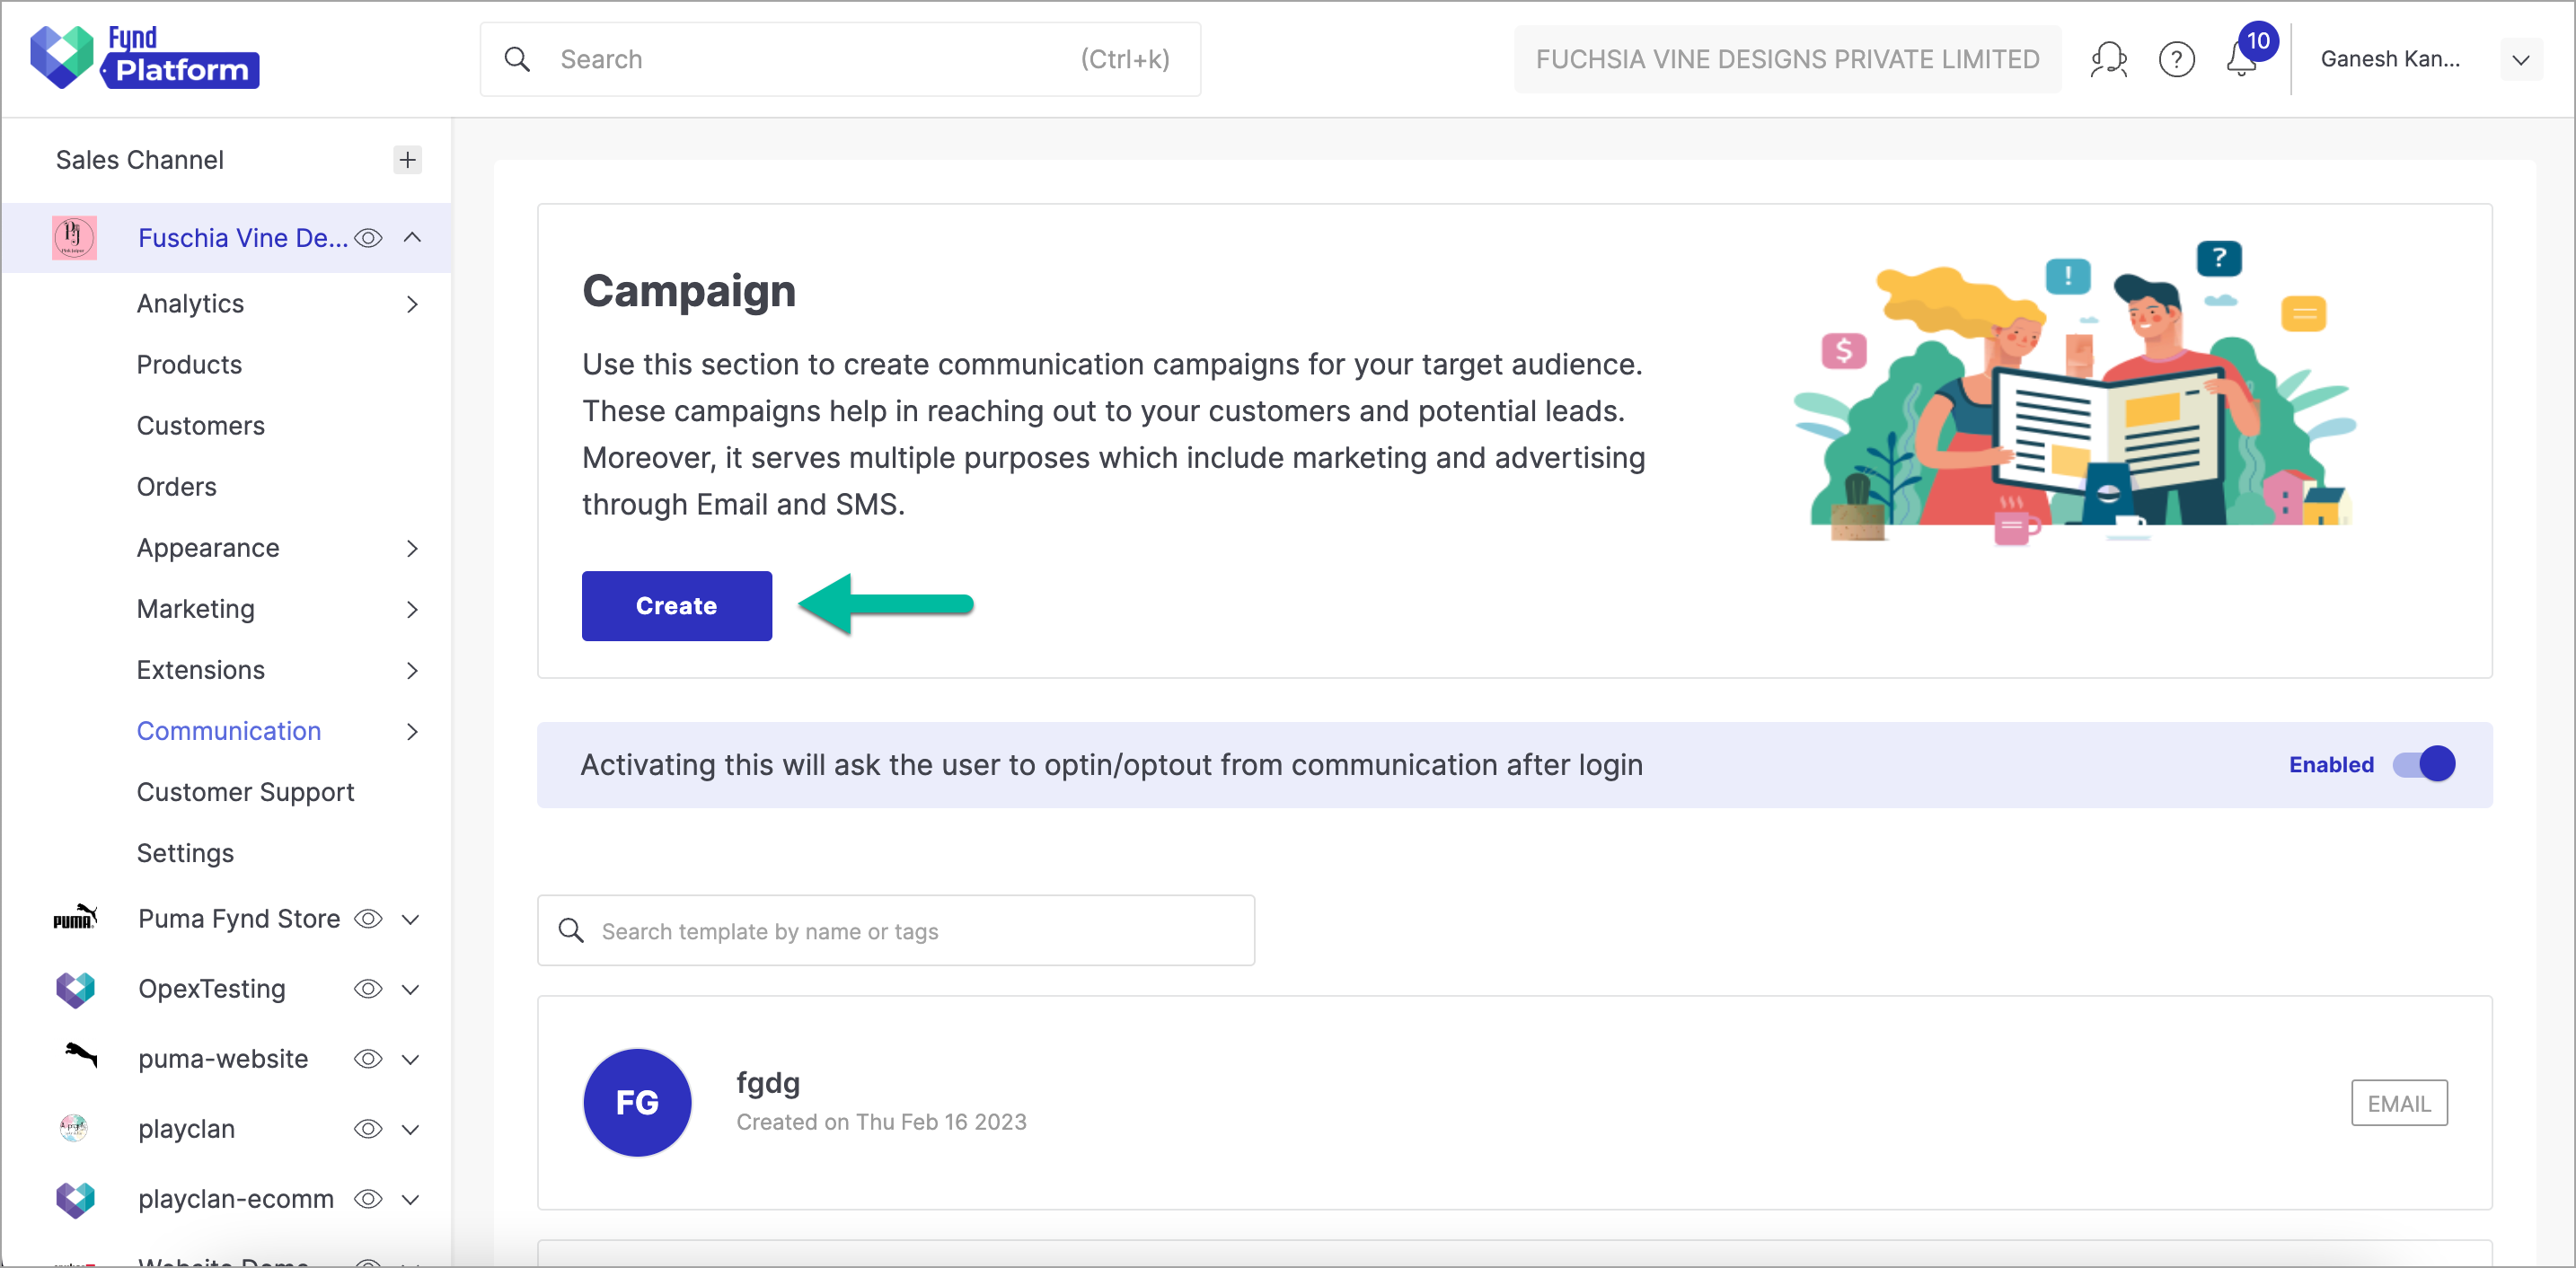
Figure 1: Clicking Create Button
-
Select the campaign you wish to create (Email or SMS). In this case, we are creating an email campaign (Refer Figure 2).
-
Click Select & Proceed.
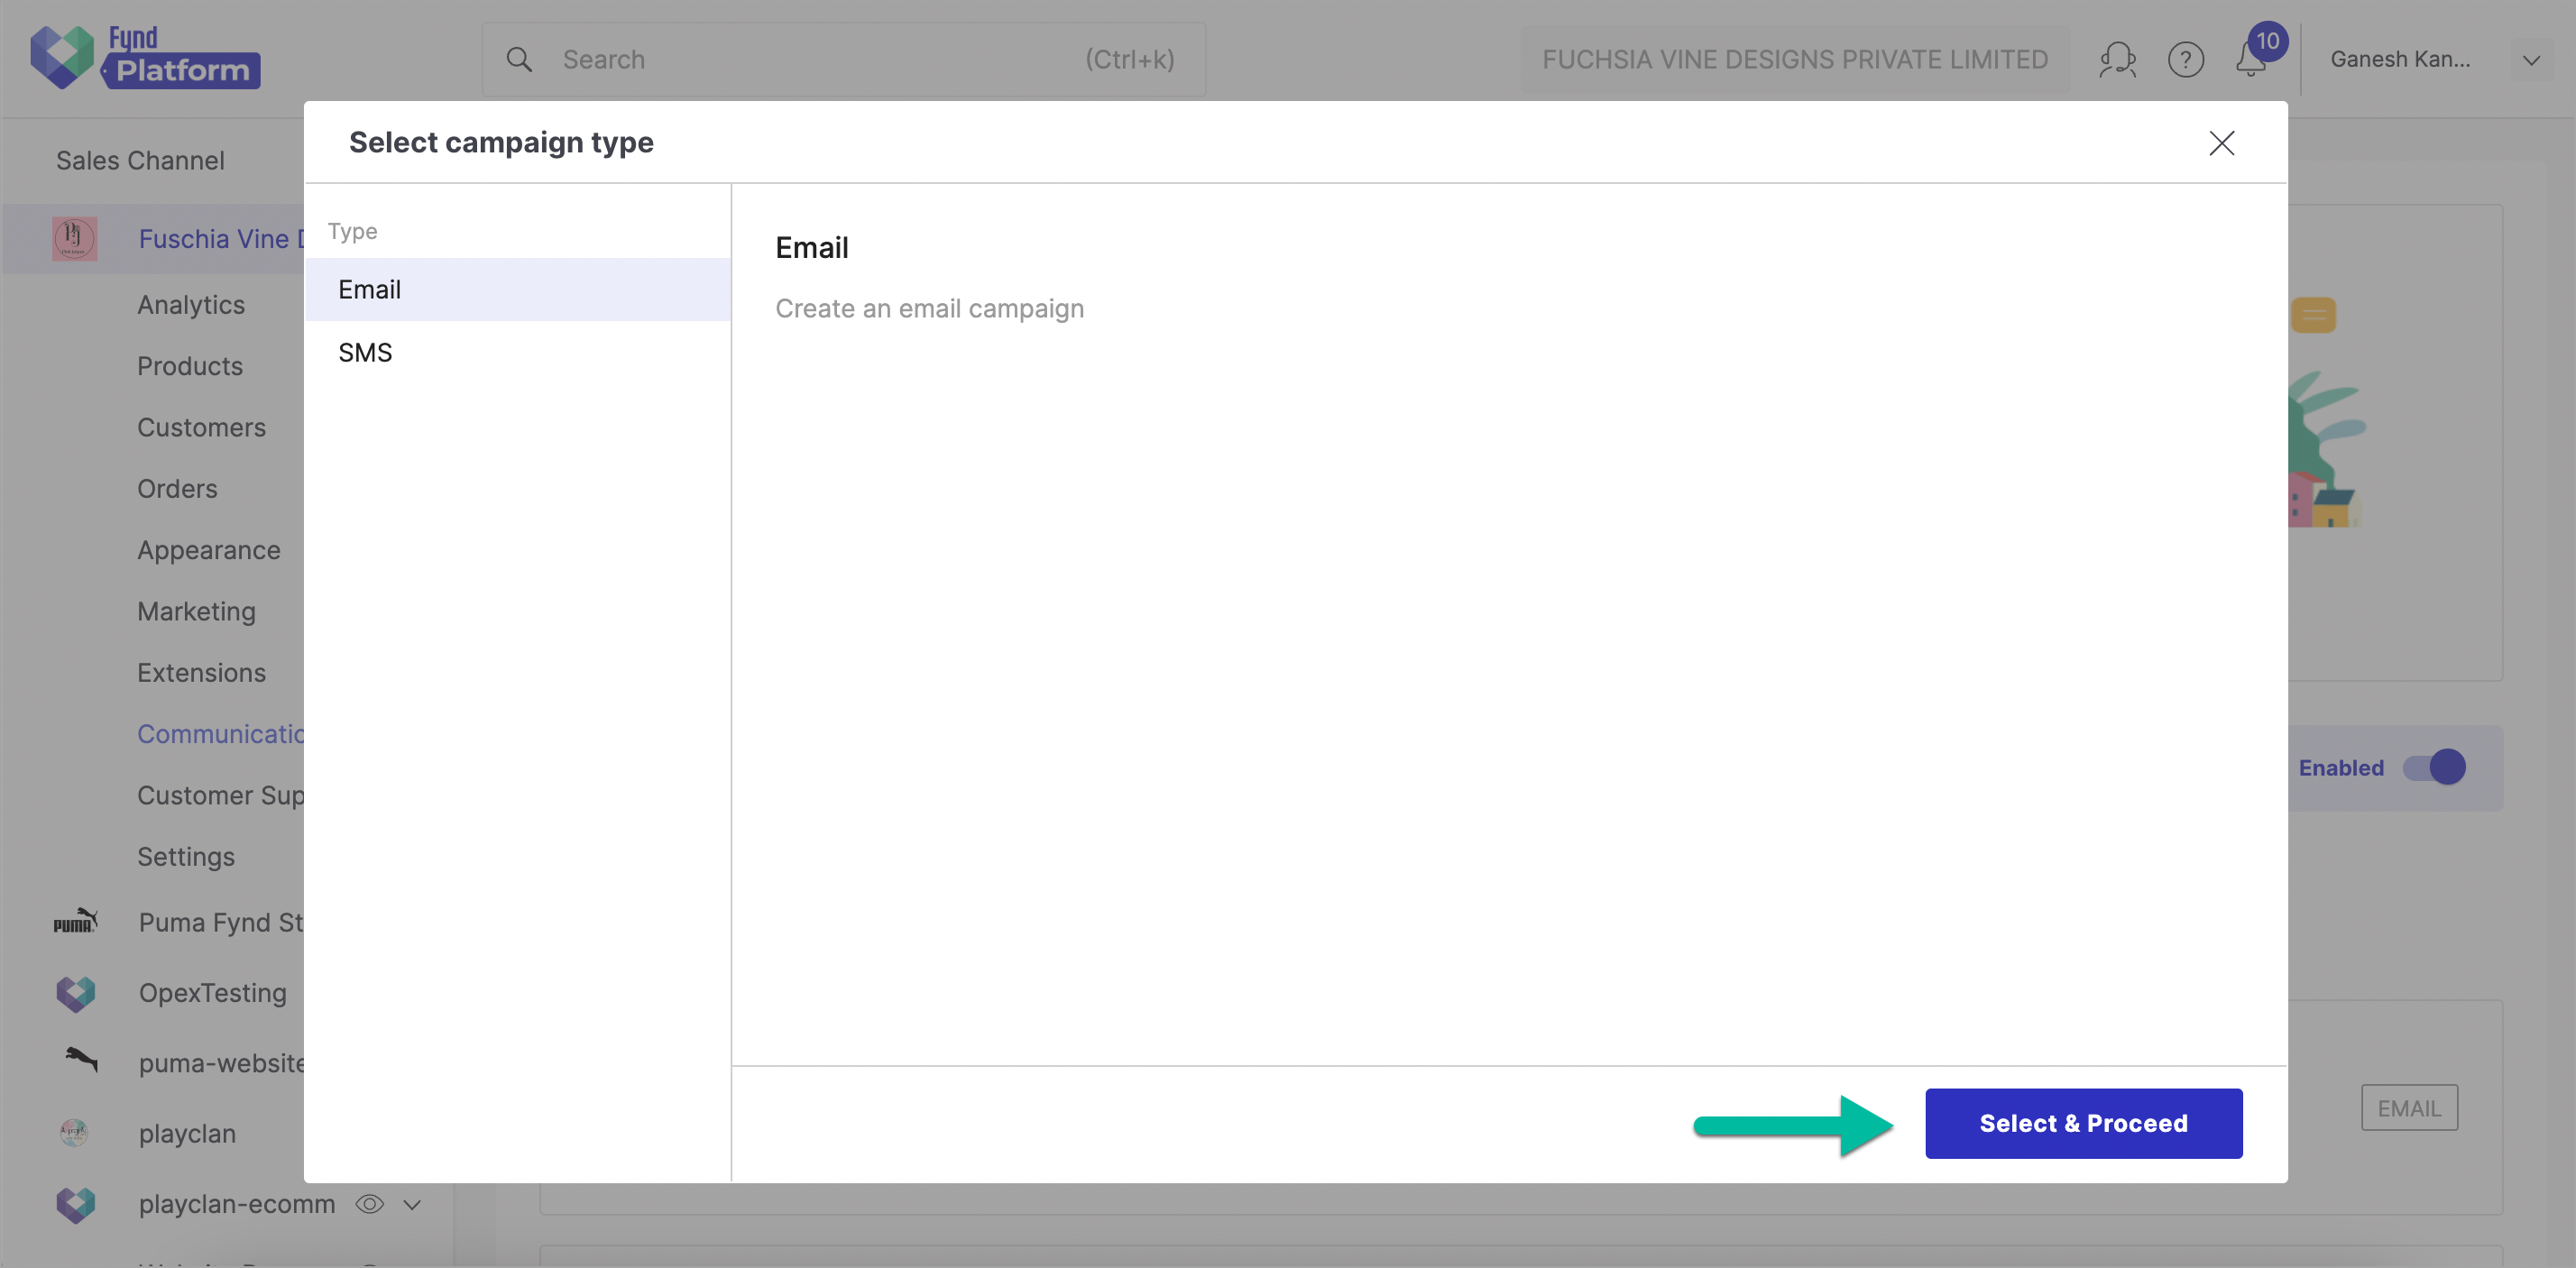
Figure 2: Clicking Select & Proceed Button
-
Enter campaign details.
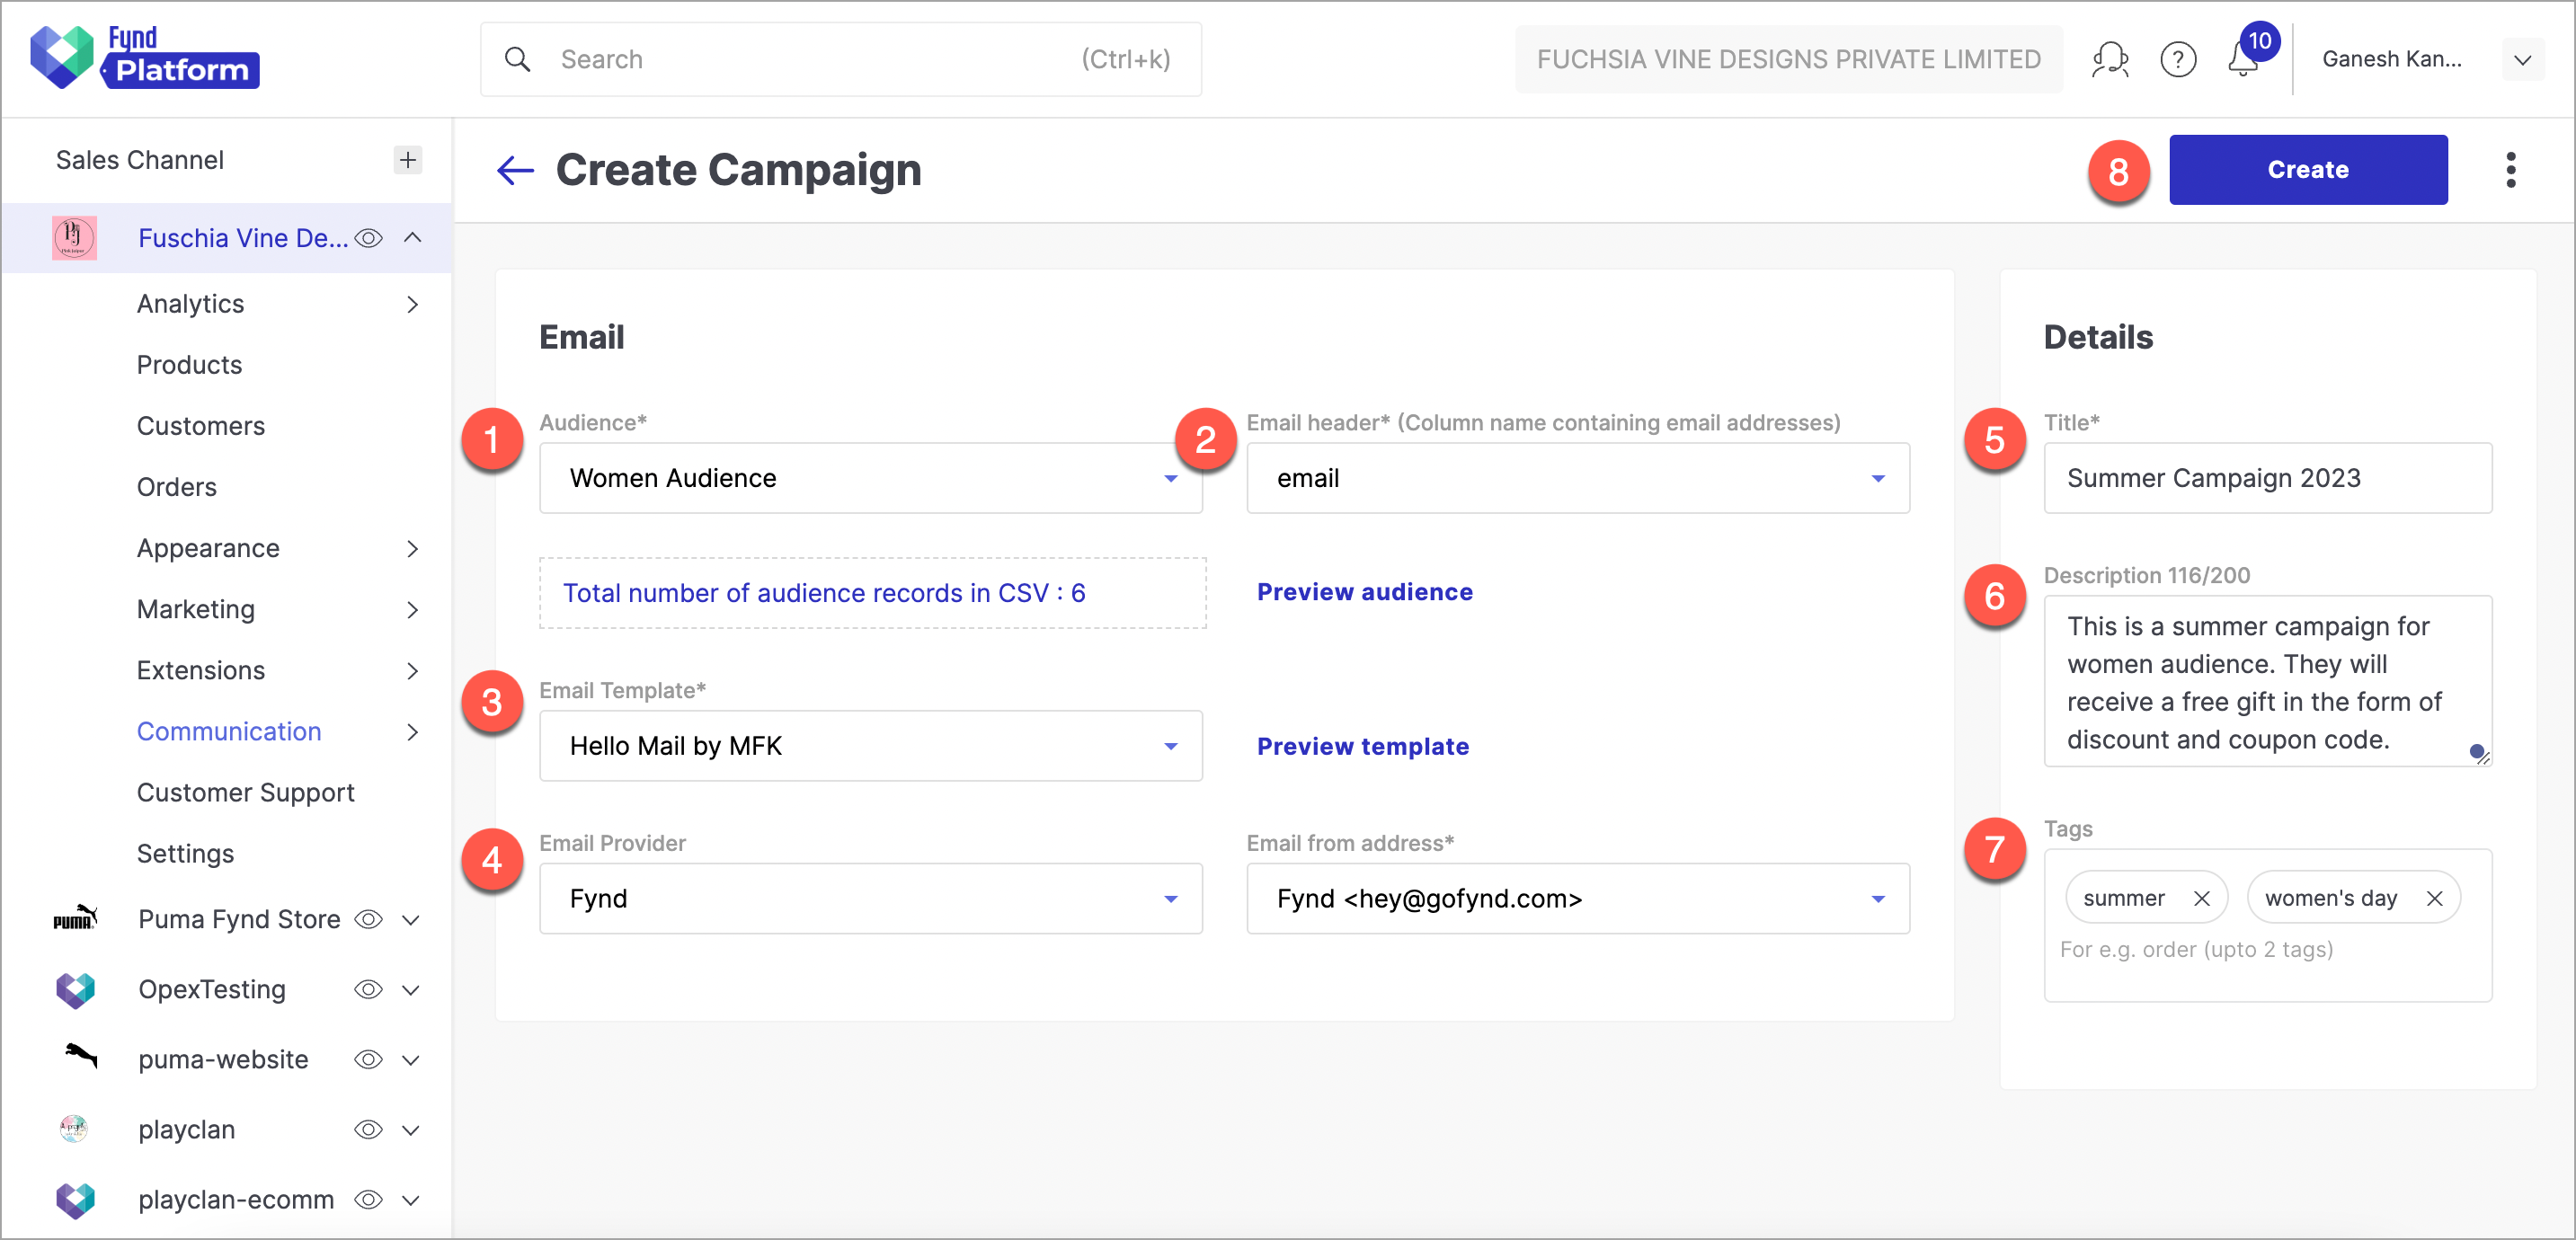
Figure 3a: Adding Campaign Details
- Select an audience from the list (see Audience for more details).
- Select an email header. This header is the column used during the creation of an audience (see Creating an Audience for more details).
- Select an email template (see Create Templates for more details).
- 'Fynd' is the default provider that will send the emails. In case, if you have your own service provider, you may configure it in 'Communication → Providers' section to use the same for sending emails.
- Give a title to your campaign.
- Write a brief description.
- Add maximum two tags.
- Upon clicking this button, your campaign will be created successfully.
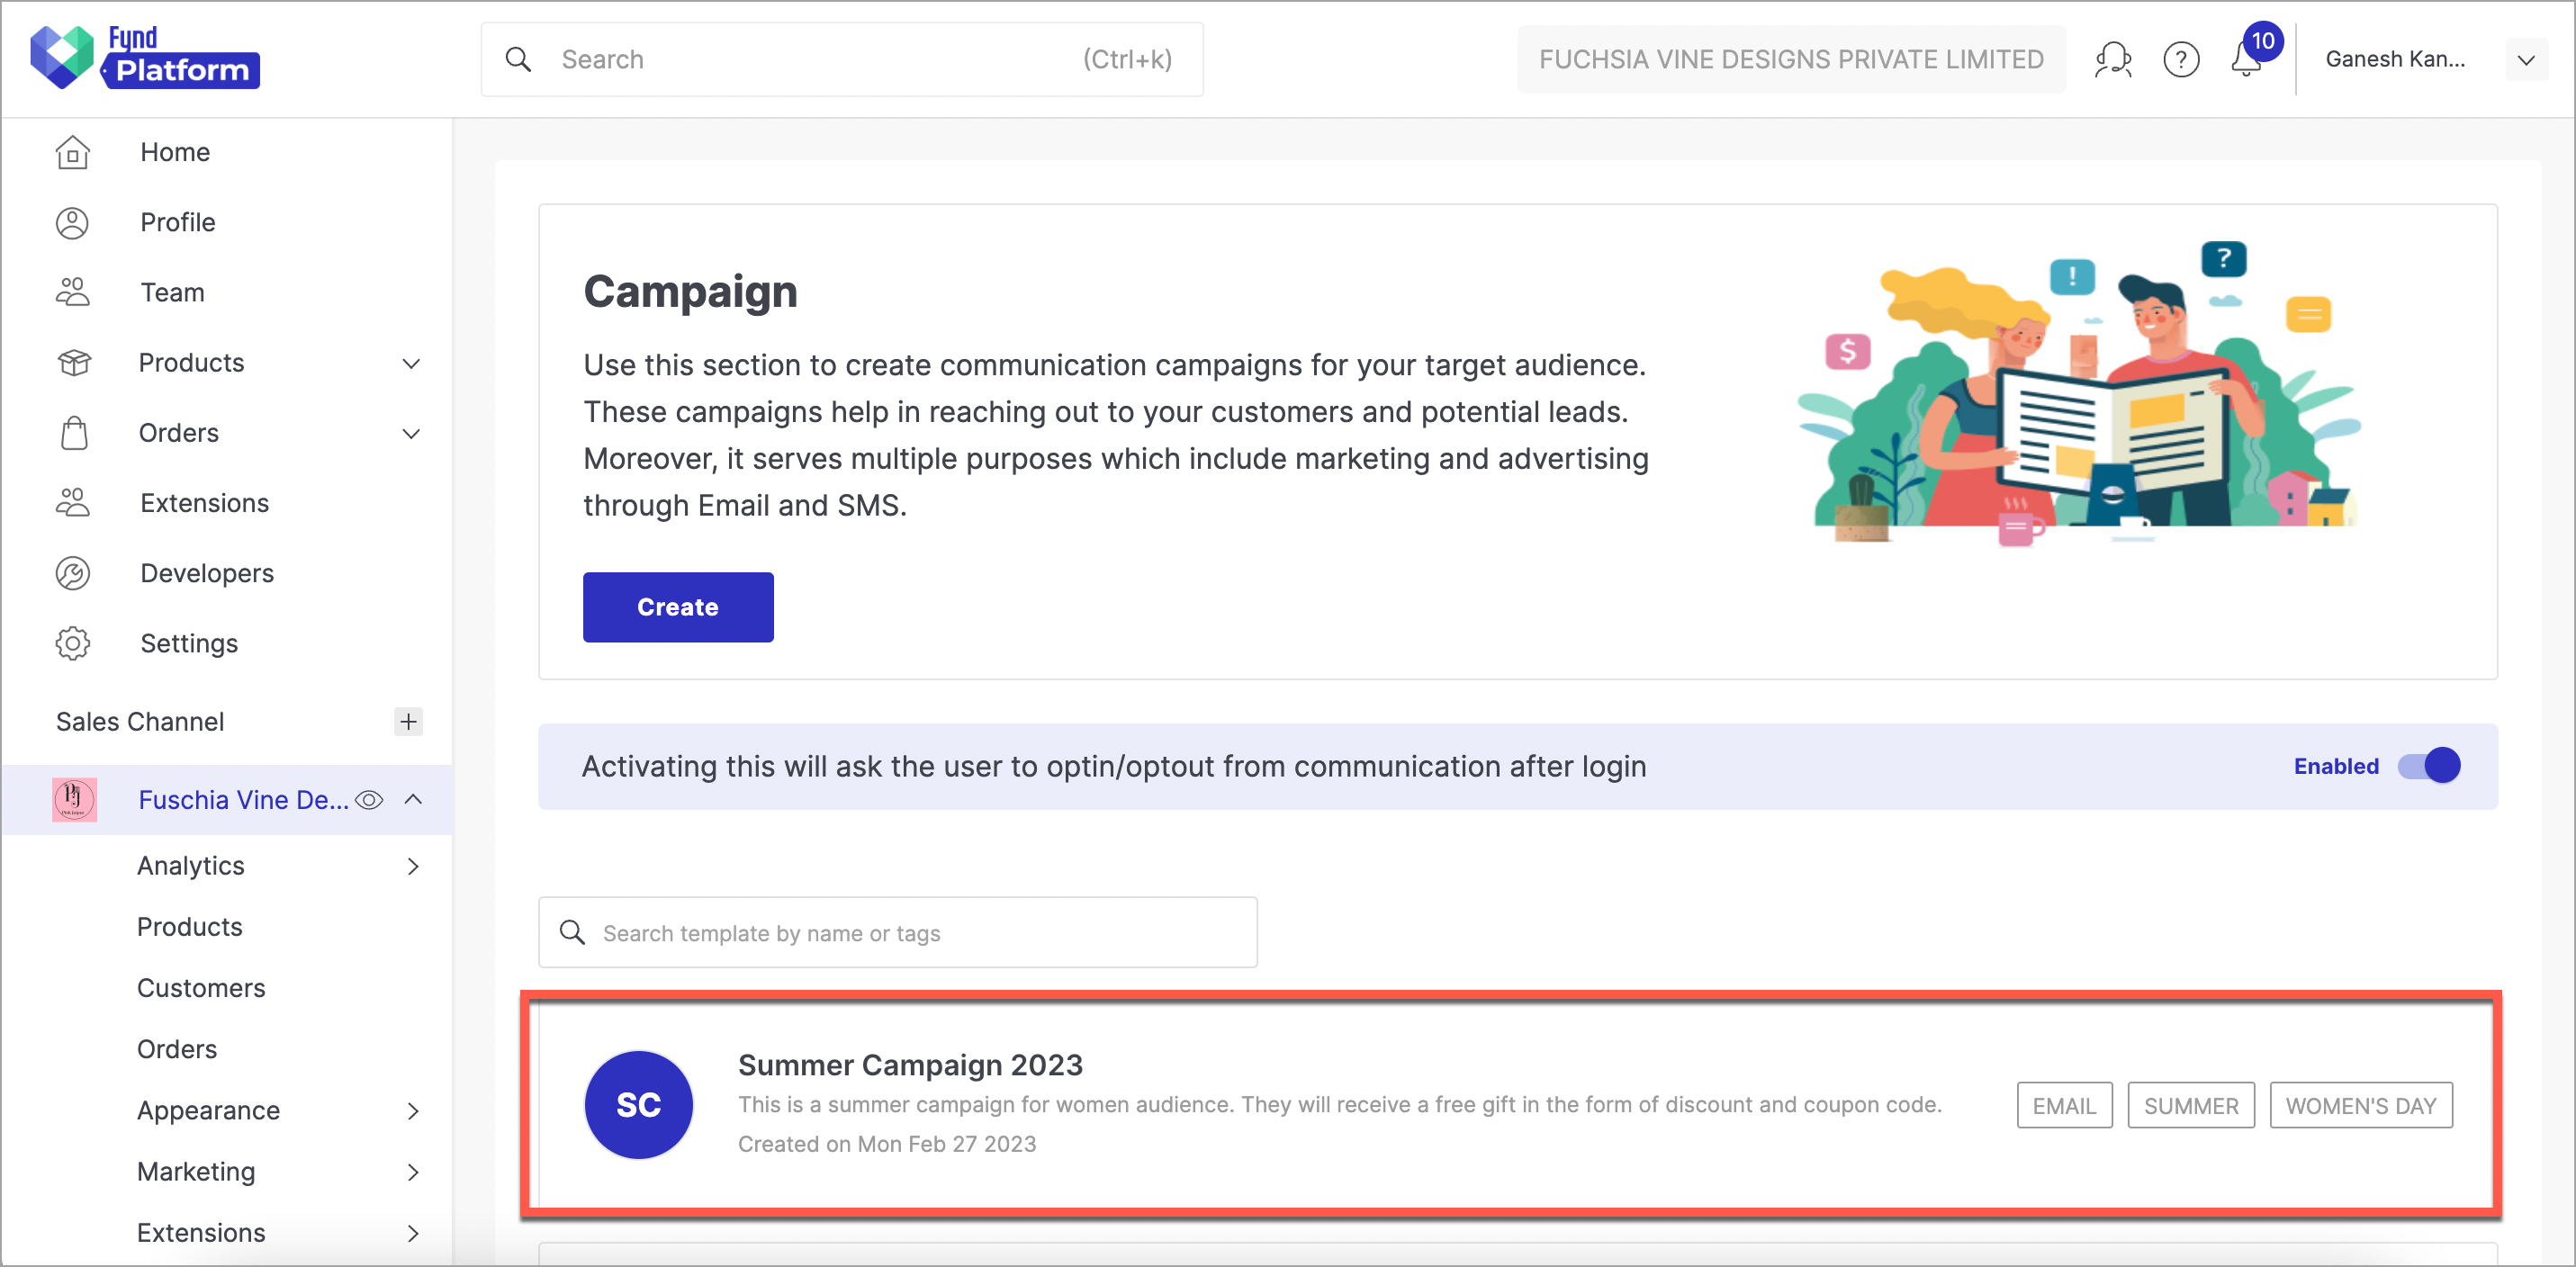
Figure 3b: Campaign Created Successfully
Running a Campaign
-
Open the campaign that you have created in step 4 above.
-
Click schedule option.
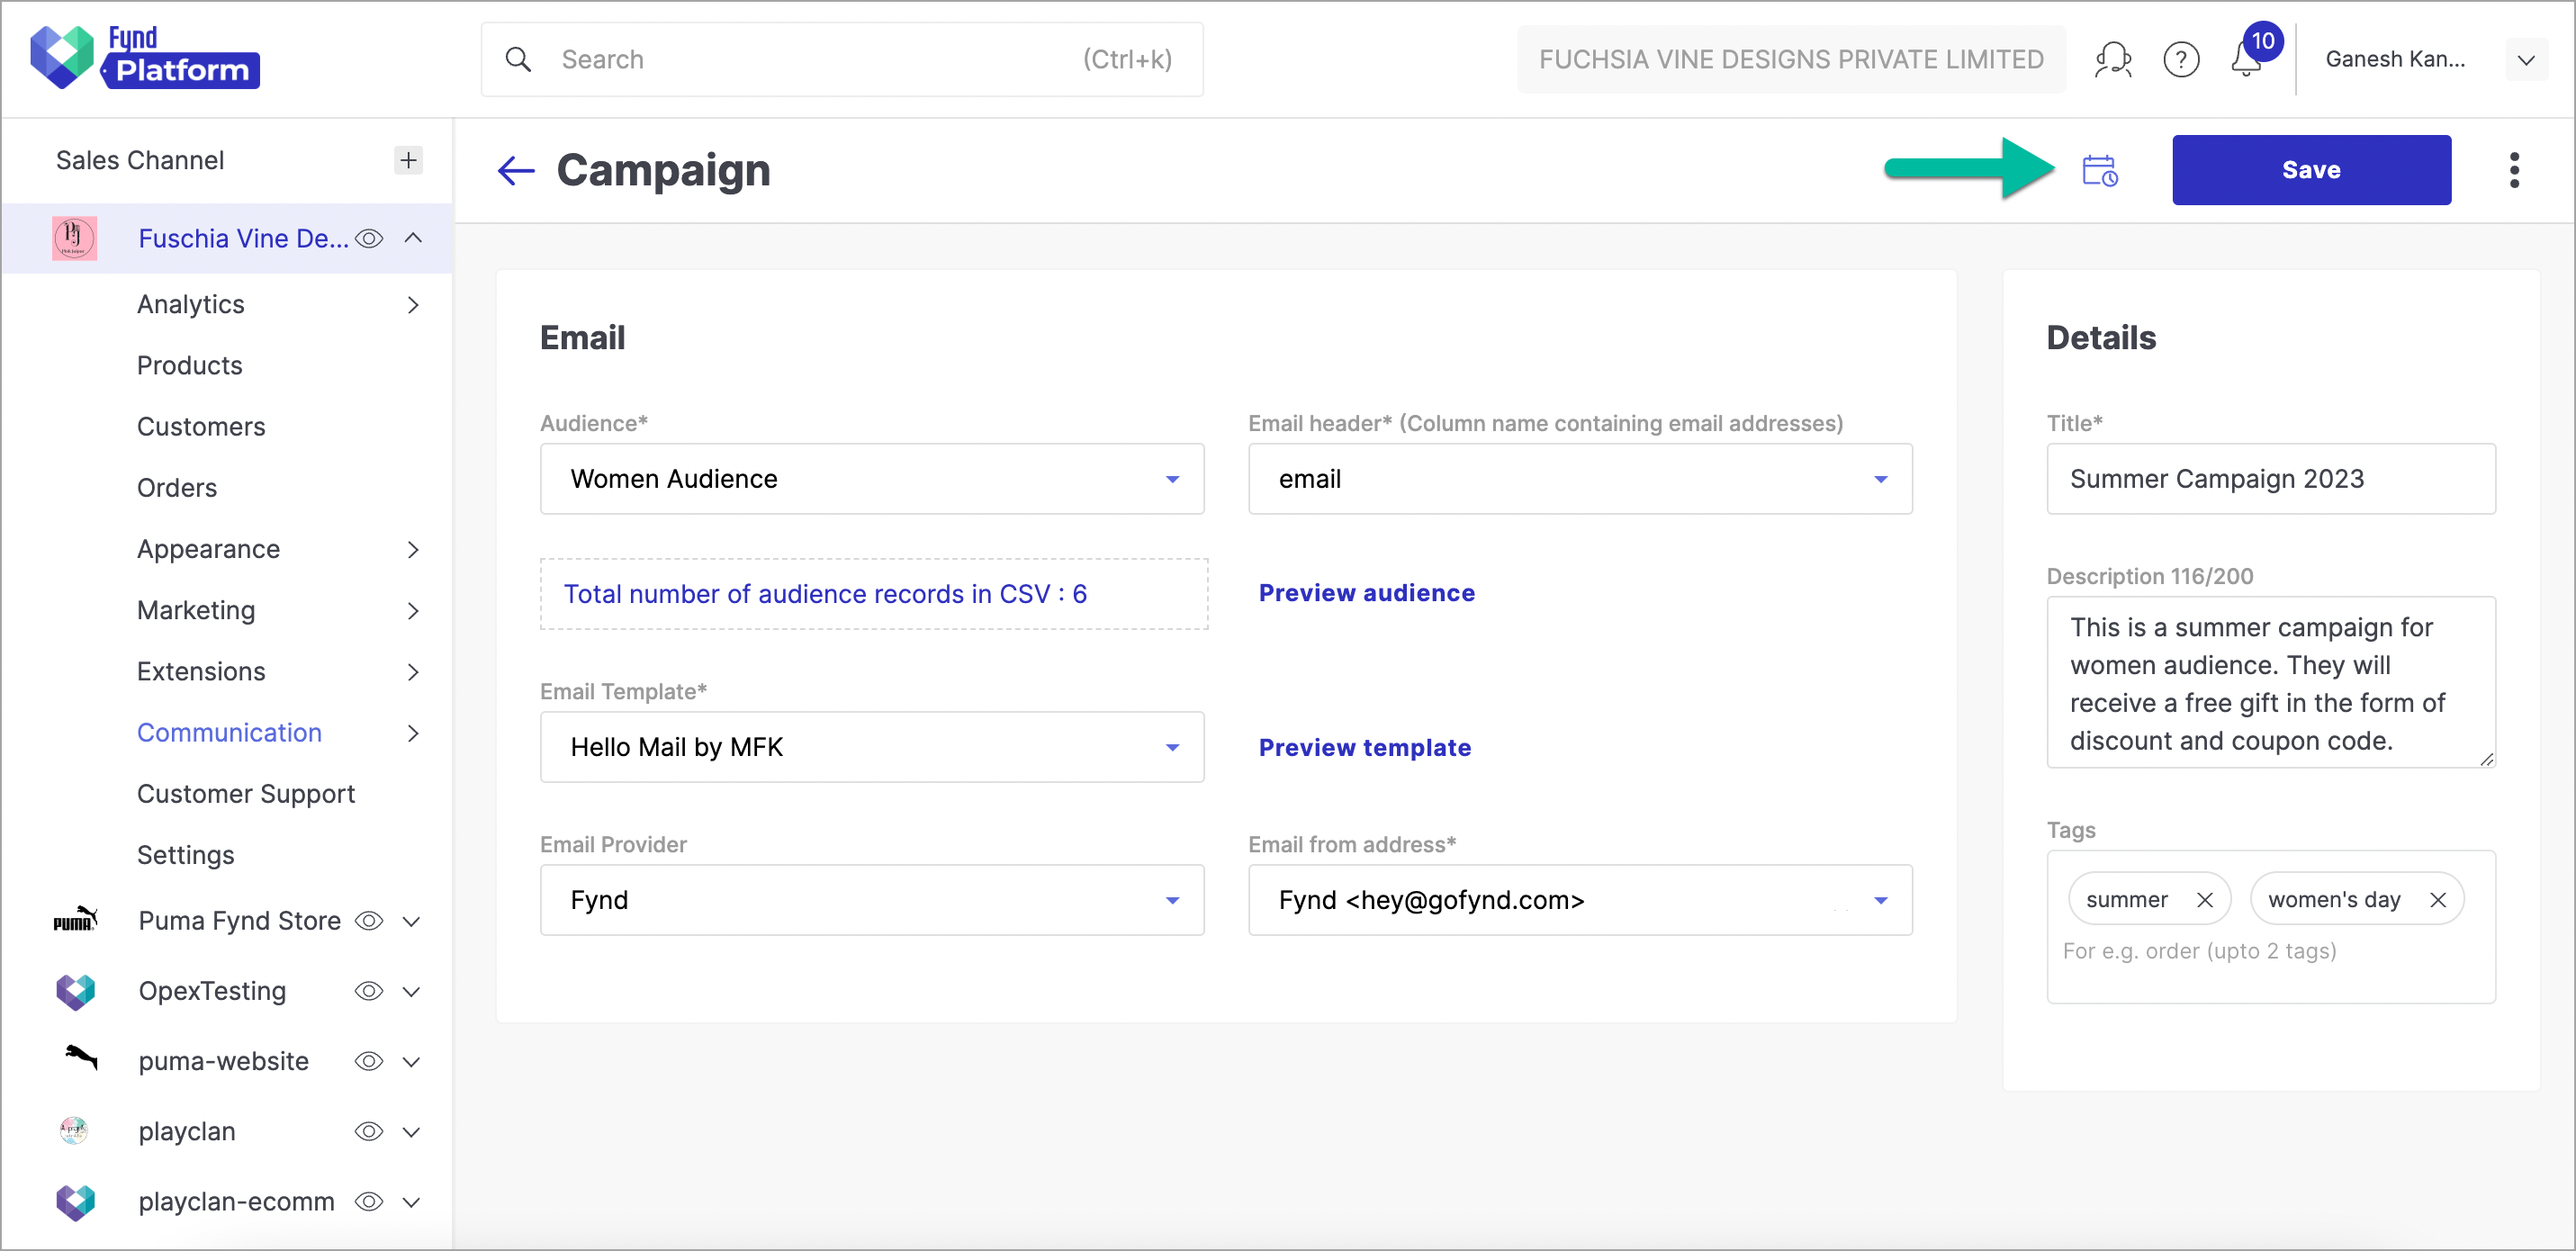
Figure 4: Clicking Schedule Option
-
Click Run Now.
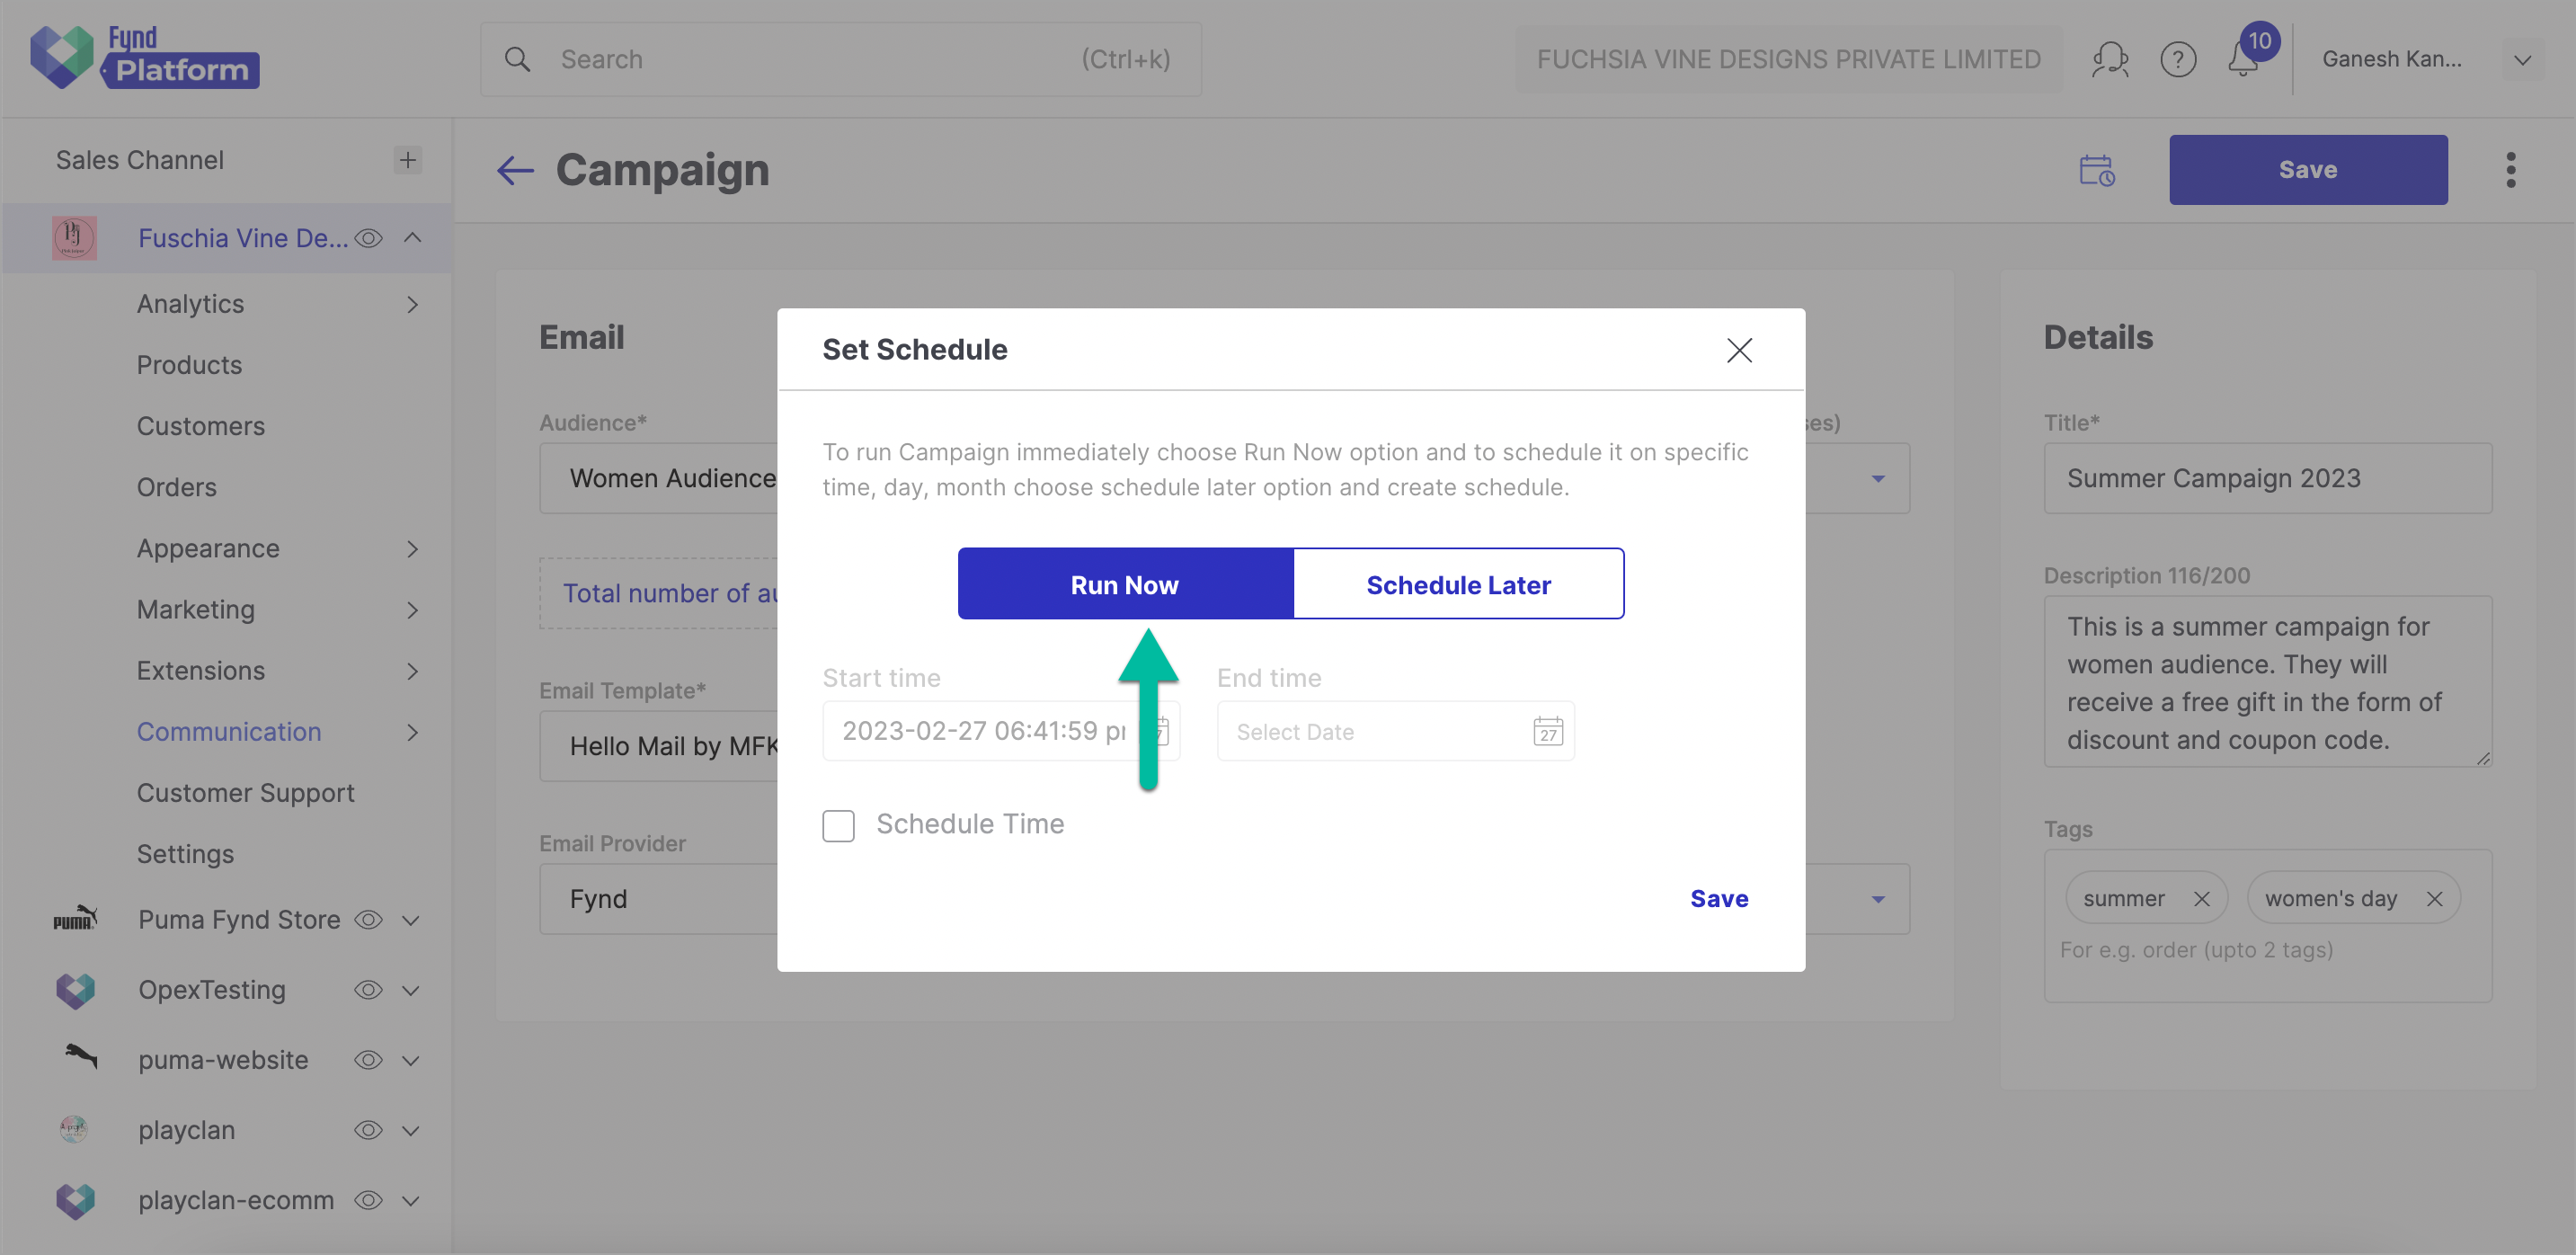
Figure 5: Choosing Run Now Option
-
Click Yes.
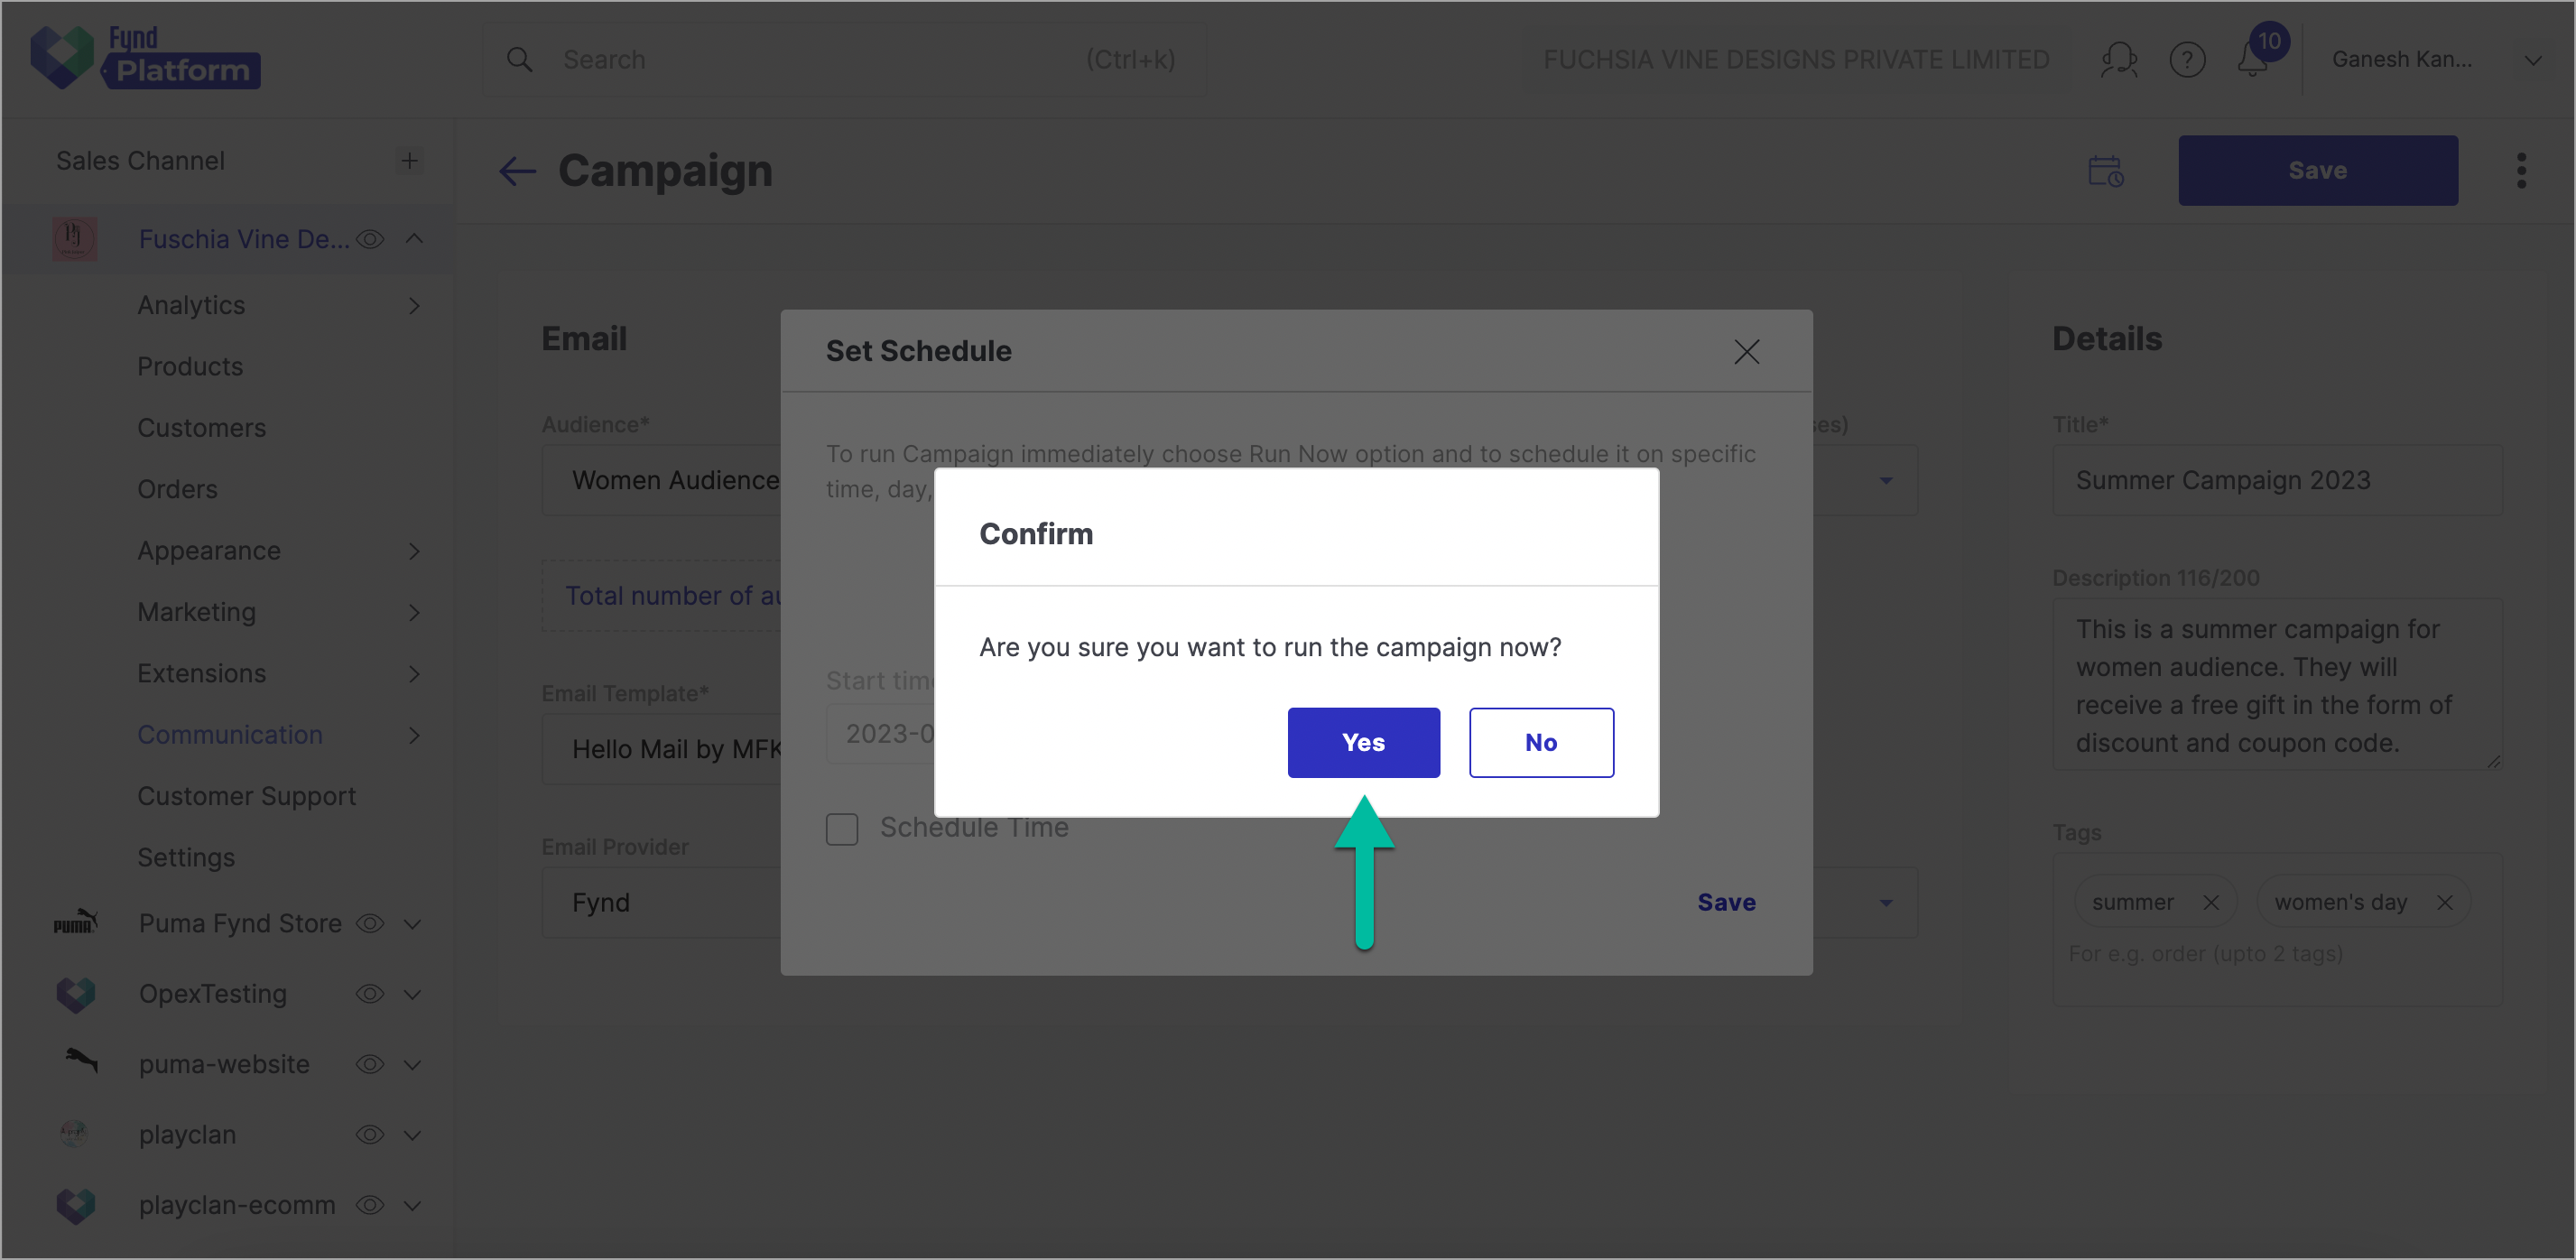
Figure 6: Clicking Yes Button
-
Click Save. Refresh the page to check the status.
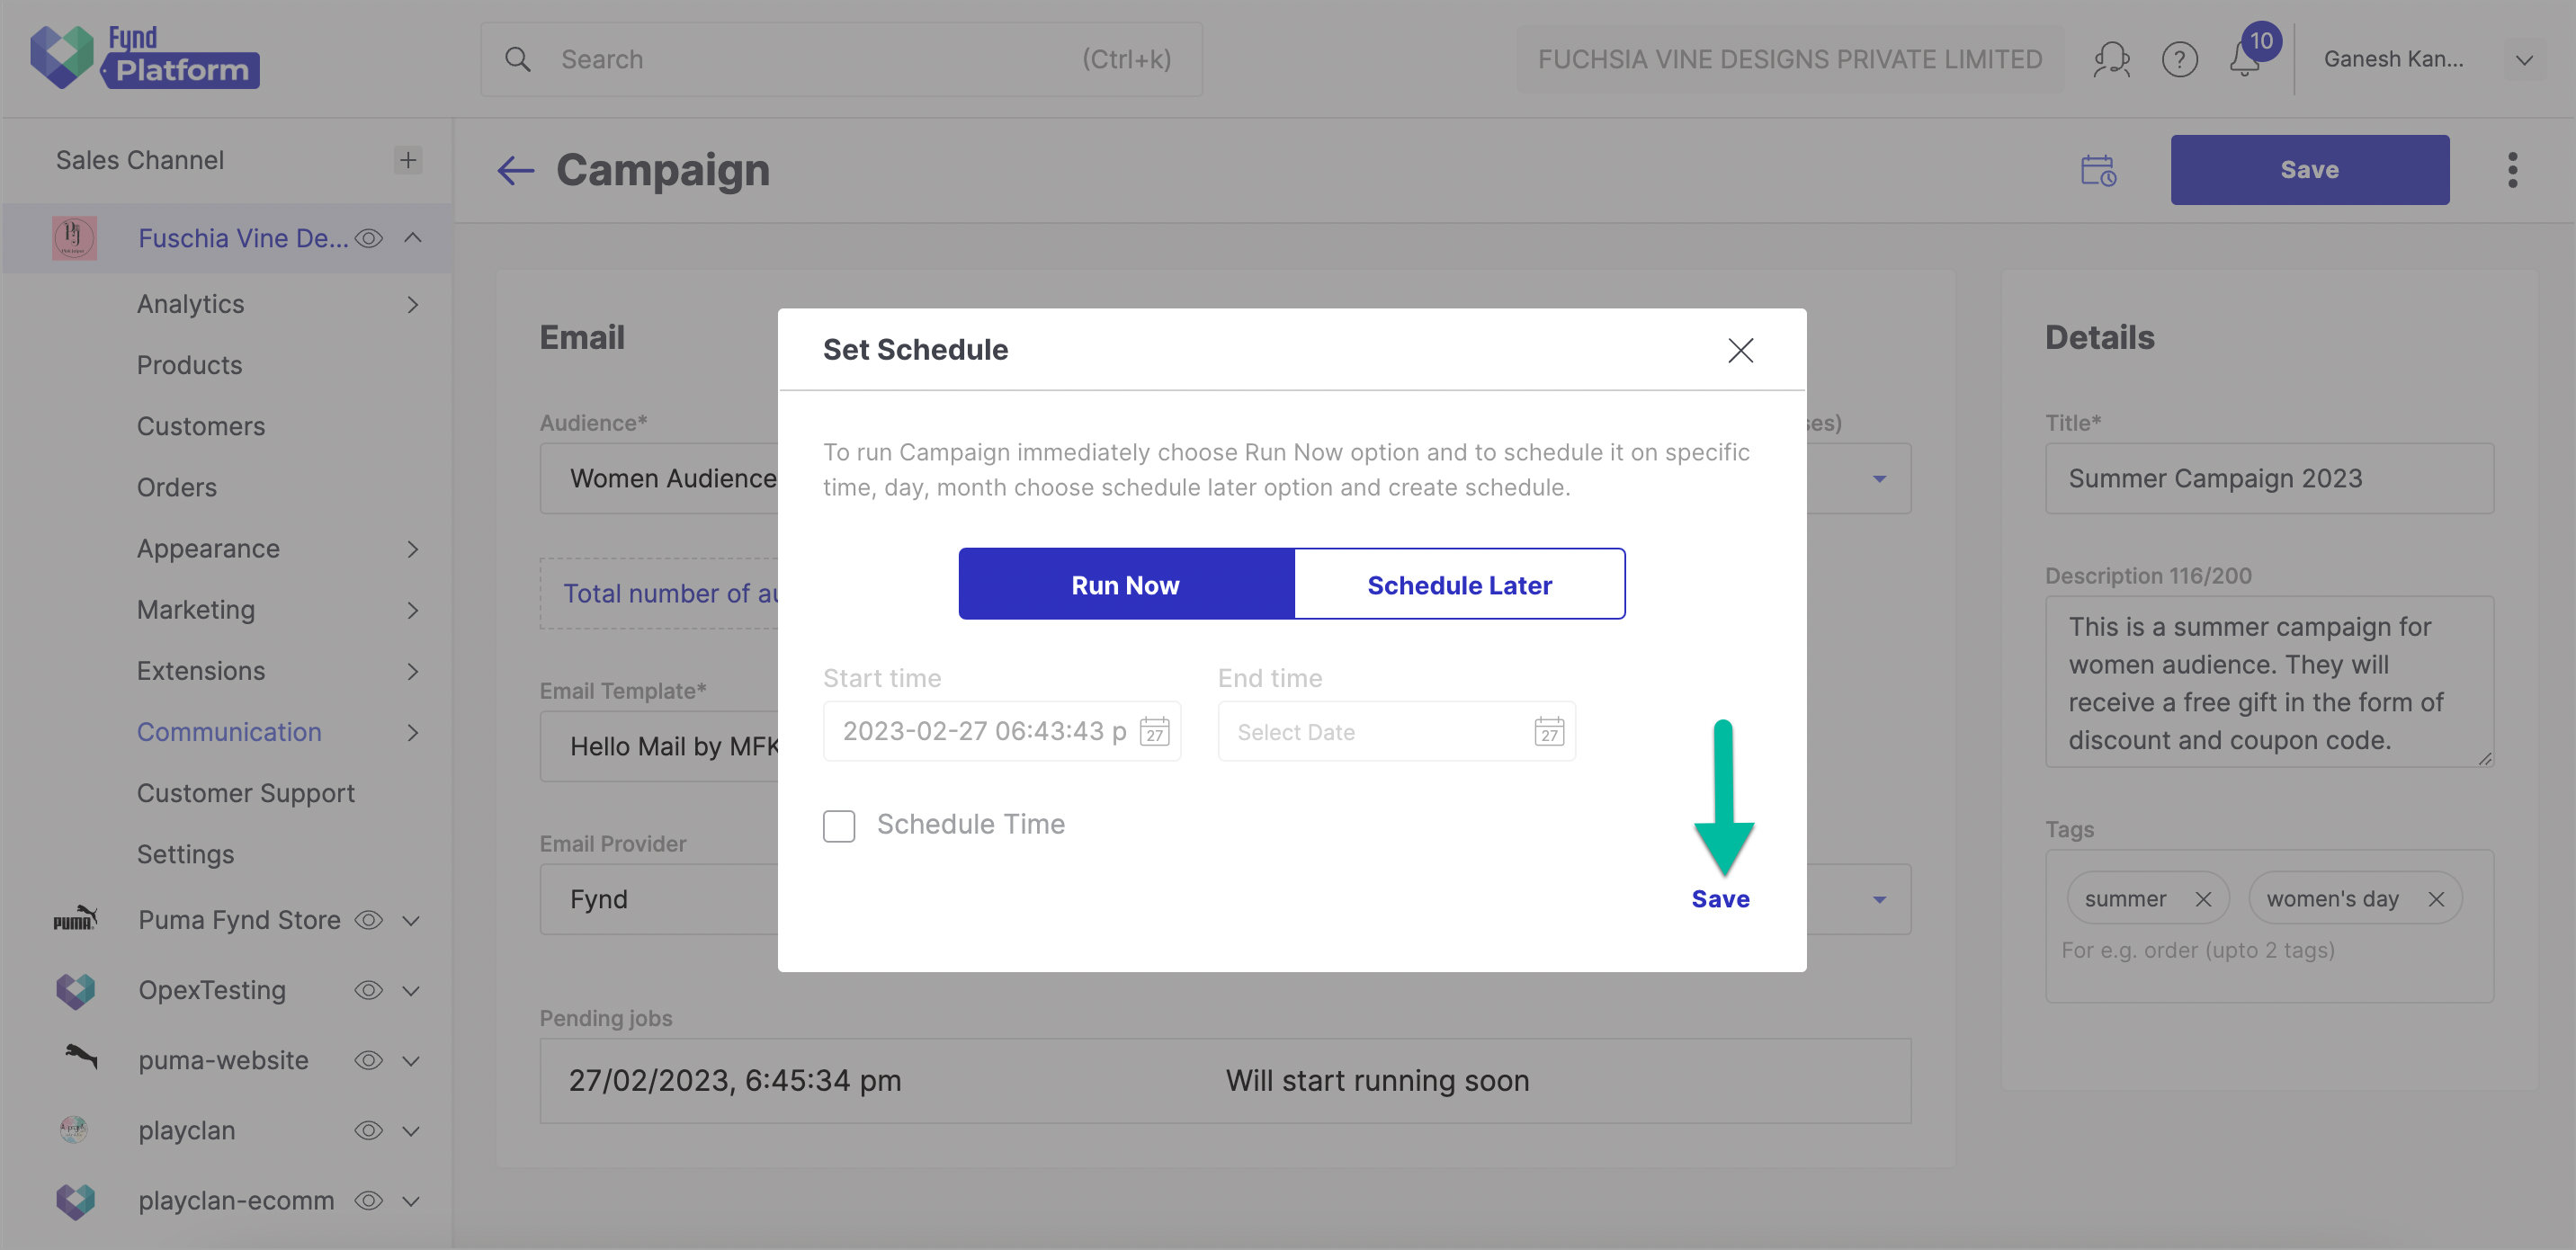
Figure 7: Clicking Save Option
As you can see, the campaign ran successfully. The status shows that the emails have been successfully delivered to all the members of our audience.
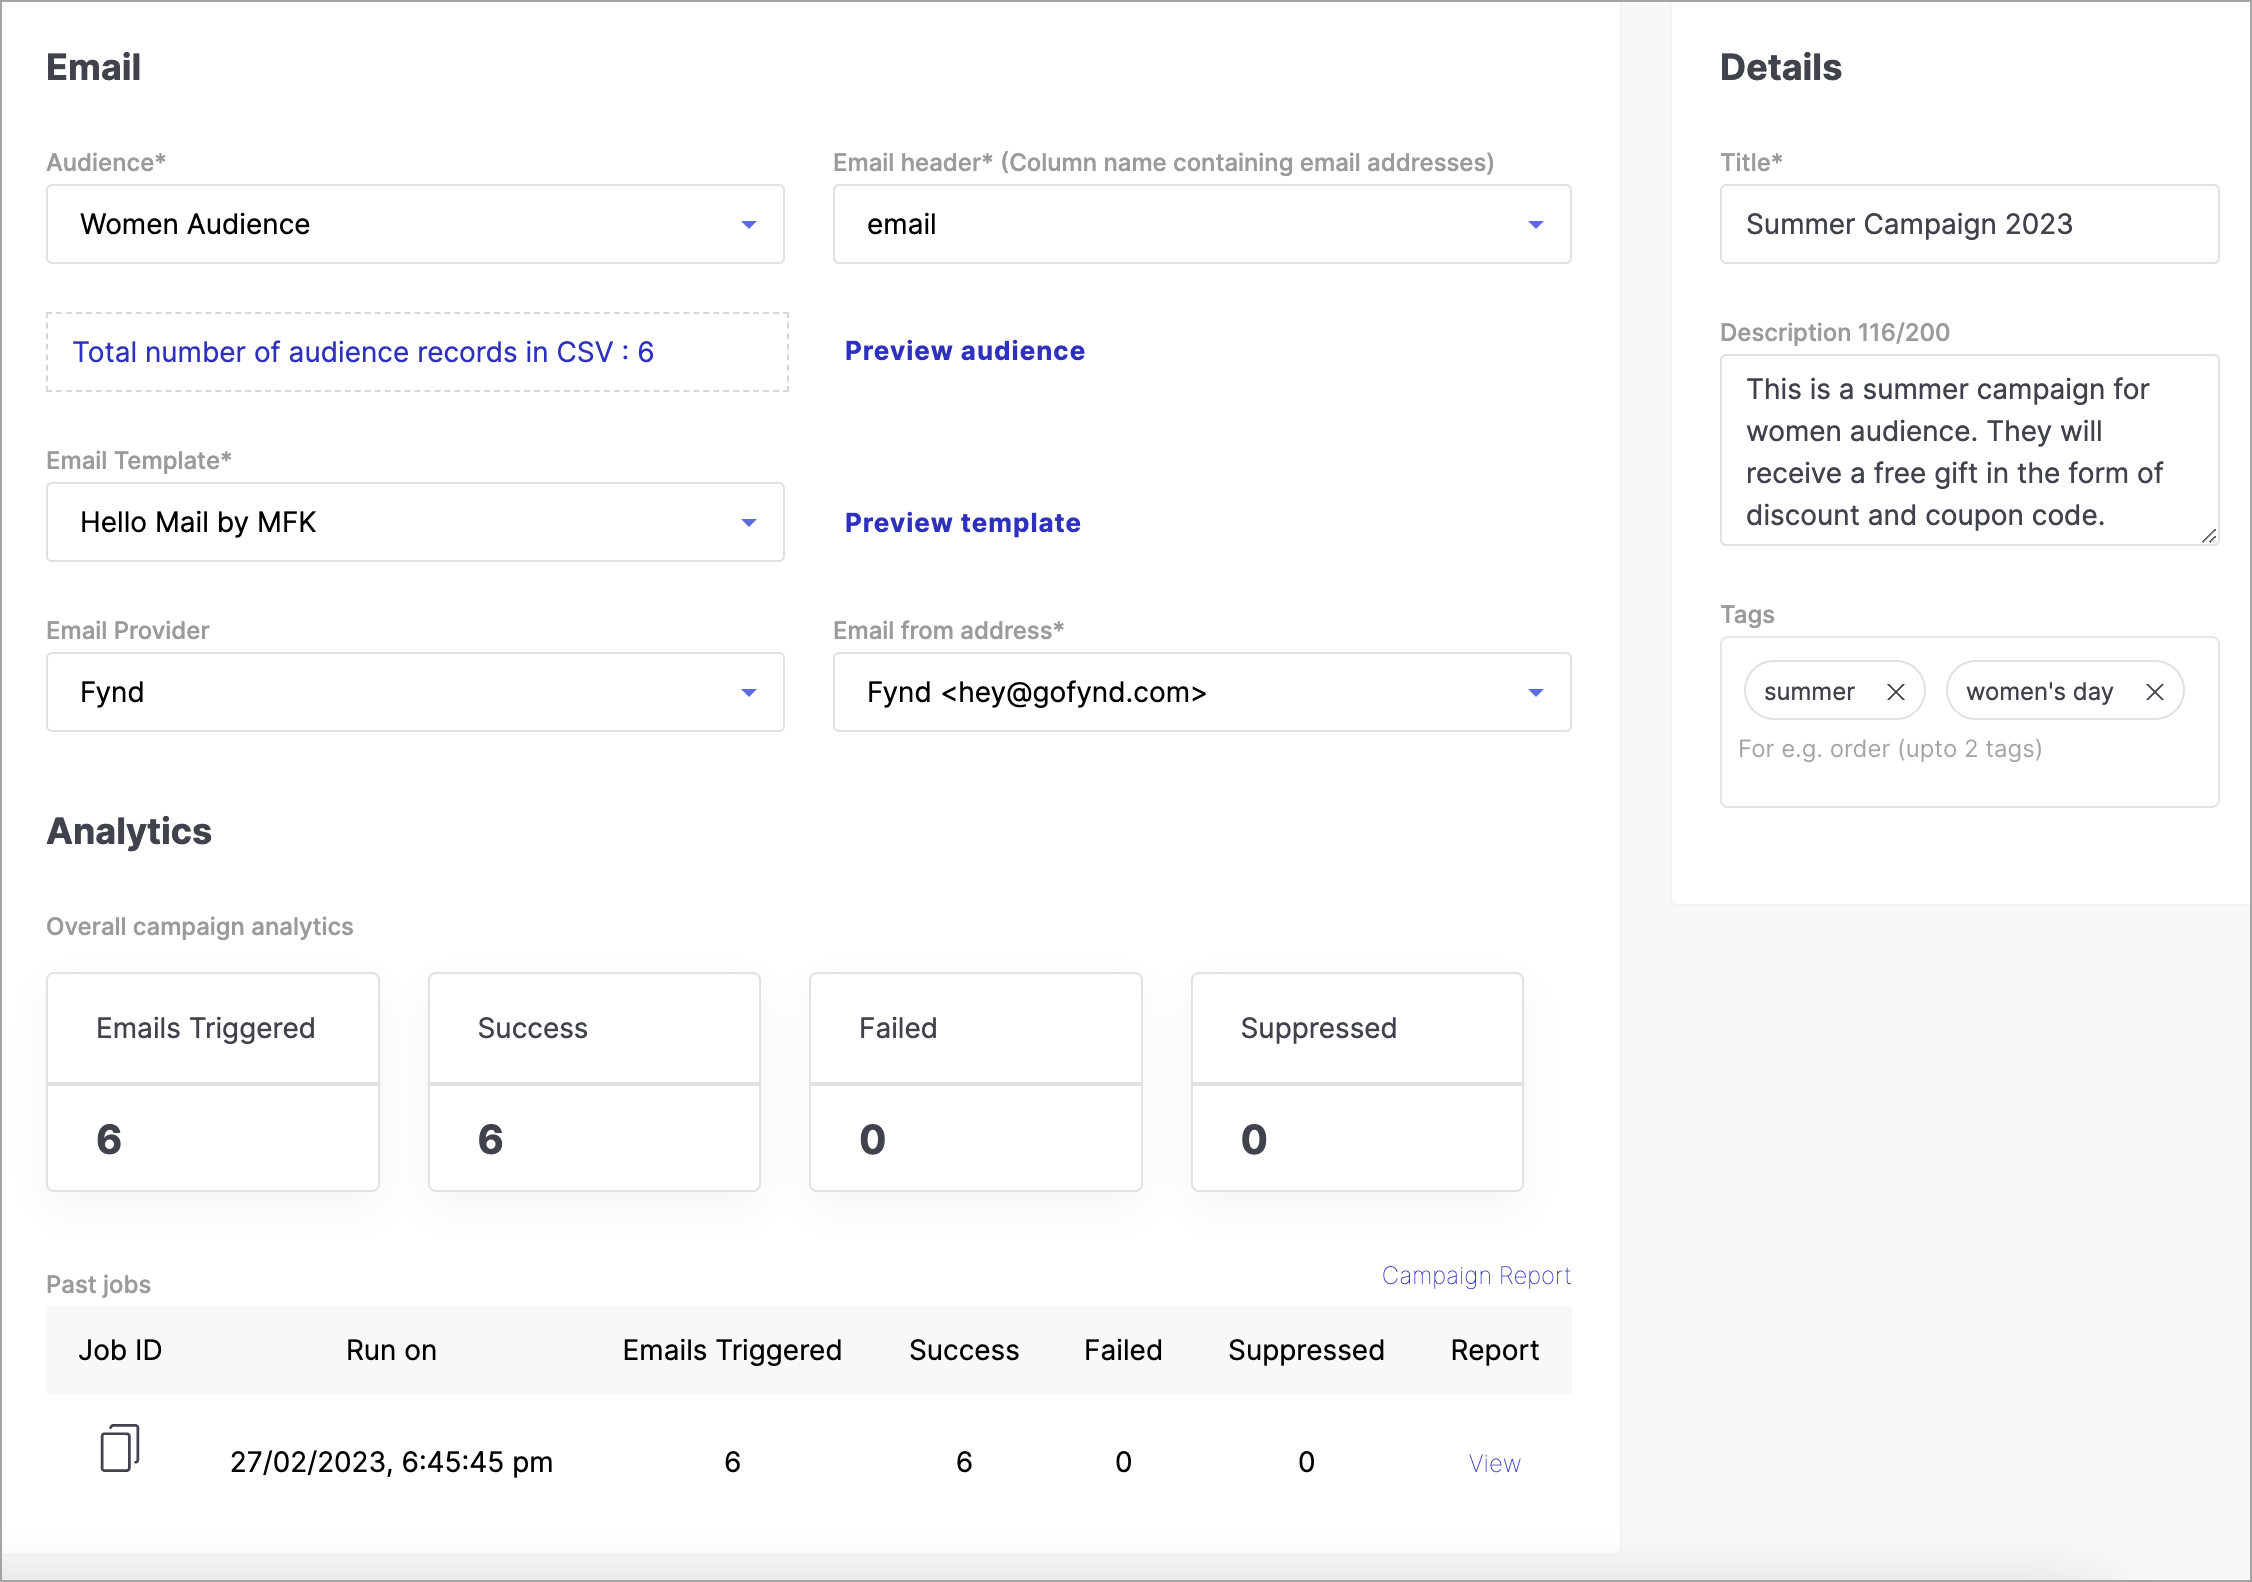
Figure 8: Campaign Analytics
Congratulations! You've successfully ran a campaign.