Using Virtual Store Extension
Introduction
Virtual store extension is a digital retail platform that lets consumers shop for their favourite products without having to visit a physical store. It offers a convenient way where consumers can engage in retail activities from the comfort of their homes, using various devices such as computers or smartphones. With this extension, the storefronts can replicate many aspects of the traditional shopping experience, including browsing products, viewing product descriptions and images, adding items, and completing transactions through online payment methods.
Steps to use Virtual Store Extension
- Go to Extensions on the Fynd Platform.
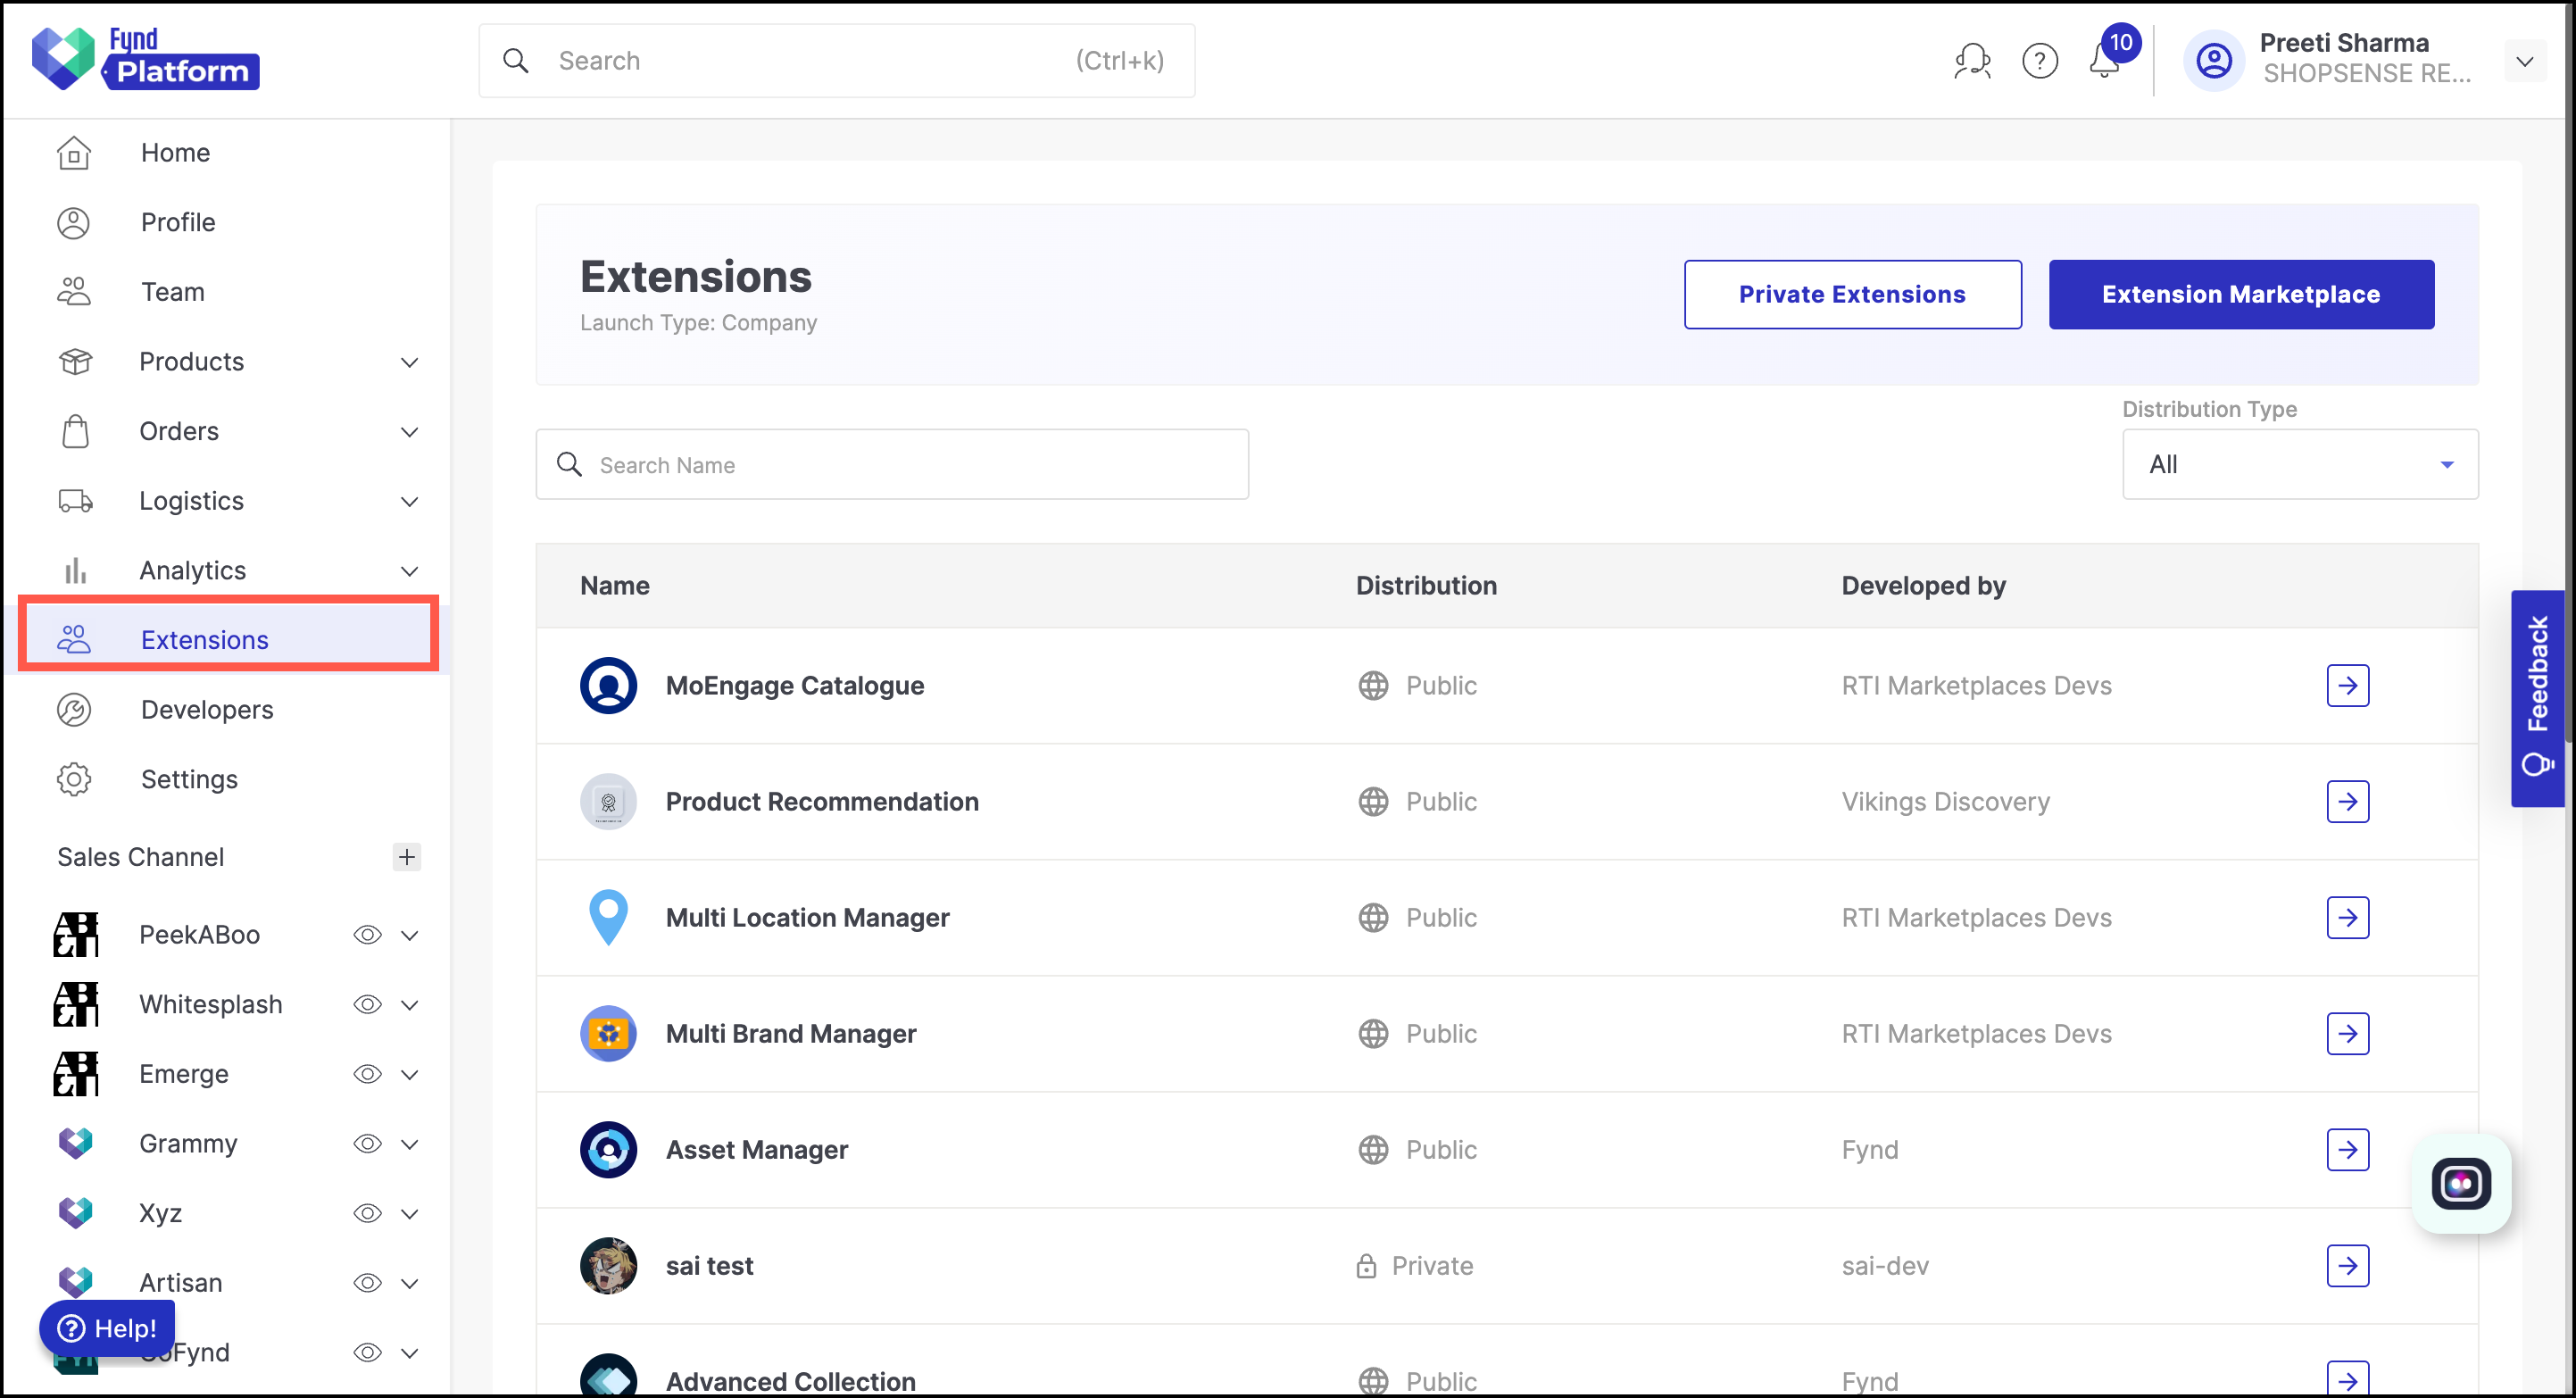
- Click Virtual Store extension.
.png)
If the extension is currently inactive for the selected sales channel, a message will be displayed saying To activate this extension, please configure it in the settings.
- Select the widget you want to enable on your sales channel.
.png)
- Toggle the button to activate the Virtual Store extension for the selected sales channel.
.png)
Enabling the extension on a sales channel will result in a corresponding status update of inactive to active.
Visit your sales channel on the Fynd platform. Once logged in as a registered customer, you will find the Virtual Store Extension section.
Click Experience Now to explore the virtual store for your sales channel.
.png)
Figure 5: Virtual Store Extension Explore collections of the store by scrolling through the virtual store. Currently, there are six categories added in the virtual store.
To start shopping, go to the category of your choice and click the indicator in the collection.
.png)
Figure 6: Explore Categories Choose a collection to view all products associated with that collection within the selected category.
.png)
Figure 7: Explore Products Upon selecting a product, you will be redirected to the product description page. From there, you can choose to add the product to your cart or wishlist.
.png)
In the following sections, you will be guided through the configuration process for the complete Vistual Store setup. The extension offers three distinct features, each designed to address various functionalities.
- Collection Settings: These are configuration options for organizing and presenting products within a specific category. This includes settings for mapping collections to the index, and sellers can easily accomplish this using the Collection Dropdown Selector.
- General Settings: These settings define the width of the product listing page's side drawer on the storefront.
- Distribution Channel: It provide options for the virtual store extension presentation on the storefront. Choose between popup, banner and inline binding to control how the extension is displayed and promoted across the sales channel.
Collection Settings
By default, there are six categories created for each saleschannel.
- Athleisure Men
- Athleisure Women
- Streetwear Men
- Streetwear Women
- Sustainable Men
- Sustainable Women
You can choose the collection that will be showcased on the virtual store for each category.
.png)
Figure 9: Collection Settings
General Setting
Specify the pixel width of the side drawer that reveals products from a specific collection in the virtual store.
.png)
Distribution Channel
- Popup: Include a logo for the popup and specify its position.
.png)
Go to the saleschannel > Theme > Edit Theme. Within any page in the extension section, select the wrapper as Virtual Store under the extension position.
.png)
.png)
- Banner: Select banner to feature the virtual store extension as a banner on the homepage.
.png)
Go to the saleschannel > Theme > Edit Theme. Within any page in the extension section, select the wrapper as Virtual Store in the extension position. Additionally on the homepage, insert the query parameter in the key-value fields of the image banner of the virtual store banner.
- Inline Binding: Select inline binding to have the virtual store extension open along with the header on the homepage of the sales channel. This enables users to explore both the virtual store and additional categories that are not featured in the store.
Go to the saleschannel > Theme > Edit Theme. Within the Virtual Store section page in the extension section, select the wrapper as Virtual Store Inline under the extension position.
.png)